Two wall in-plant office system utilizing the customer’s existing block walls
Many of the in-plant offices we provide customers are located around the perimeter of their building, and we are often asked about the possibility of utilizing the existing wall. Depending on the site conditions, a two or three wall system could offer a significant cost savings versus a typical four wall in-plant office. Today, I’d like to talk a little about how an in-plant office can utilize your existing building walls and some of the factors to consider if a two or three wall modular building system is a good fit for your space.
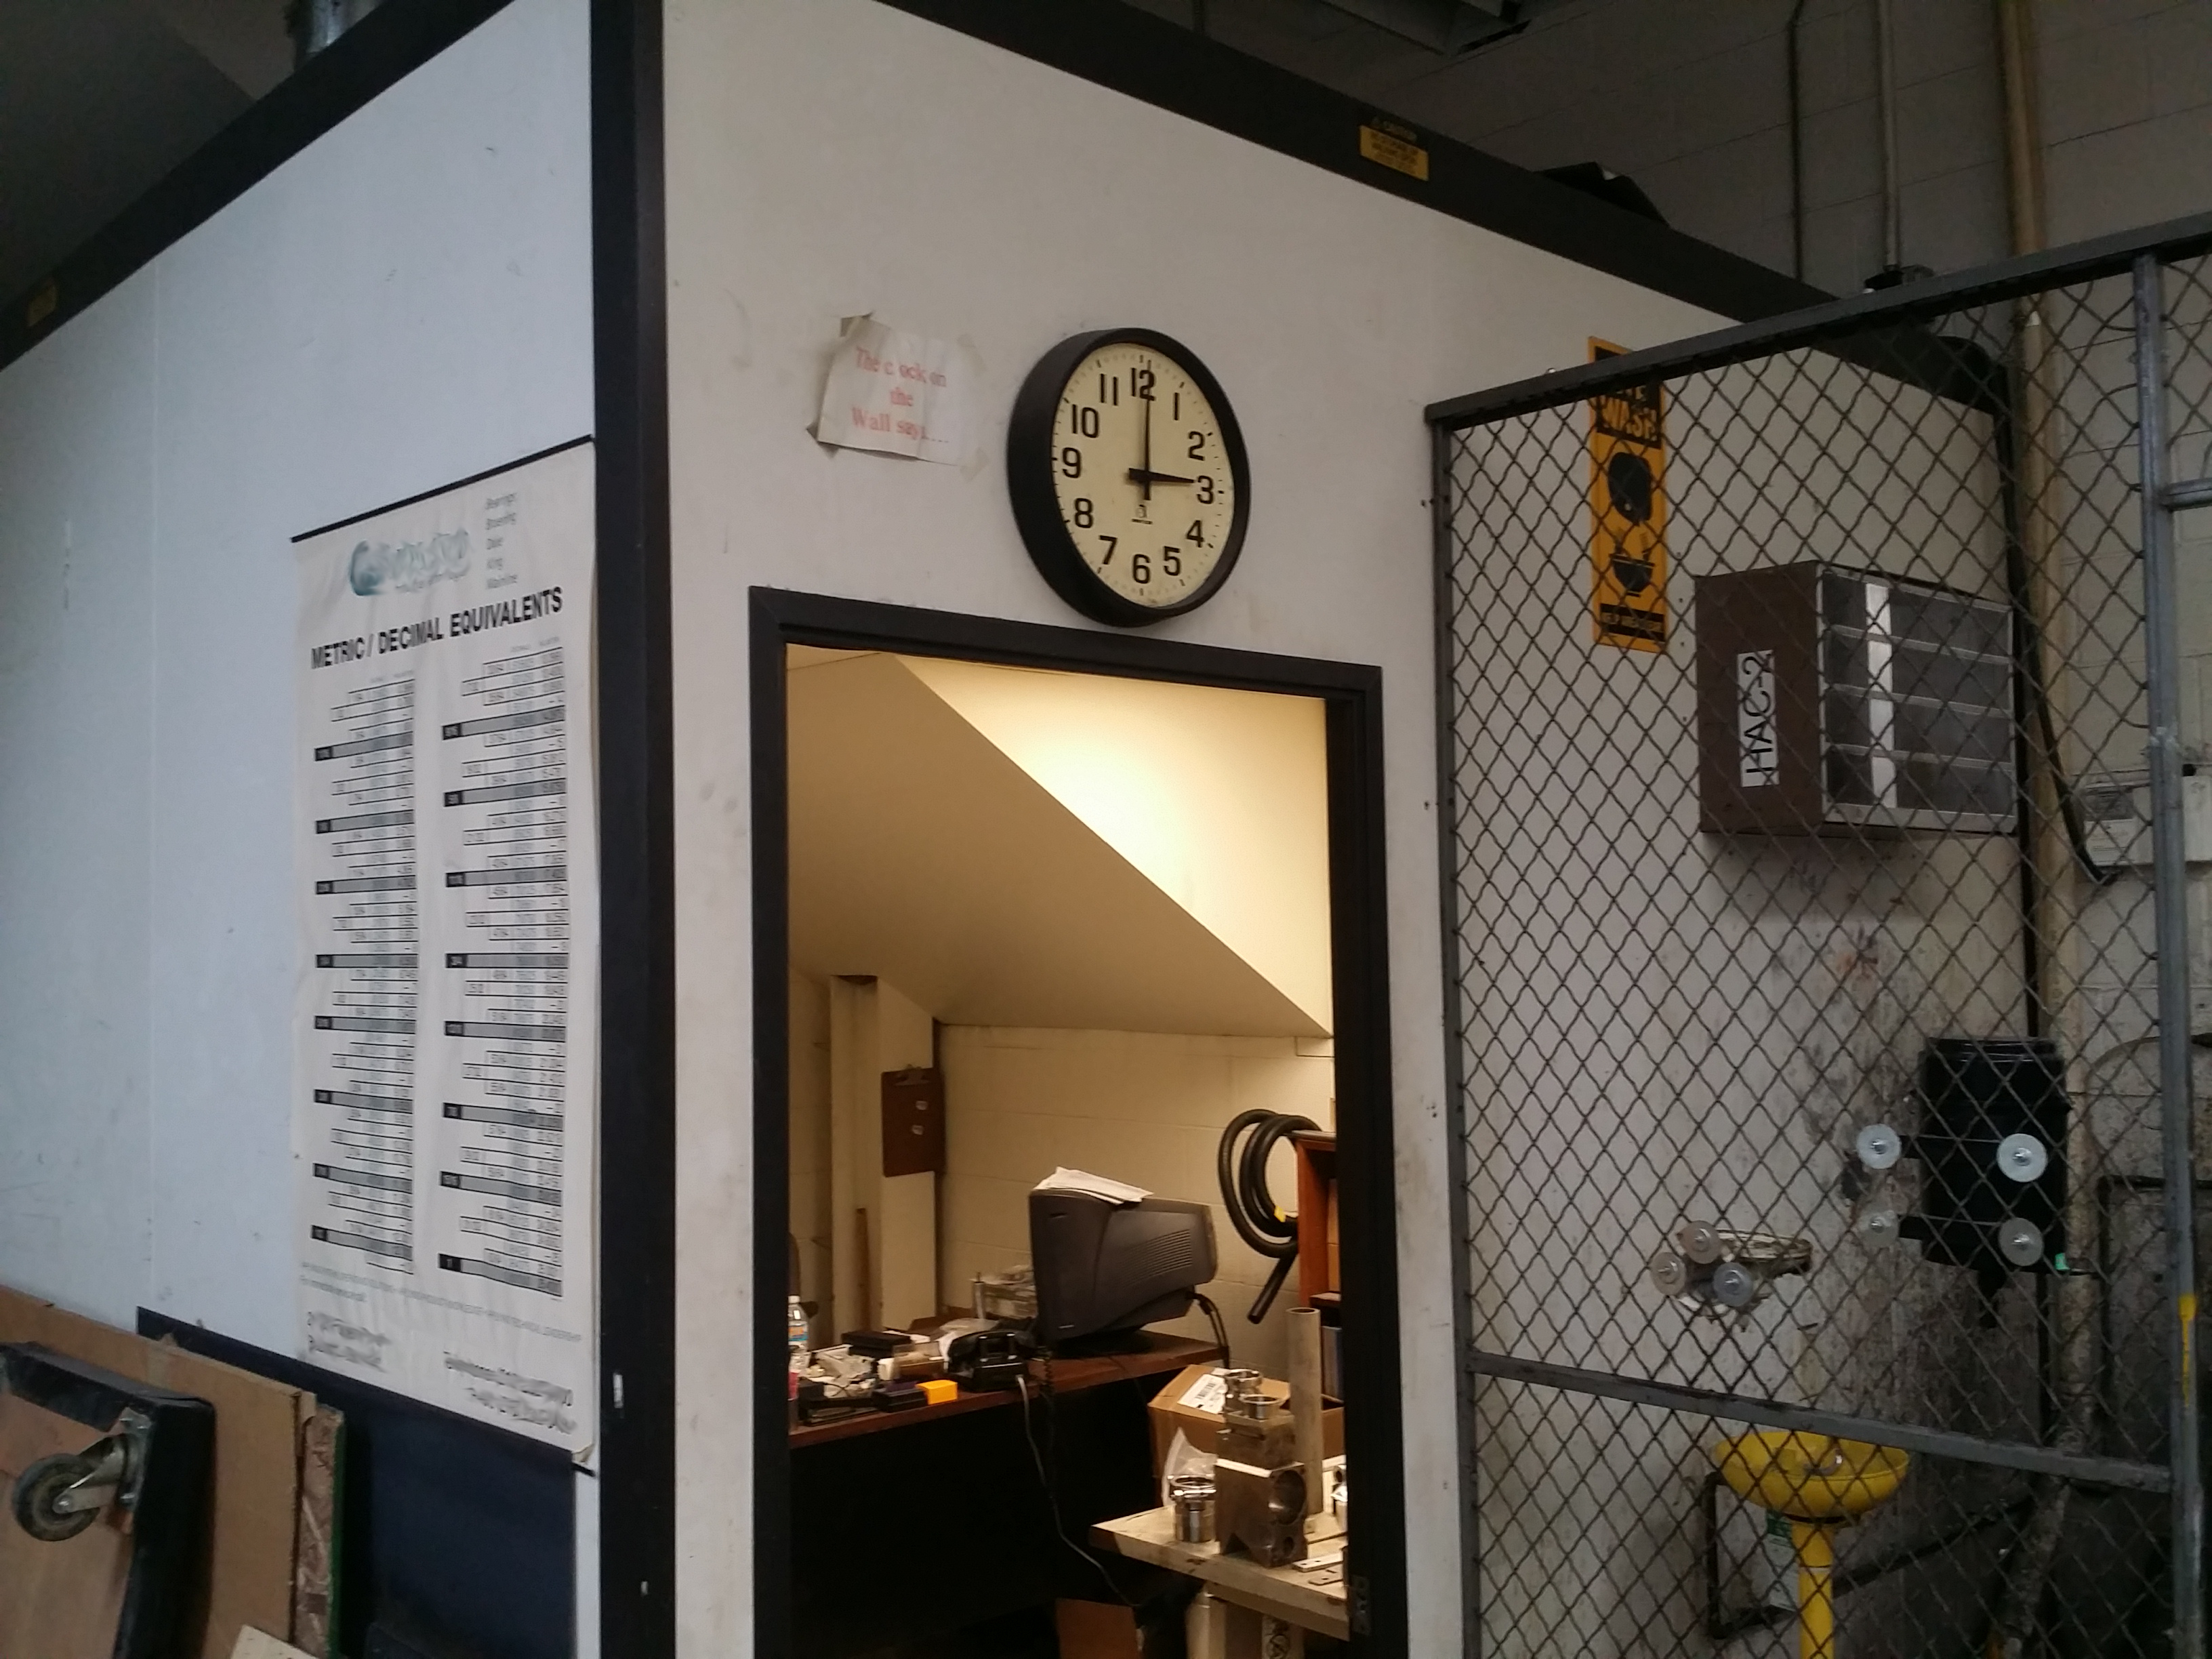
By utilizing the customer’s existing block wall, they were able to design a row of offices along the back wall of their facility without needing to reroute their existing lines
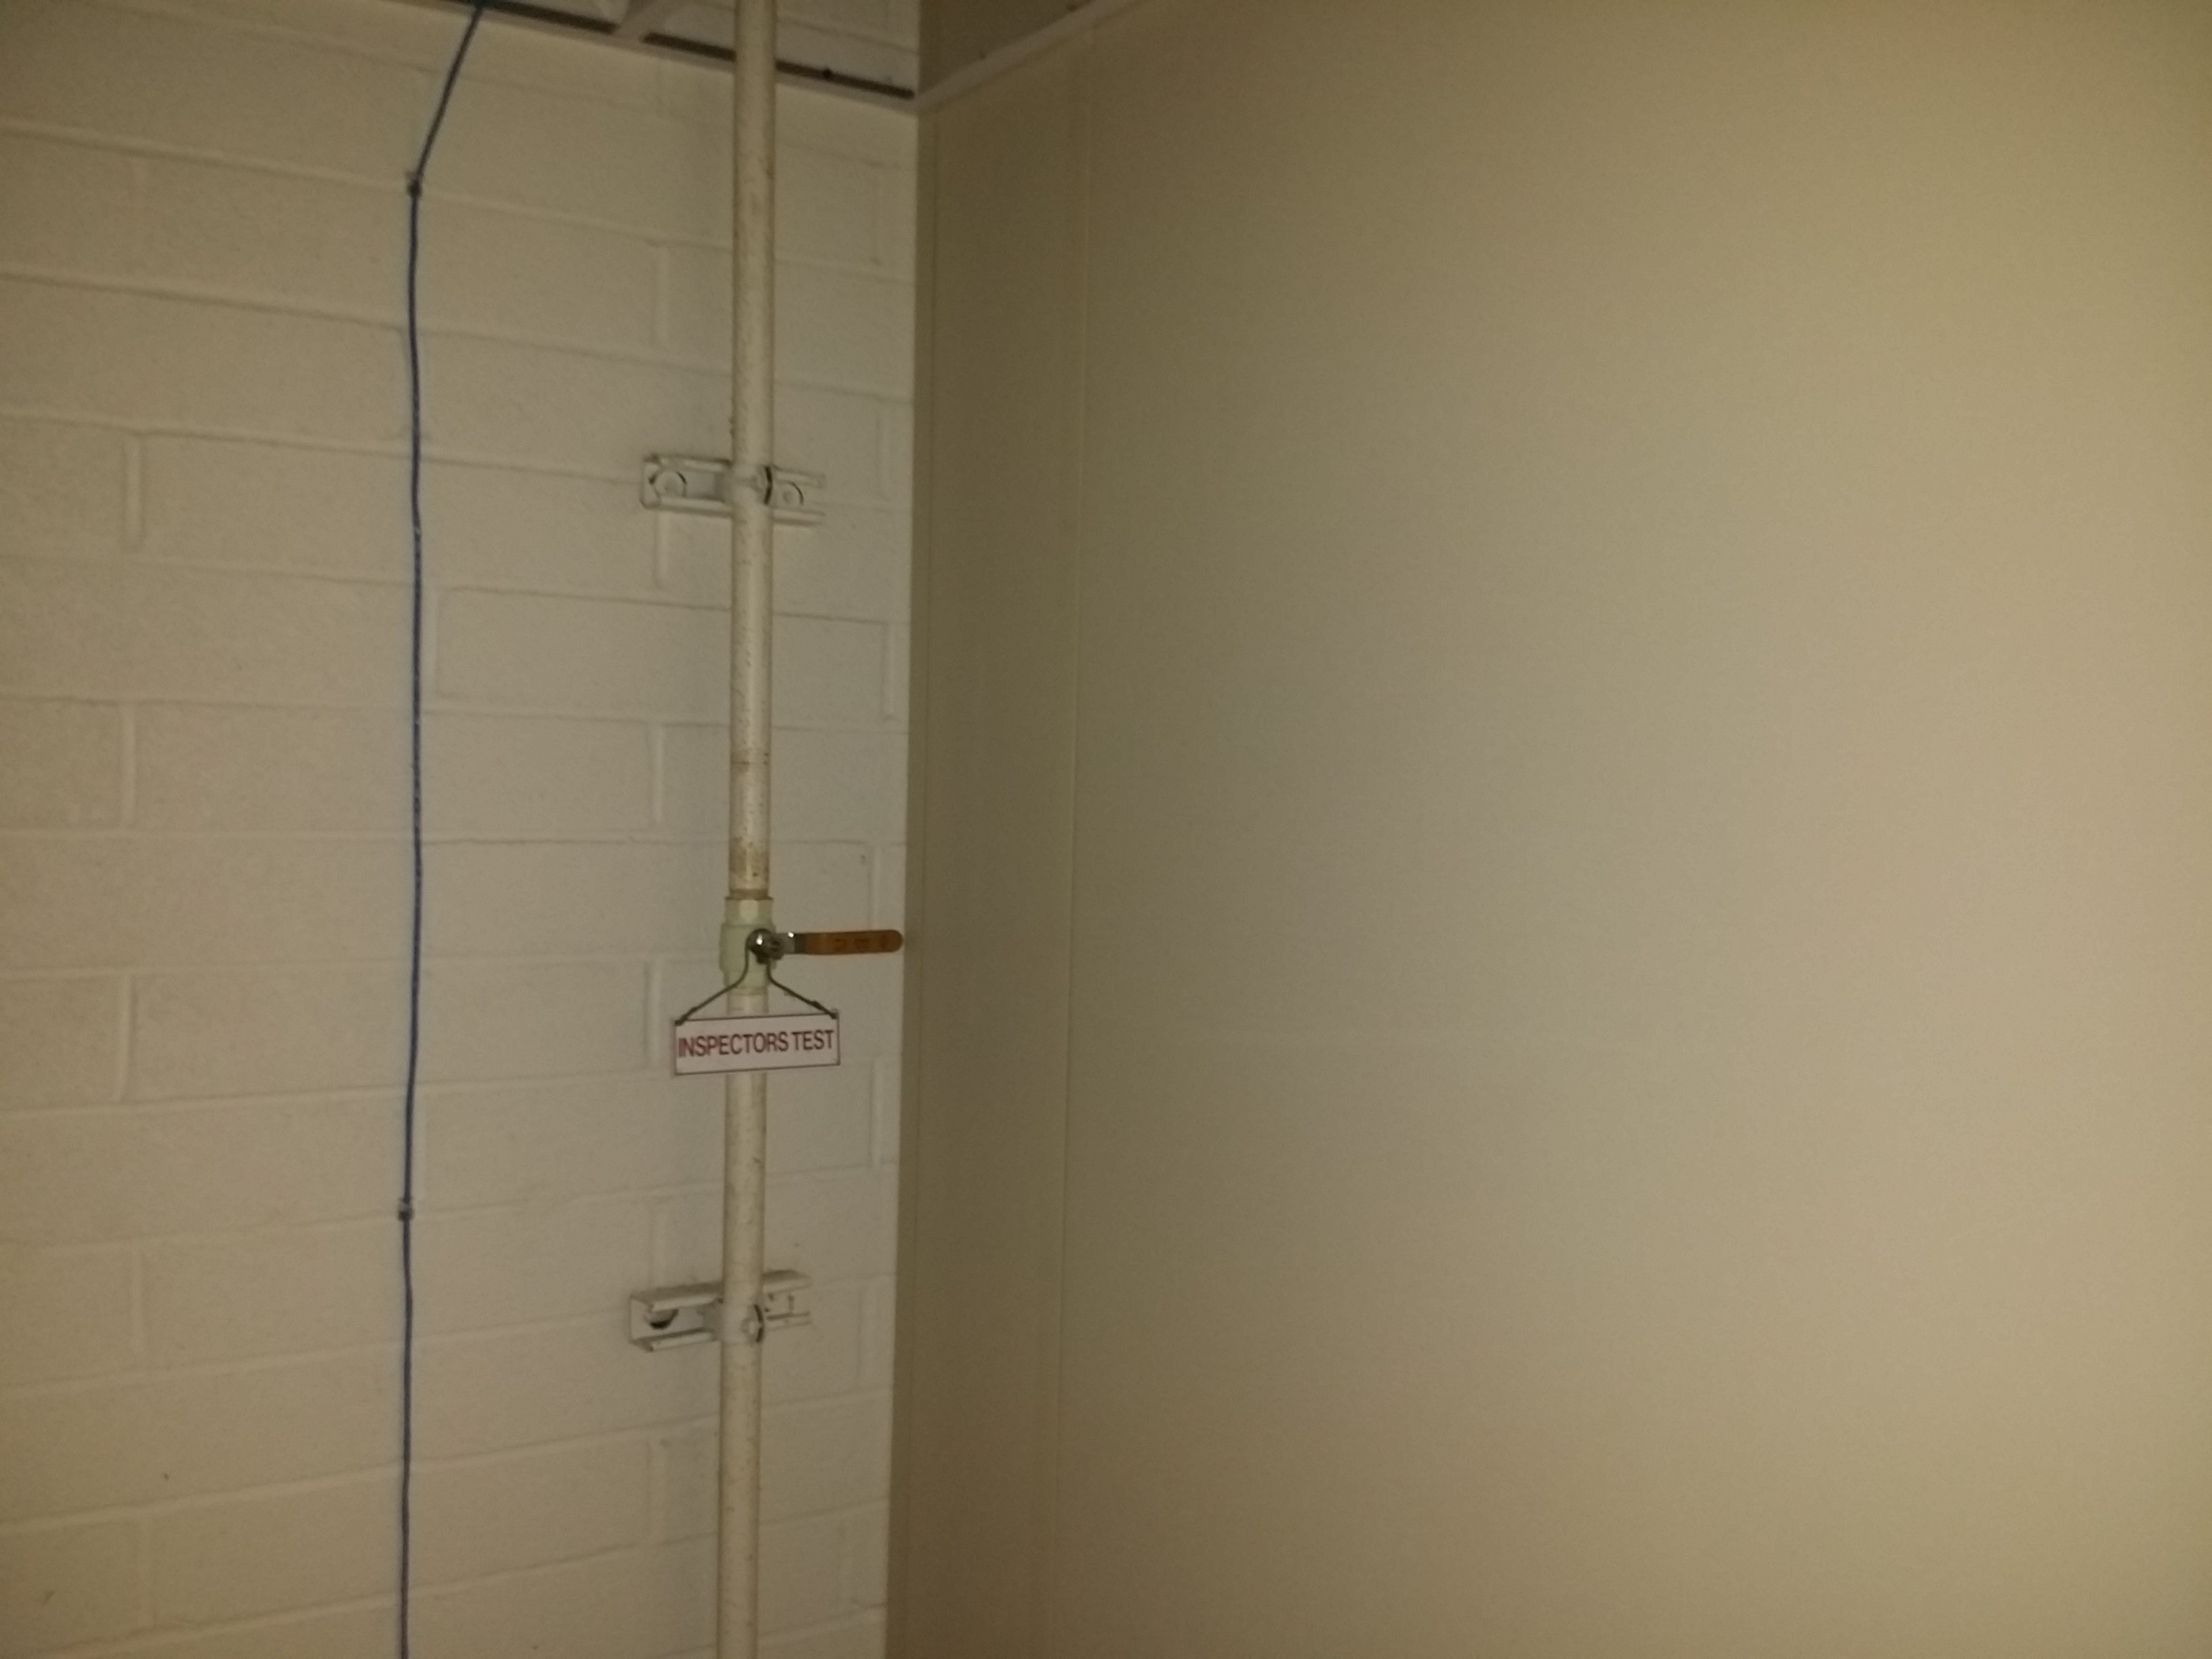
One thing to consider when thinking about designing a two or three wall in-plant office is what kind of walls are in place. If we are going to utilize your existing walls, we are going to need to tie into them in a couple different places. We will need to attach a piece of channel called a wall start from the floor to the top of the panel, wherever the panel would connect to the building wall. As we typically use a corrugated roof deck to form the membrane that holds the building together, we will also need to attach an angle along the enclosed length of the wall at the panel height. Because of this, the walls need to be substantial enough to be tied into. Block, stud and gypsum, or concrete walls are great. Steel skinned buildings are not. The wall should also be even across the locations where the building would tie in. If there’s a significant gap, such as in some brick walls, you’ll need to add some flashing to seal off the gaps into the building. In some buildings there has been a wall built in front of the steel skin wall. Remember to make sure the height of the front wall is taller than the height of the building panels.
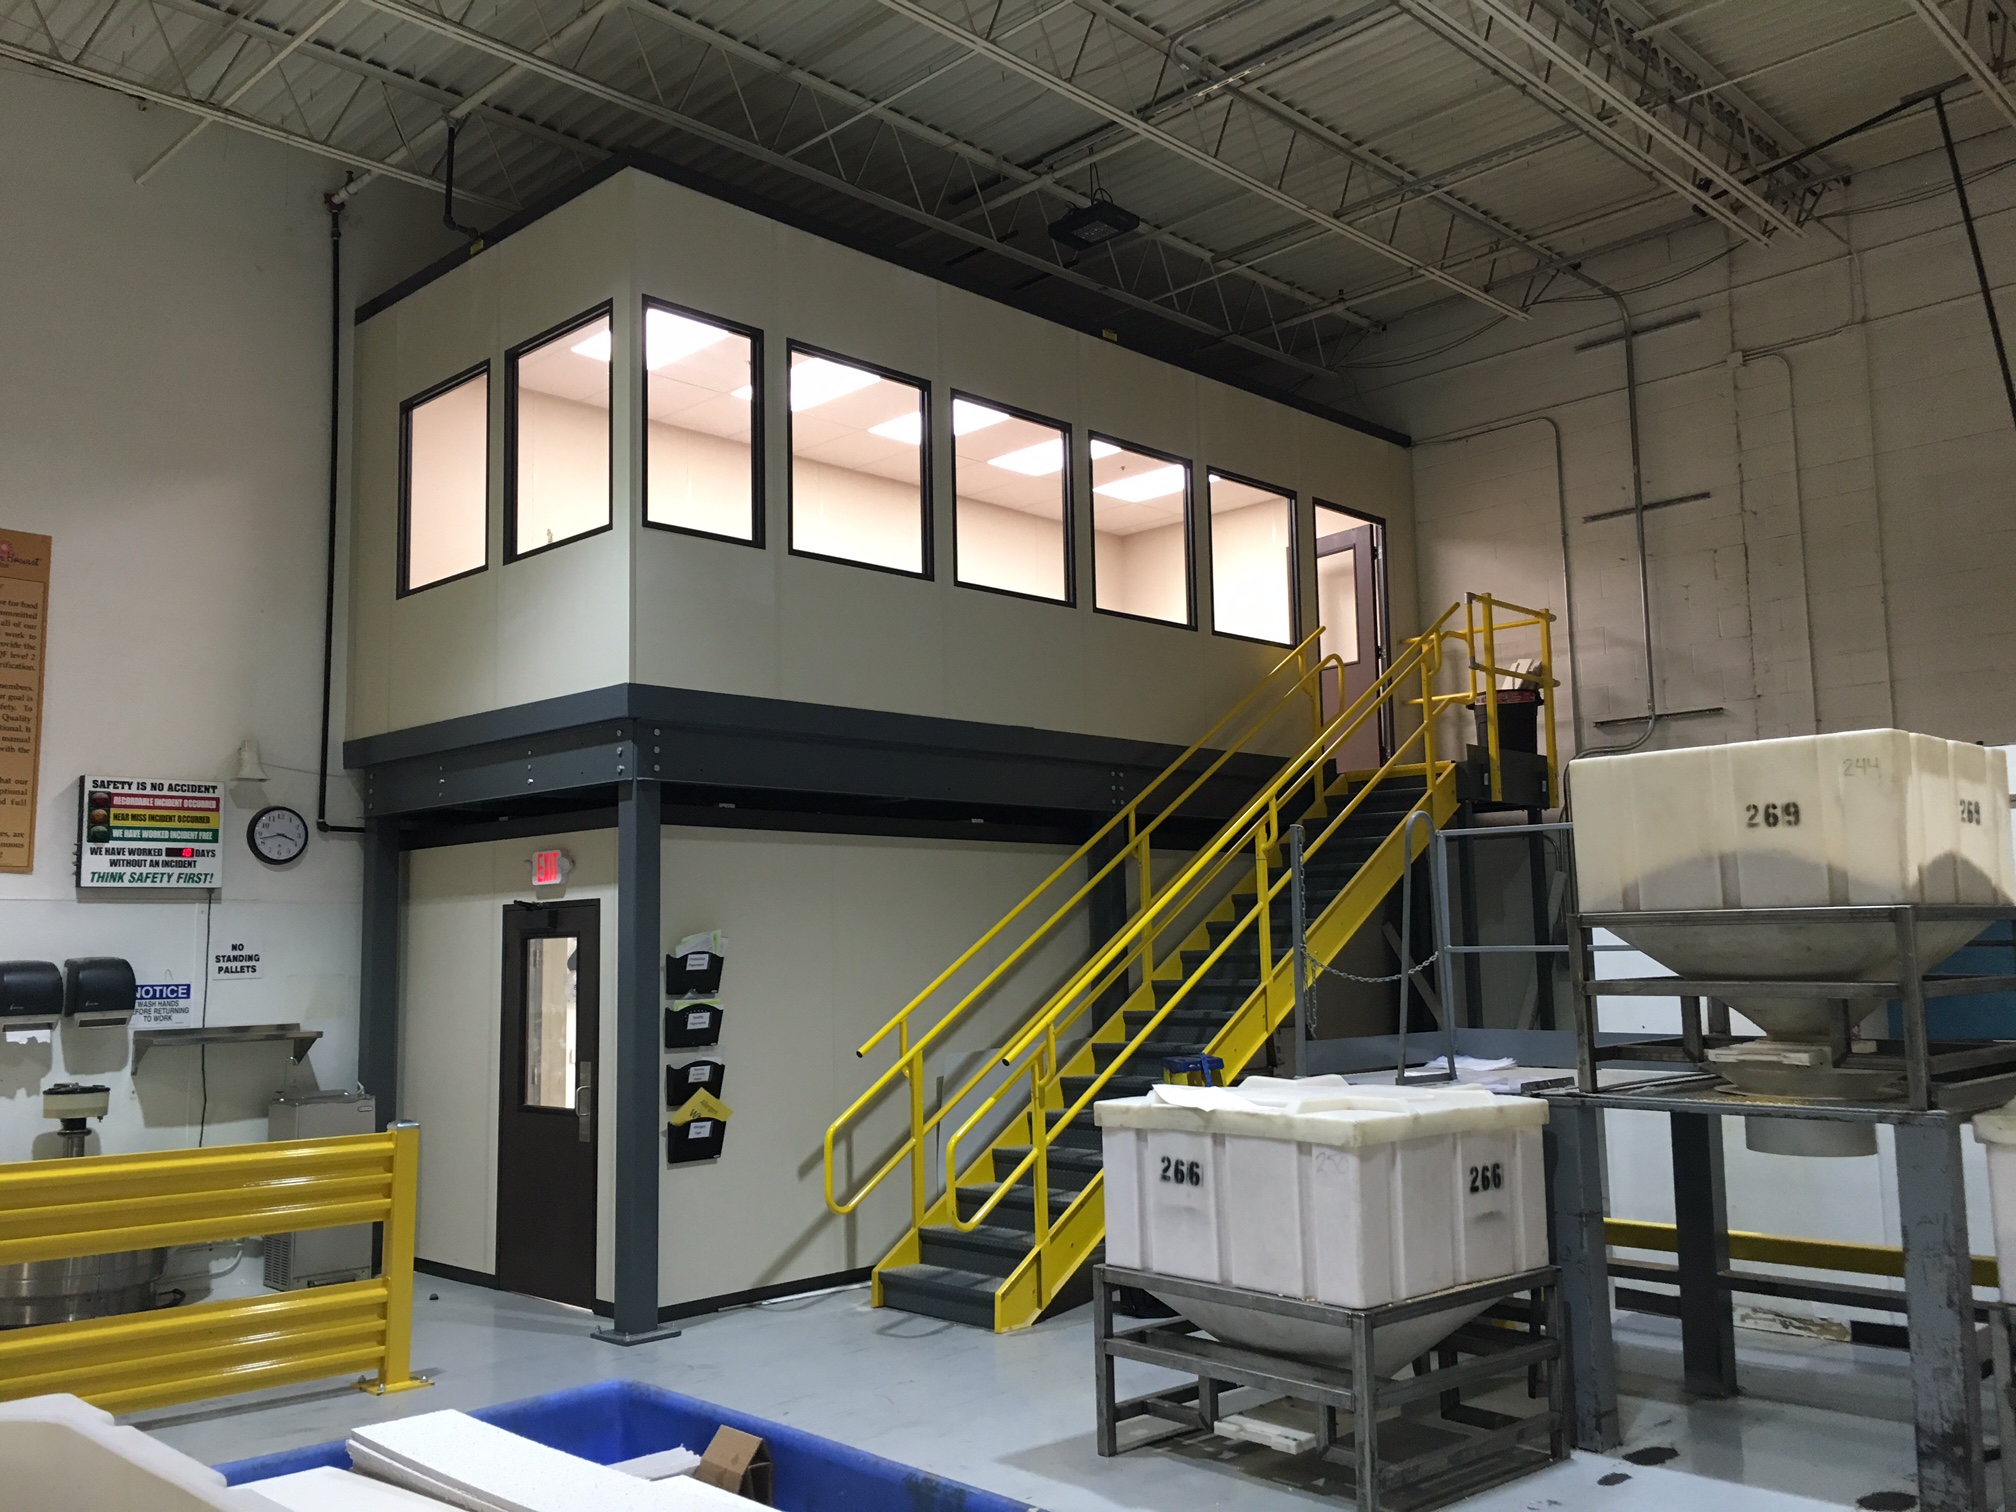
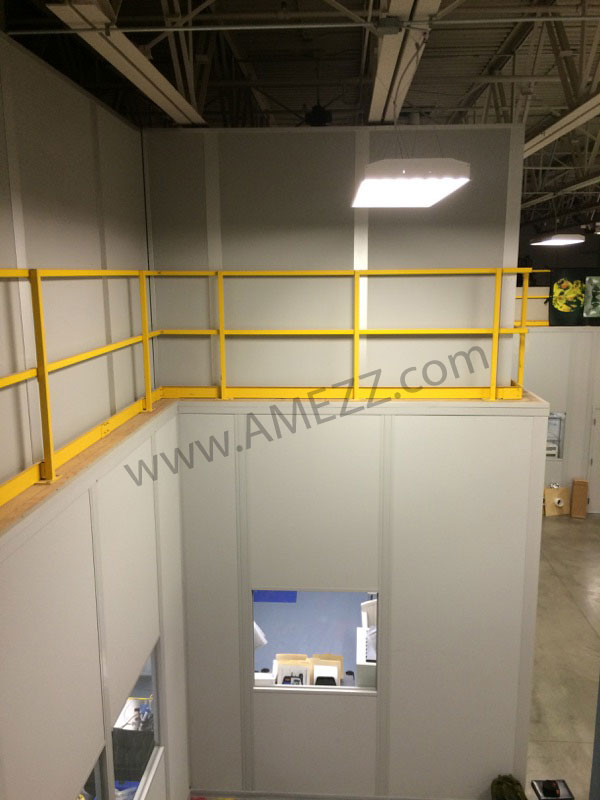
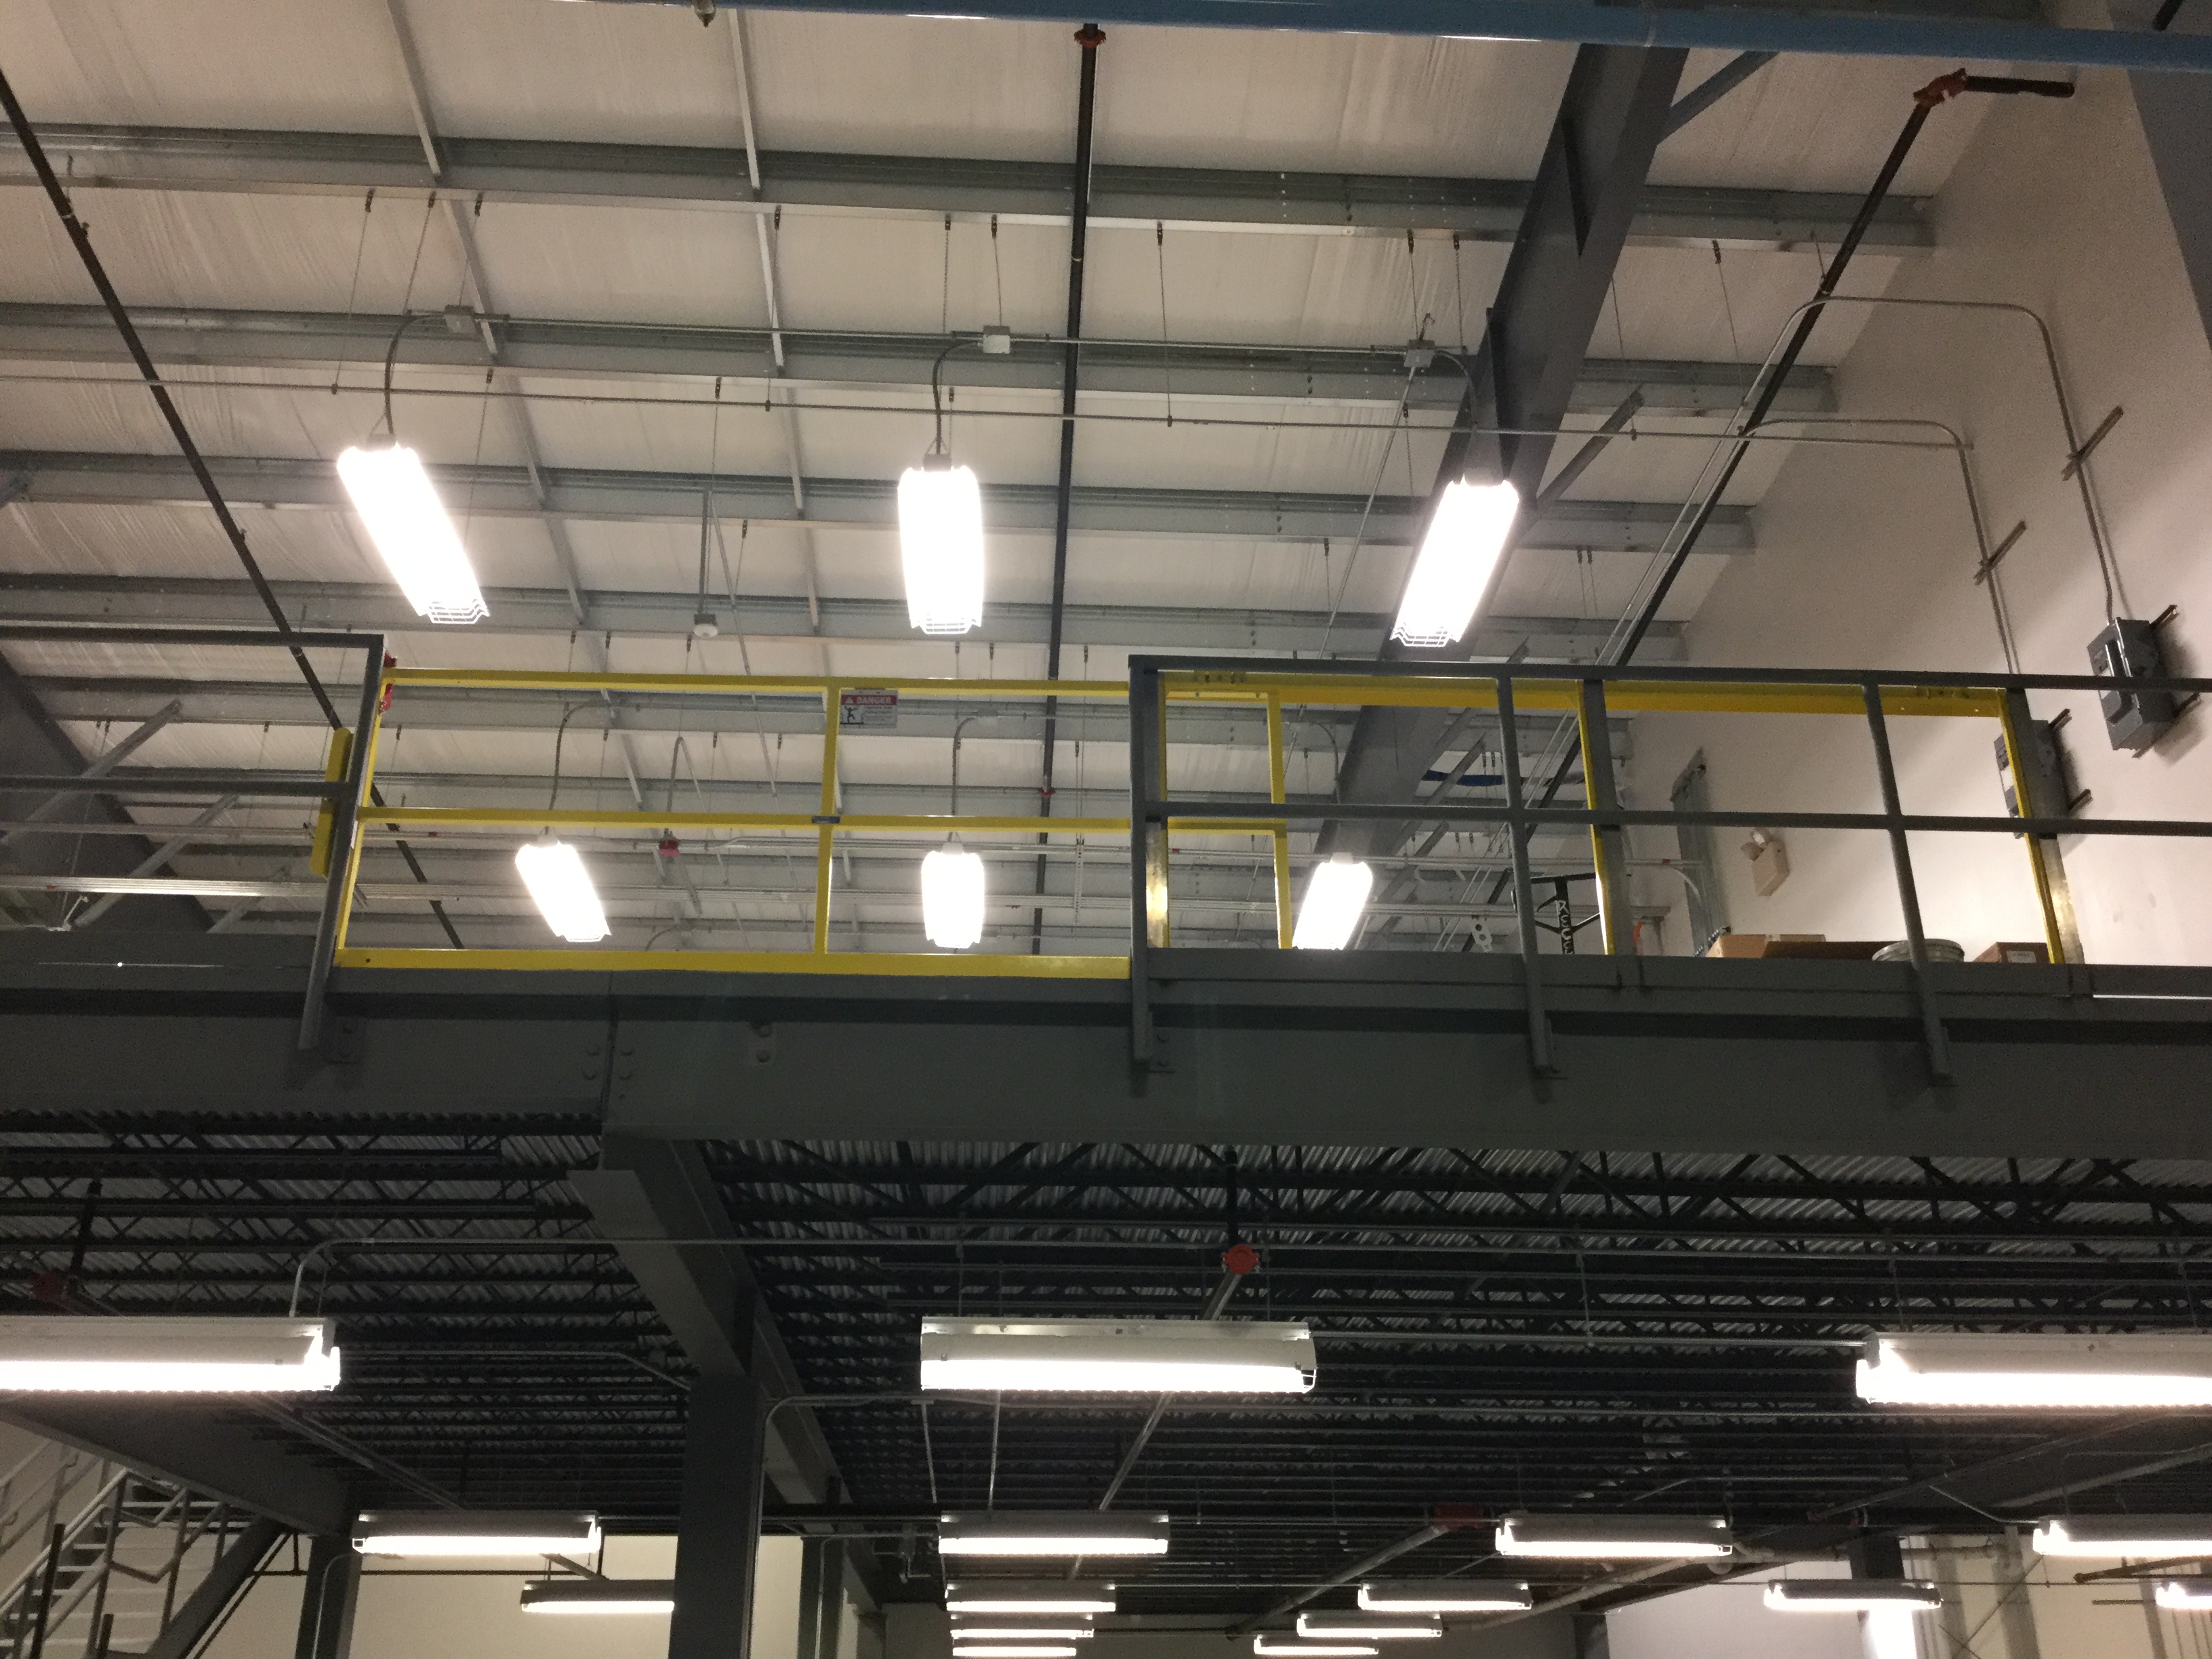
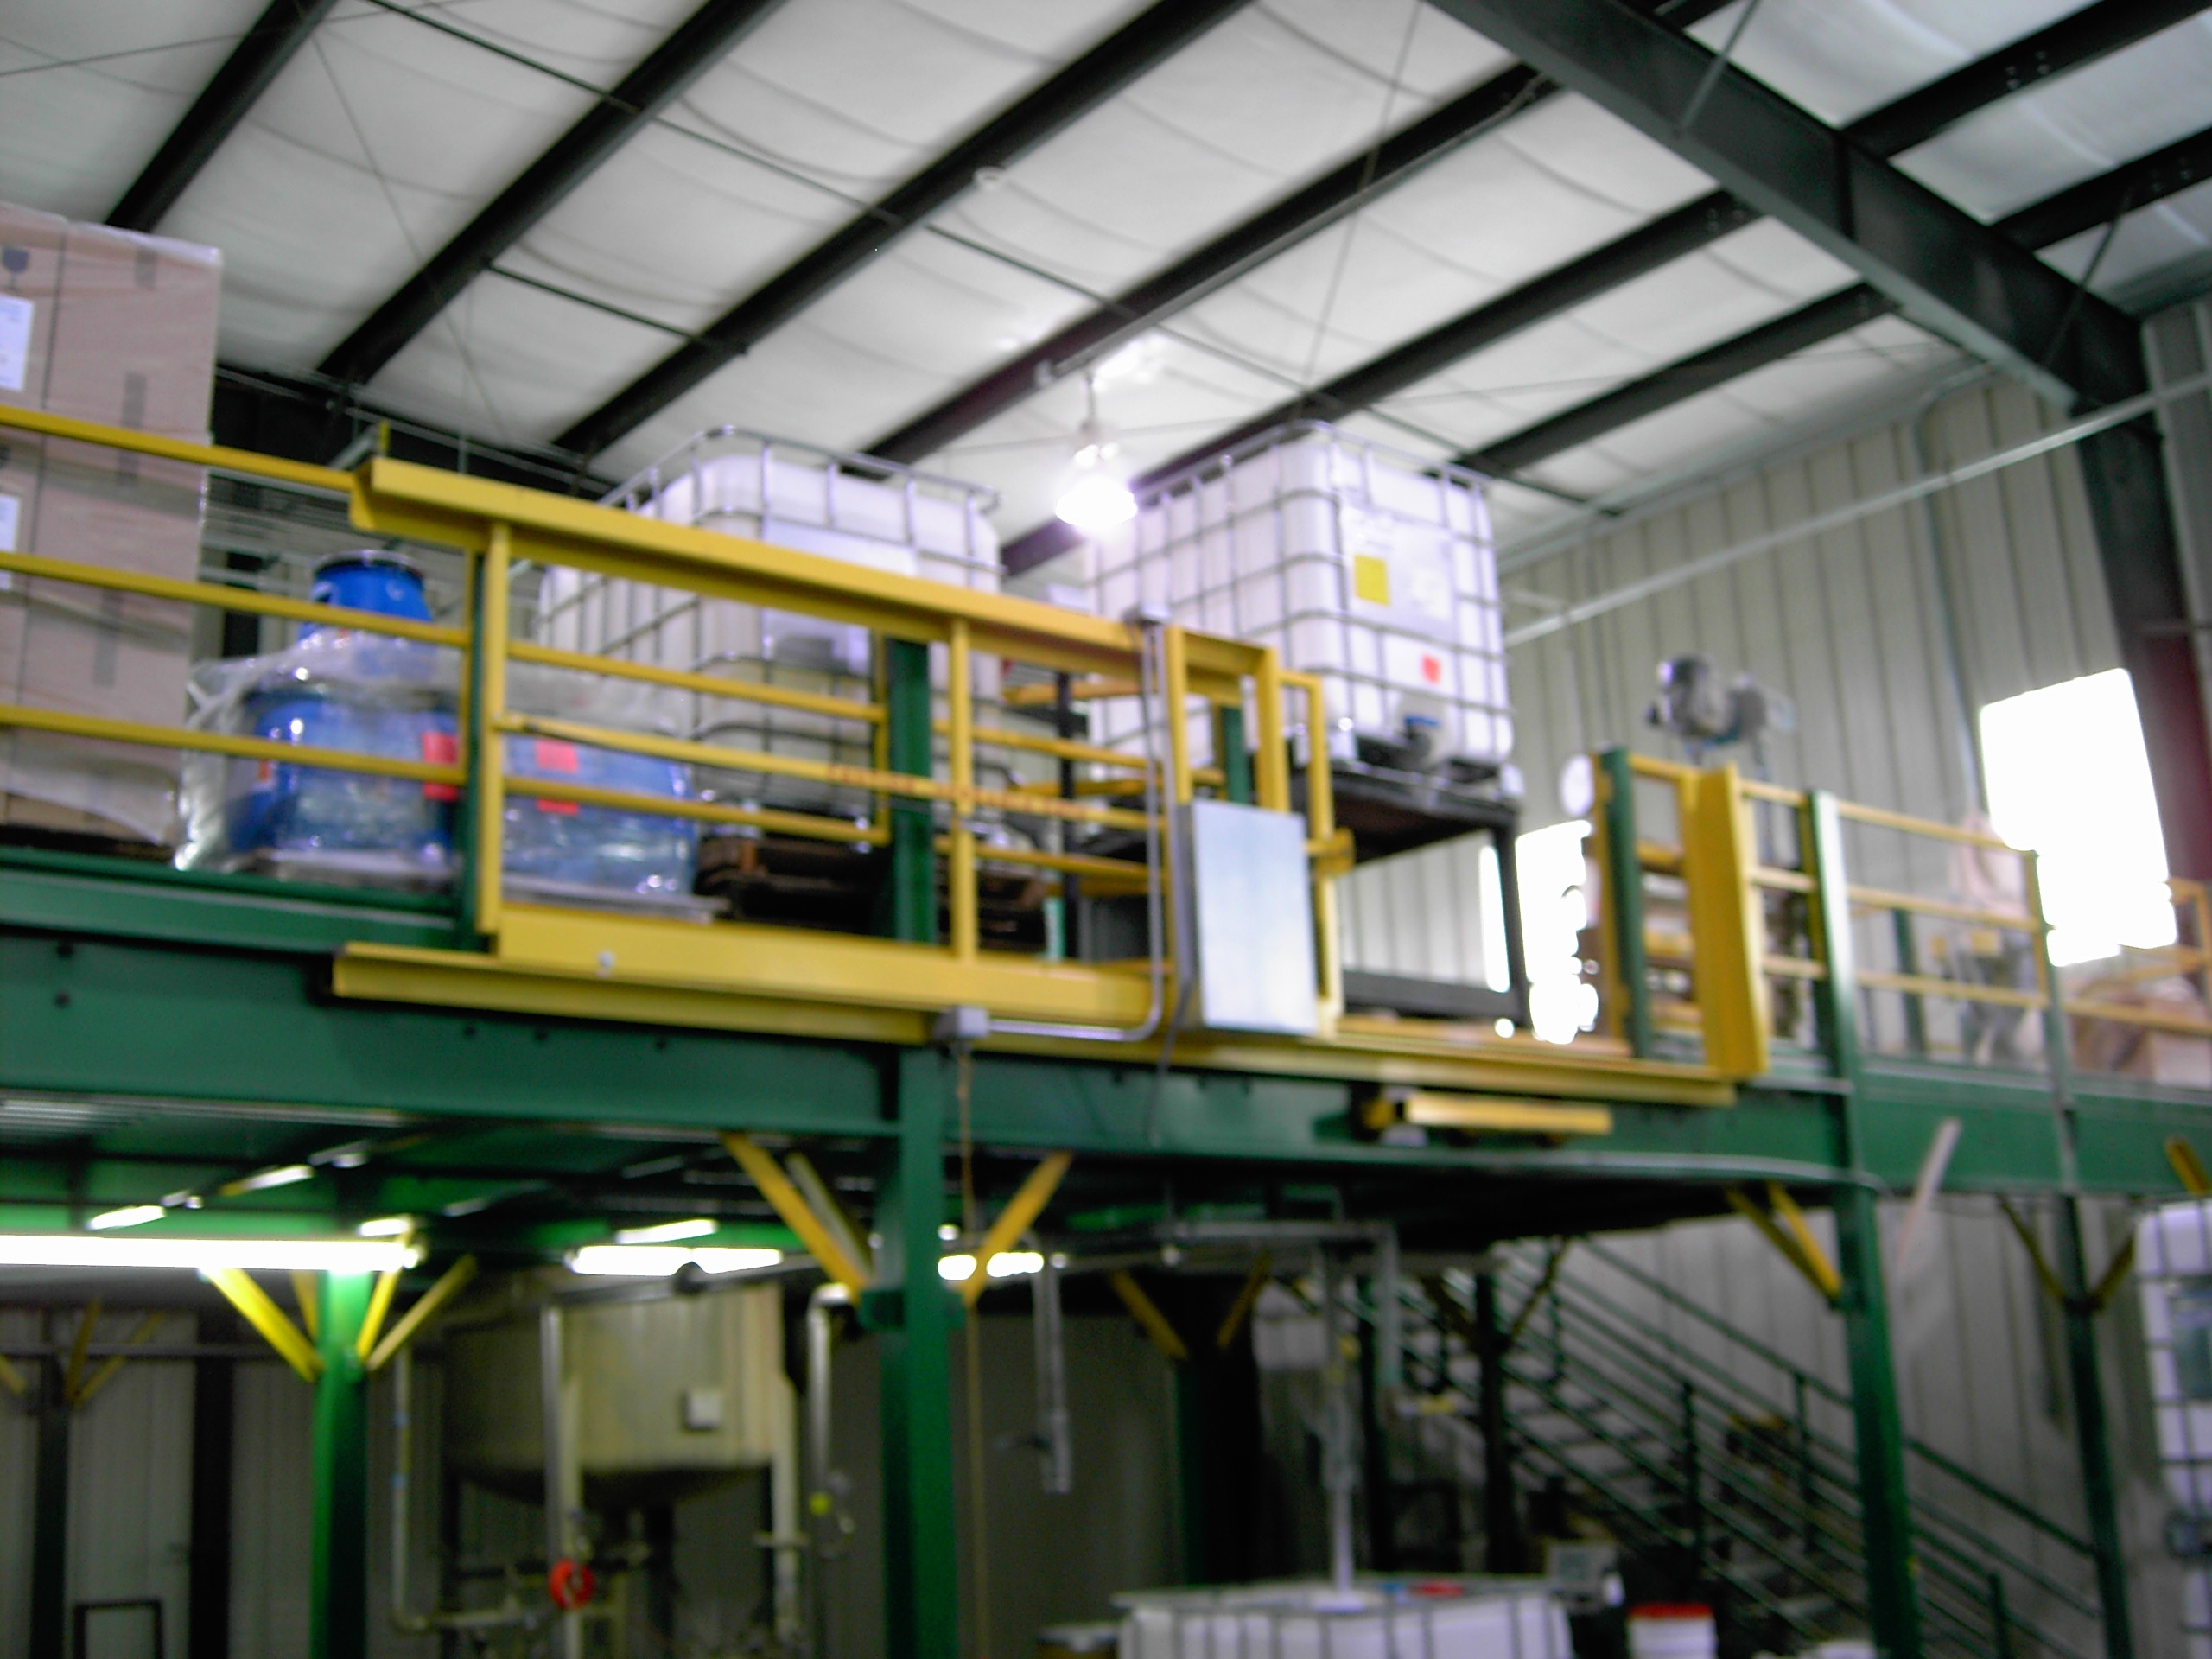
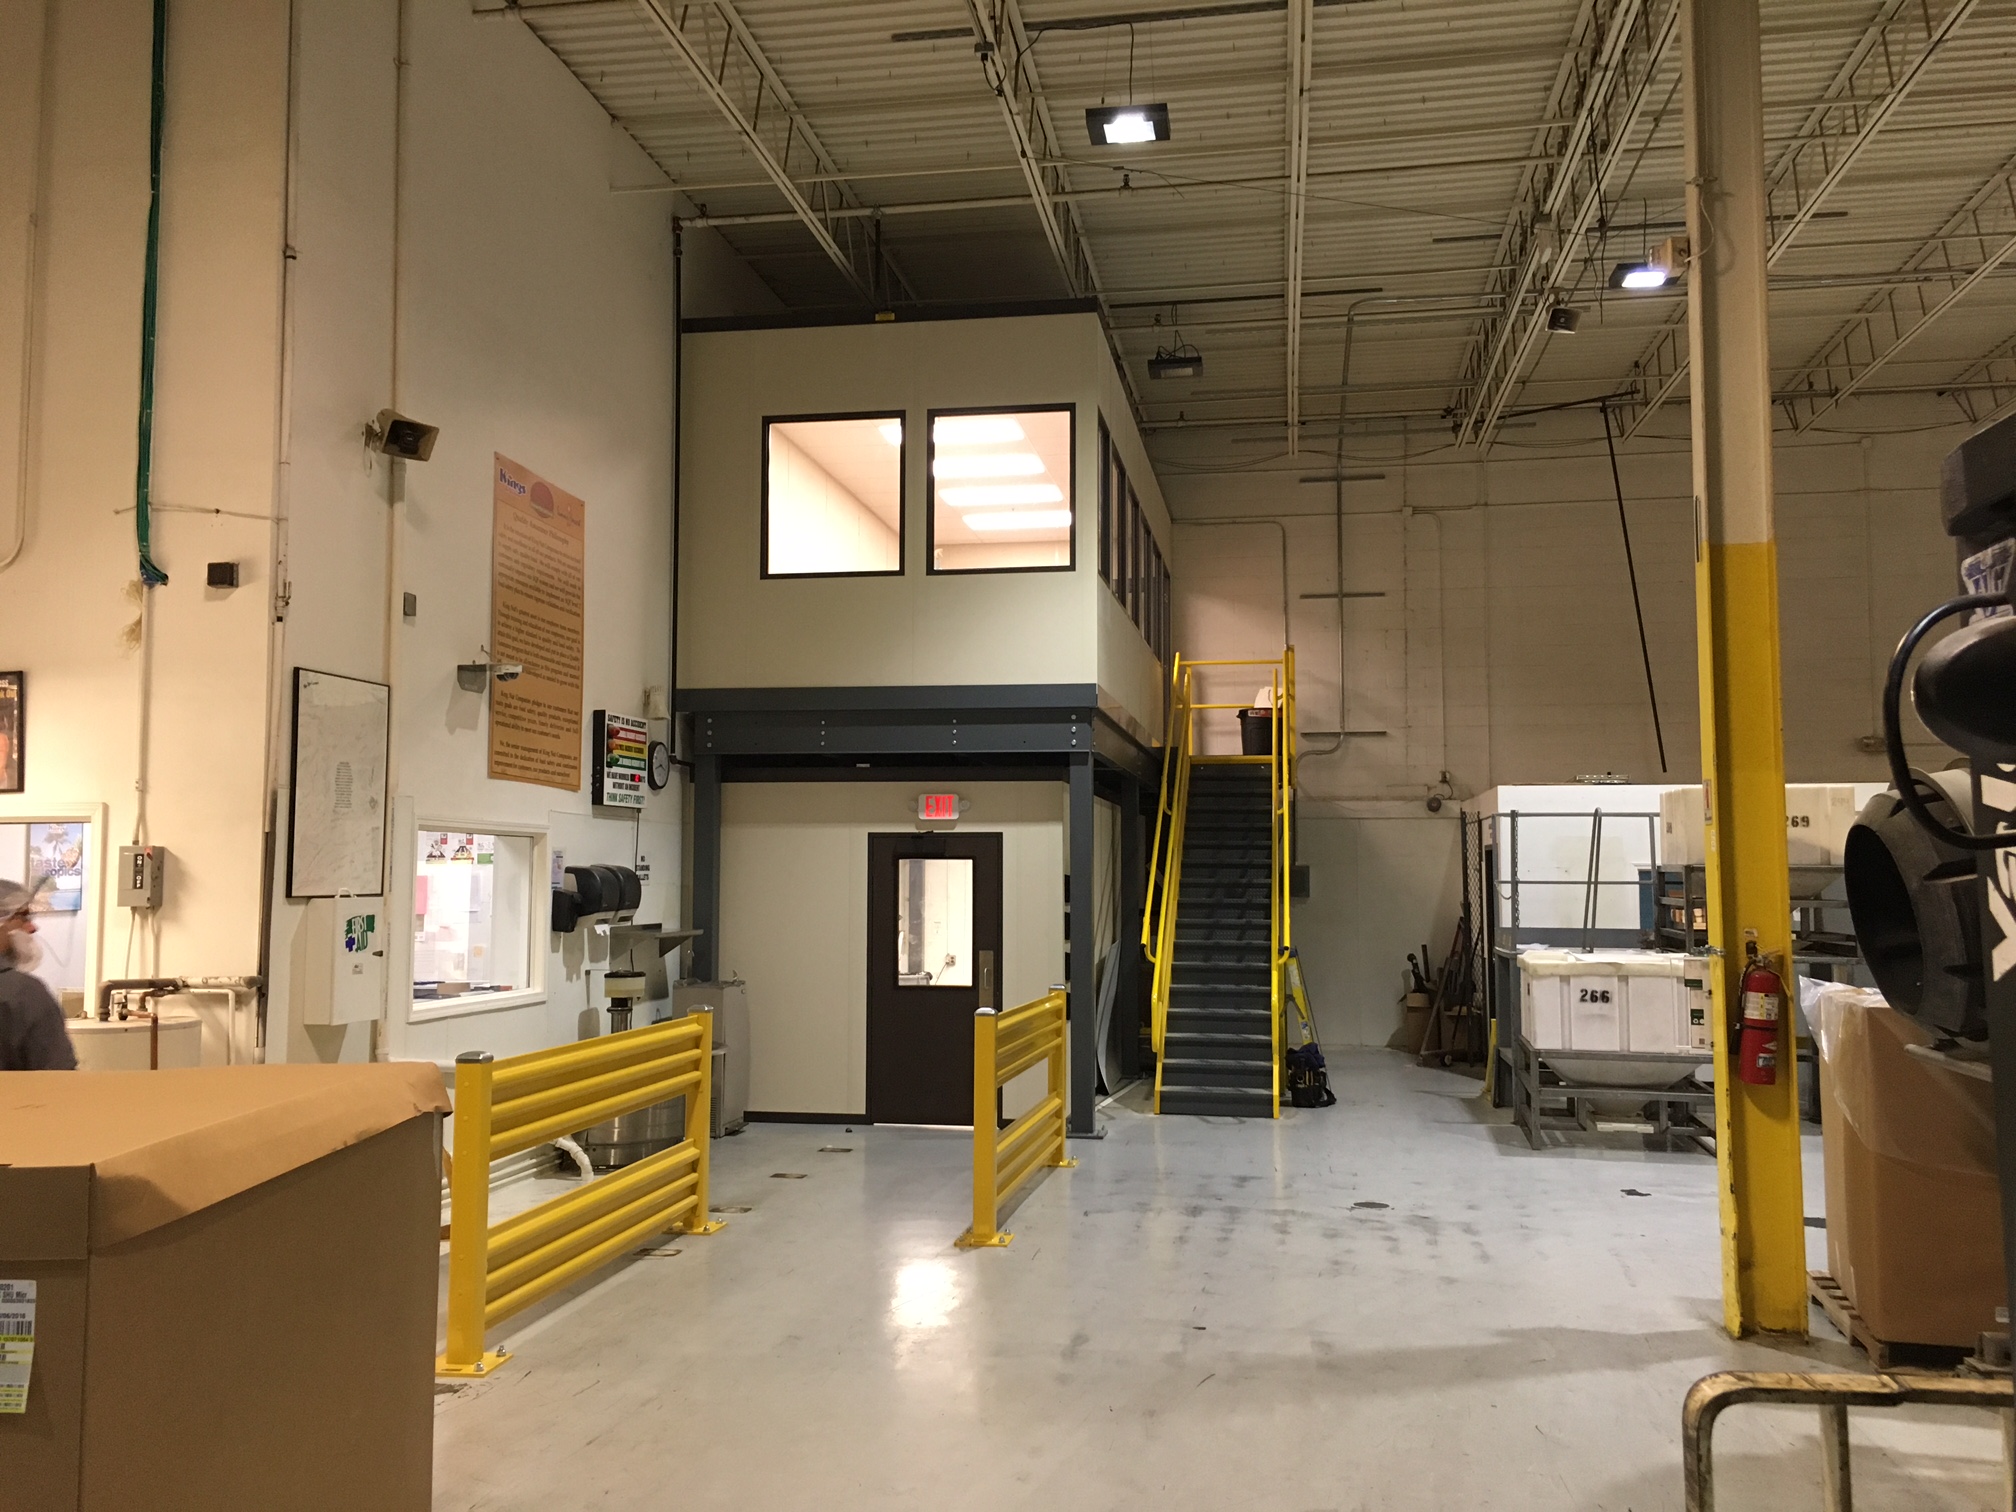
A four wall in-plant office above the mezzanine with a two wall modular building system below the deck
Recently, we have done a number of mezzanine supported in-plant offices along the perimeters of the customers’ buildings, and are often asked if we could utilize the existing building walls. The issue here, though, is that even though you might not realize it, there is some movement on the platform different from the existing building wall. These forces would weaken the structural integrity of the building system. At the ground level below the mezzanine, we can potentially utilize the existing building walls, but we would need to go with a four wall system on top of the platform.

This two wall modular building system allowed our customer to separate production from the employee entrance.
A two wall modular building system offers a number of advantages, such as the ability to utilize existing windows/wiring, as well as a cost savings from using fewer materials and labor. If you are looking at putting in some in-plant offices, it might be worth your while to consider going with a two or three wall building system.