Ahh… Spring time in Ohio. The flowers, birds, oh and MUD.
A-Mezz Ladder Install in Muddy Conditions
We got a call from a builder with with a newly constructed structure – so new that there was no paved access yet – and they needed a ladder to gain access to their HVAC rooftop units. The building height was over 30’ and we had some options on how to access the roof based on OSHA’s new regulations.
The first option was a straight, uncaged ladder 35’ high with a personal fall protection cable. That is the new OSHA requirement on all climbs over 24’. The pros of the cable/track systems are that the climber wears a harness and clips onto the fall arrest system so that if he falls, the system stops his fall. The downside is those systems require the climber to have a harness and proper equipment to utilize the cable/track.
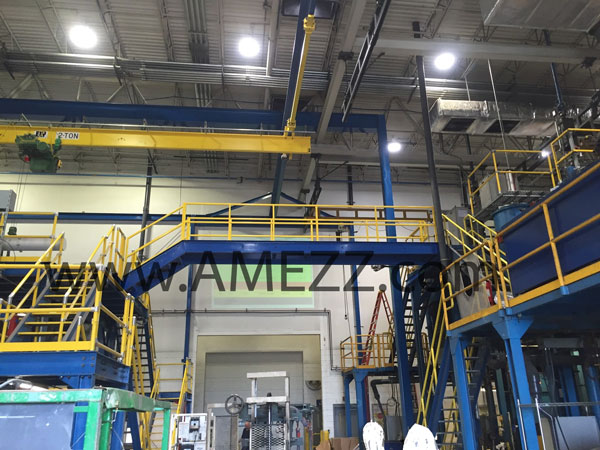
For this site the customer chose to go with the second option. We used a lower, uncaged ladder to get them up to a mid landing under 20’h. Then we used a second ladder with cage to climb from the intermediate landing to the upper roof. This setup was slightly more expensive up front but did not require the purchase of additional harnesses, trolleys and maintenance that the personal fall arrest systems required. Additionally, the cage is always there. This provides a safety benefit always, whereas the personal fall arrest systems only provide a safety benefit if the climber is wearing a harness and has the proper equipment. By utilizing the intermediate platform, no climb between platforms is over 24’ so the customer will not have to retrofit their ladders with personal fall arrest systems in 18 years when OSHA’s grandfather rules expire for existing ladder systems.
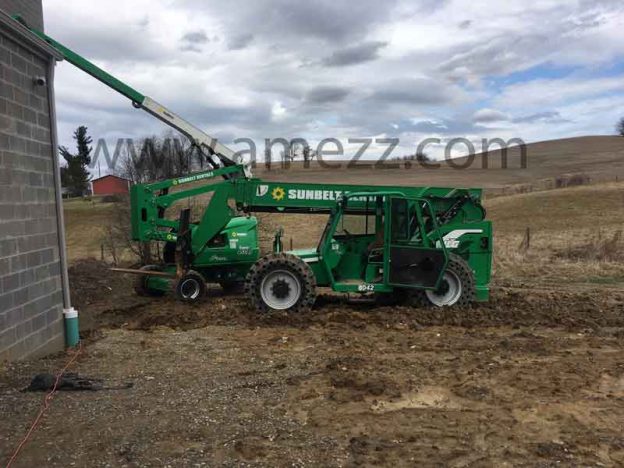
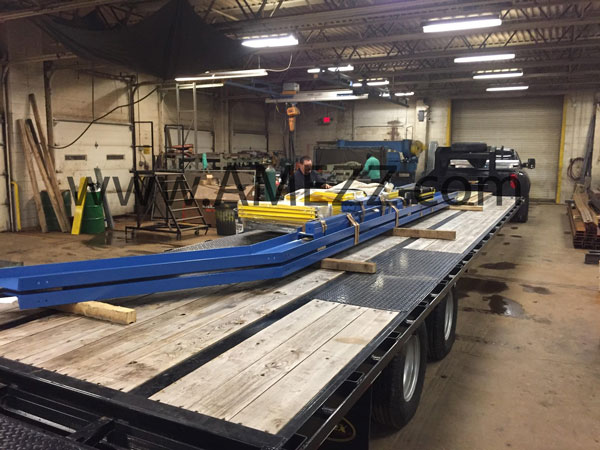
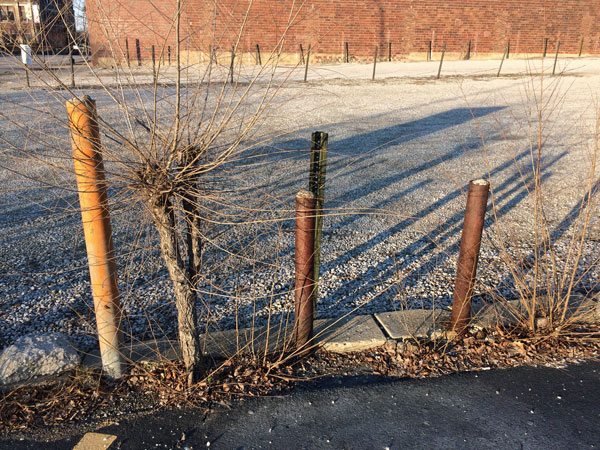
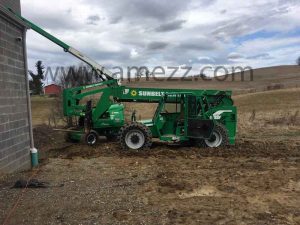
We had to hold off on install for a couple weeks as the ground thawed early in Ohio and there was way too much mud for our equipment to get to the install location. Luckily we caught a break and a few dry sunny days slightly helped dry out the site – being Ohio, if we didn’t get out to the site when we did, the spring rains could have pushed things off for months until things dried up.
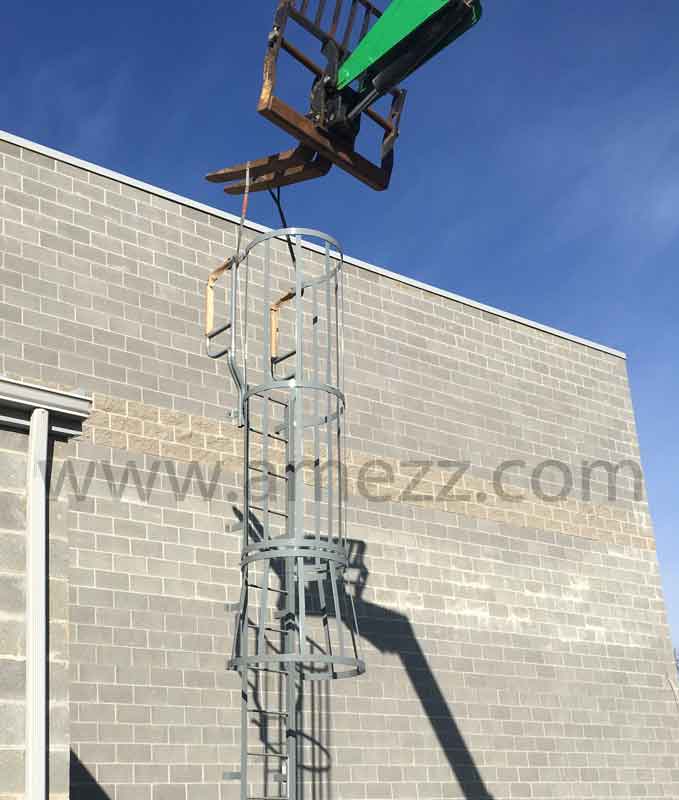
Trying not to bury our axels in the mud, we got the upper ladder into place and worked down from there.
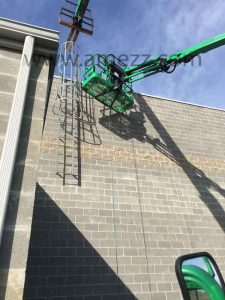
Upper Caged Ladder Being Lifted into Position
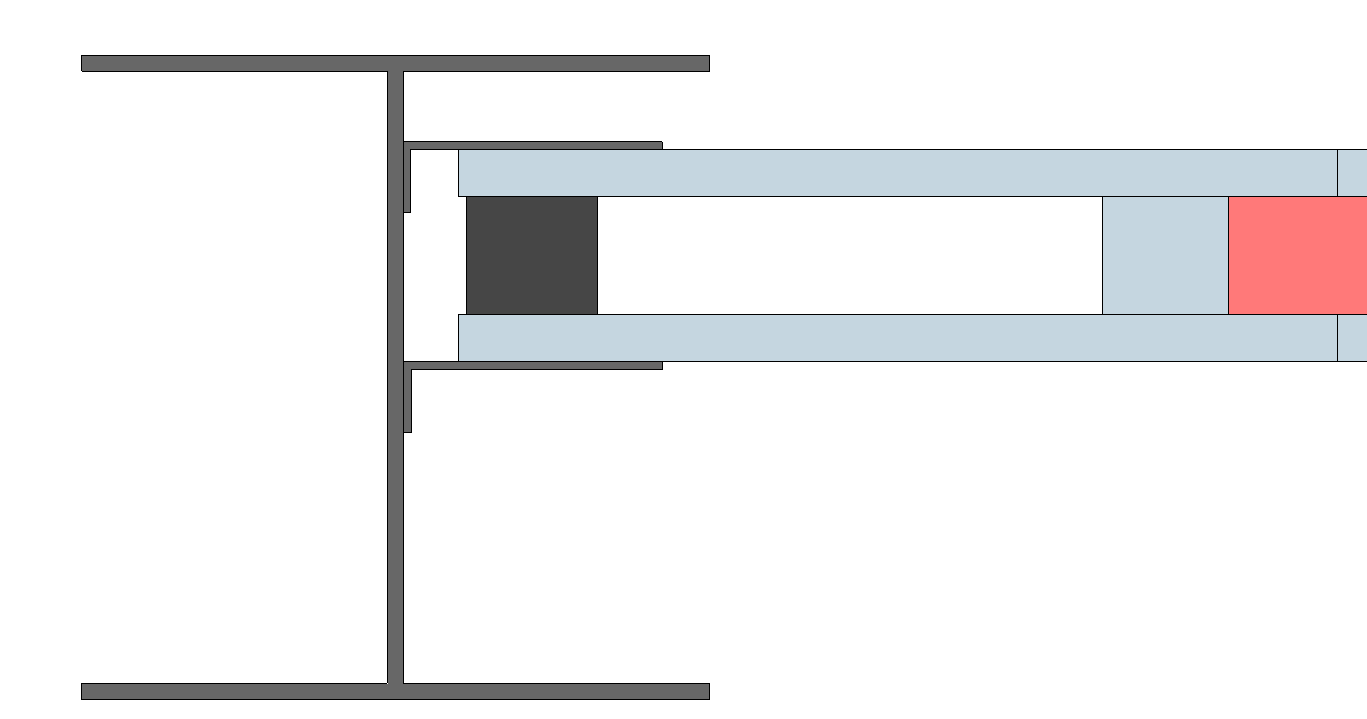
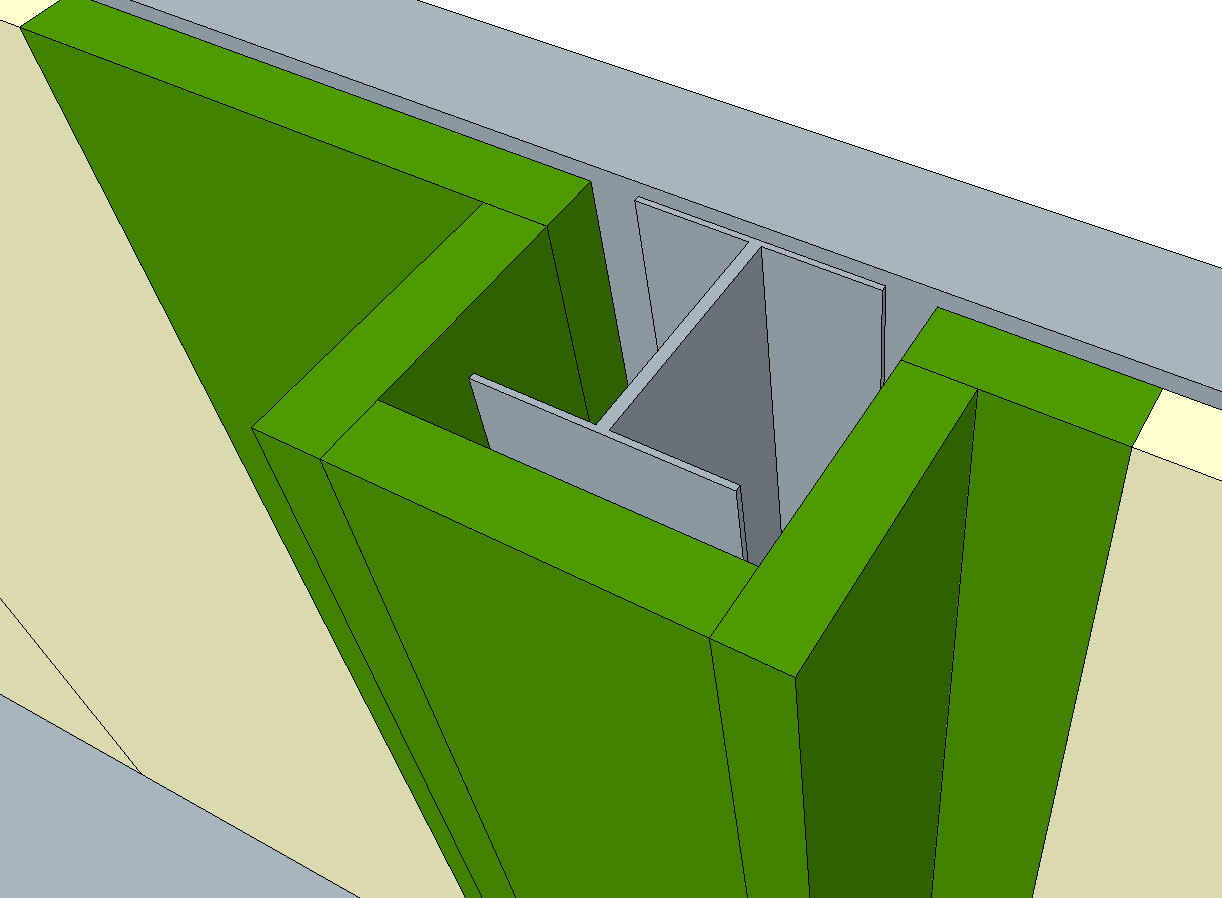
We fabricated the upper ladder with our self support walk-through handrail because the wall included a short parapet and we didn’t want to have the ladder setting on the metal capping.

Self supported walk-through handrail detail
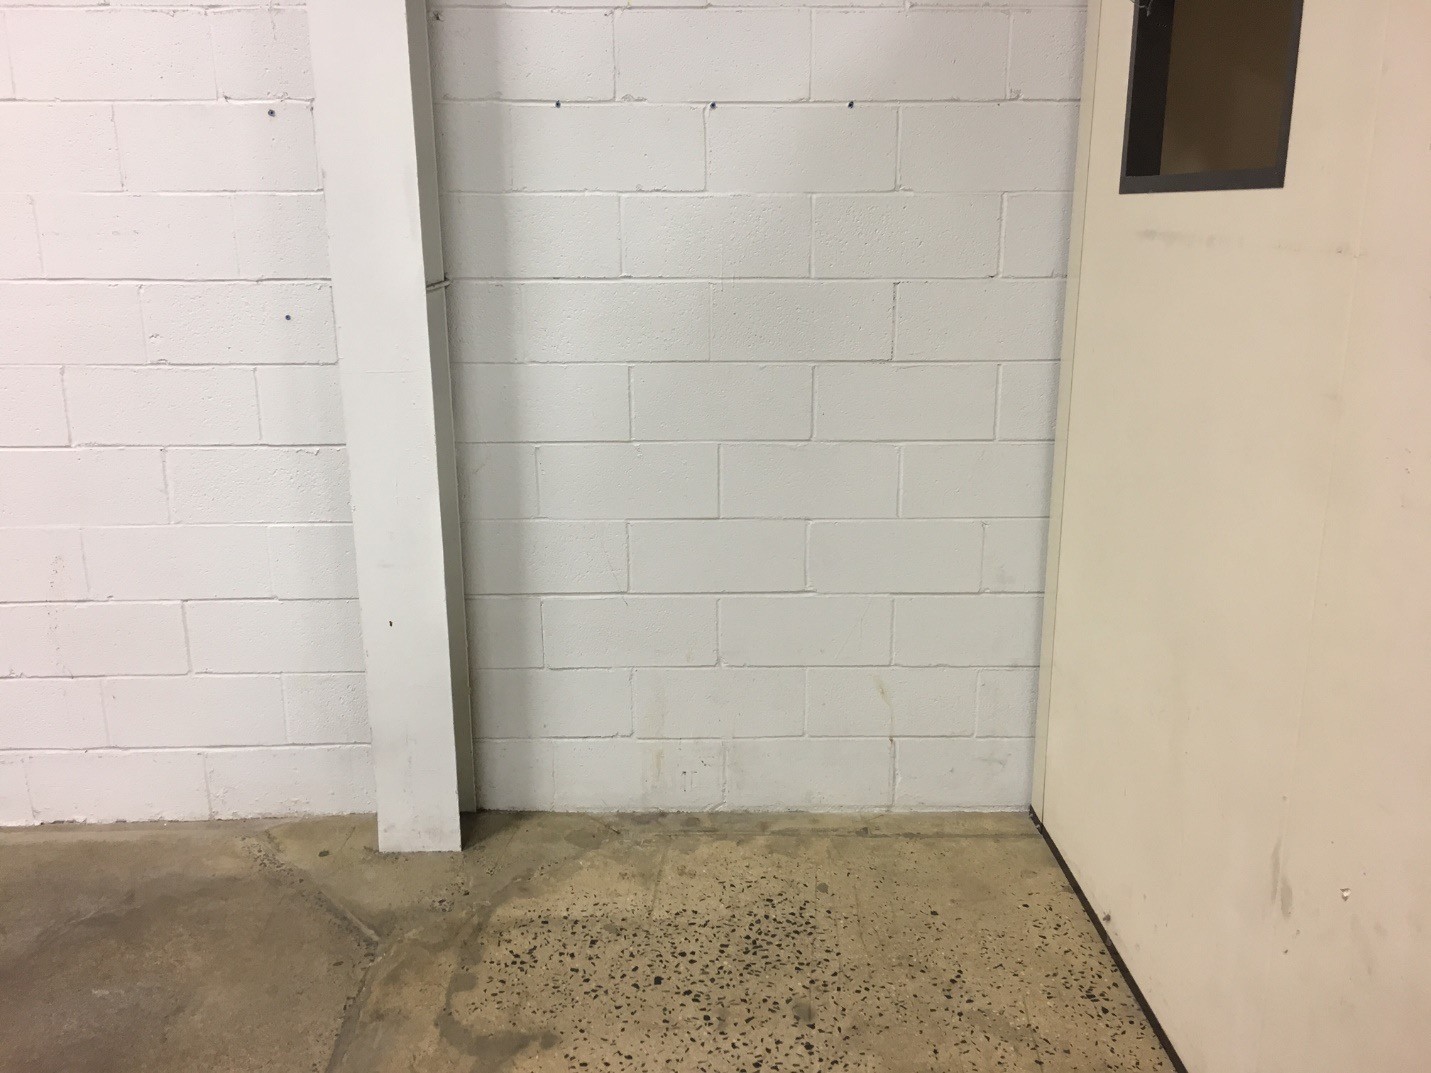
On the lower ladder we included our lockable rung door so that unauthorized people could not climb the ladder.
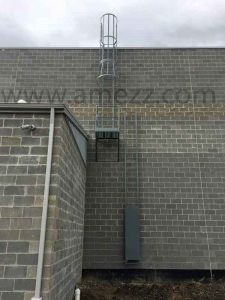
Completed Installation of Ladder System
With a crew of two men and one morning, the ladder system was installed (despite the mud) and the customer has safe, OSHA and ANSI compliant access to their roof. A-Mezz took care of everything from design, detail, fabrication and installation and we were able to educate the customer on all of their options and costs. The project was done on time for the amount budgeted.