We recently were called out to a site with a corrosive environment that was in need of replacement stair rails as all of the original handrails were rusting and in disrepair. The paint was almost all chipped up, and some areas of the handrails were so corroded you had to choose between risking a fall by not grabbing the stair handrails, and grabbing the handrails but risking the need for a tetanus shot.
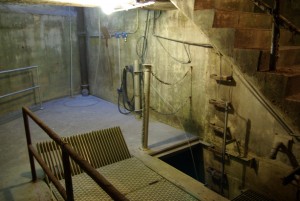
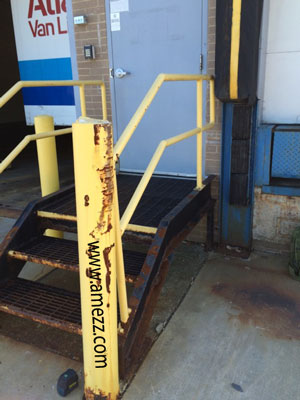
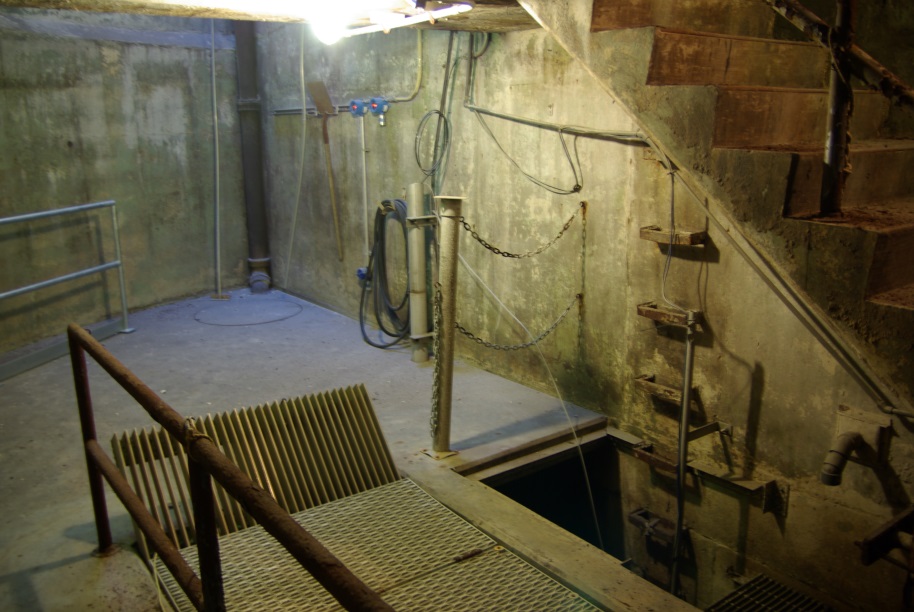
Existing railings corroded from damp environment
The above picture shows the lowest section with a bollard and chain assembly “protecting” the pit ladder that is bent, corroded and weakened at the base. It also doesn’t meet OSHA standards for rail heights or strength at top rail. You can also see the rusted handrail and stair rail. Anytime you have a damp environment it’s best to use a material besides carbon steel – Galvanized steel, aluminum or stainless steel all perform much better over time. Remember that corrosion doesn’t just make the metals look bad, but it also weakens them, substantially lessening their lifetime usability. Sure, the other metal options cost more than plain carbon steel, but when you have to replace the material before its time you have to pay for demo of the inferior material, fabrication of the new material, installation of the new material and have the lost time from the job being out of service during that process.

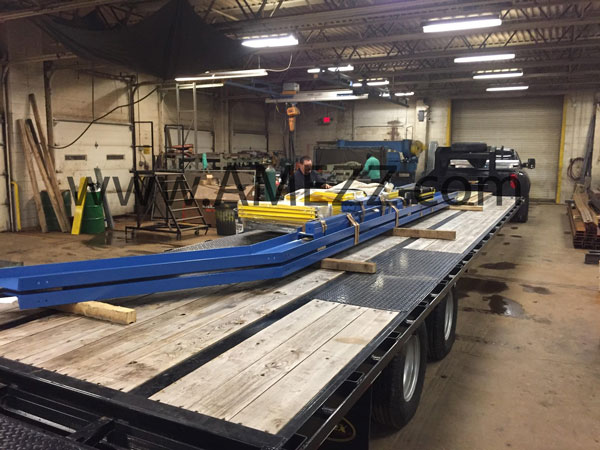
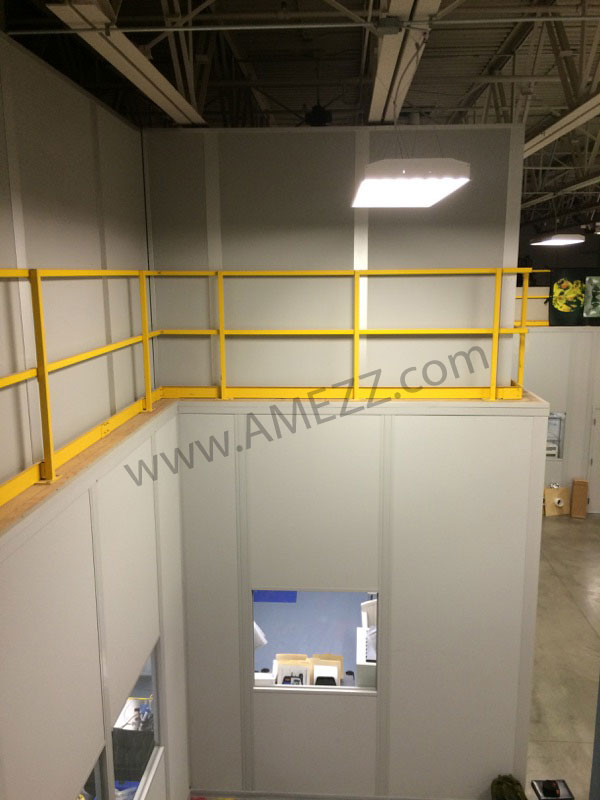
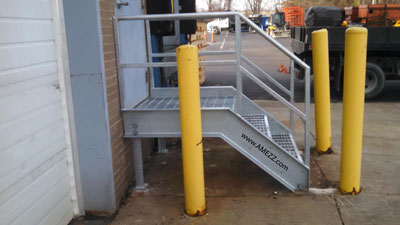
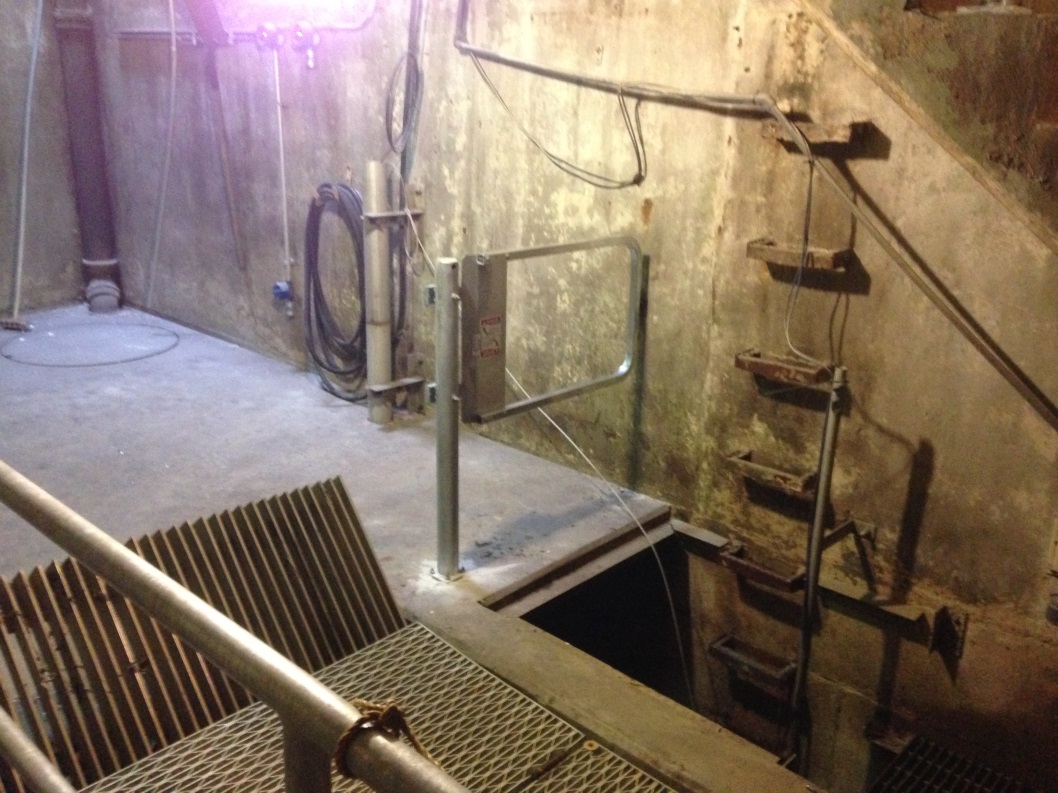
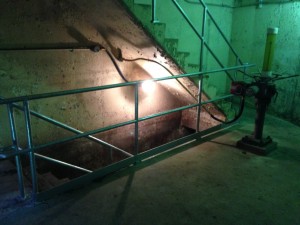
New replacement hot dipped galvanized railings and safety gate
Here is the same view after we finished. We removed the bollard and replaced it with one with a more sturdy post and baseplate. The chains were removed and replaced with our MLG Ladder Safety Gate with a hot dipped galvanized finish. The new set-up is going to stand up to the moist, caustic environment much better and easily meets OSHA standards for guarding at a ladderway opening.
29 CFR 1910.23 Guarding of floor and wall openings and holes. “(a)(2) Every ladderway floor opening or platform shall be guarded by a standard railing with standard toe board on all exposed sides (except at entrance to opening), with passage through the railing either provided with a swing gate or so offset that a person cannot walk directly into the opening.”
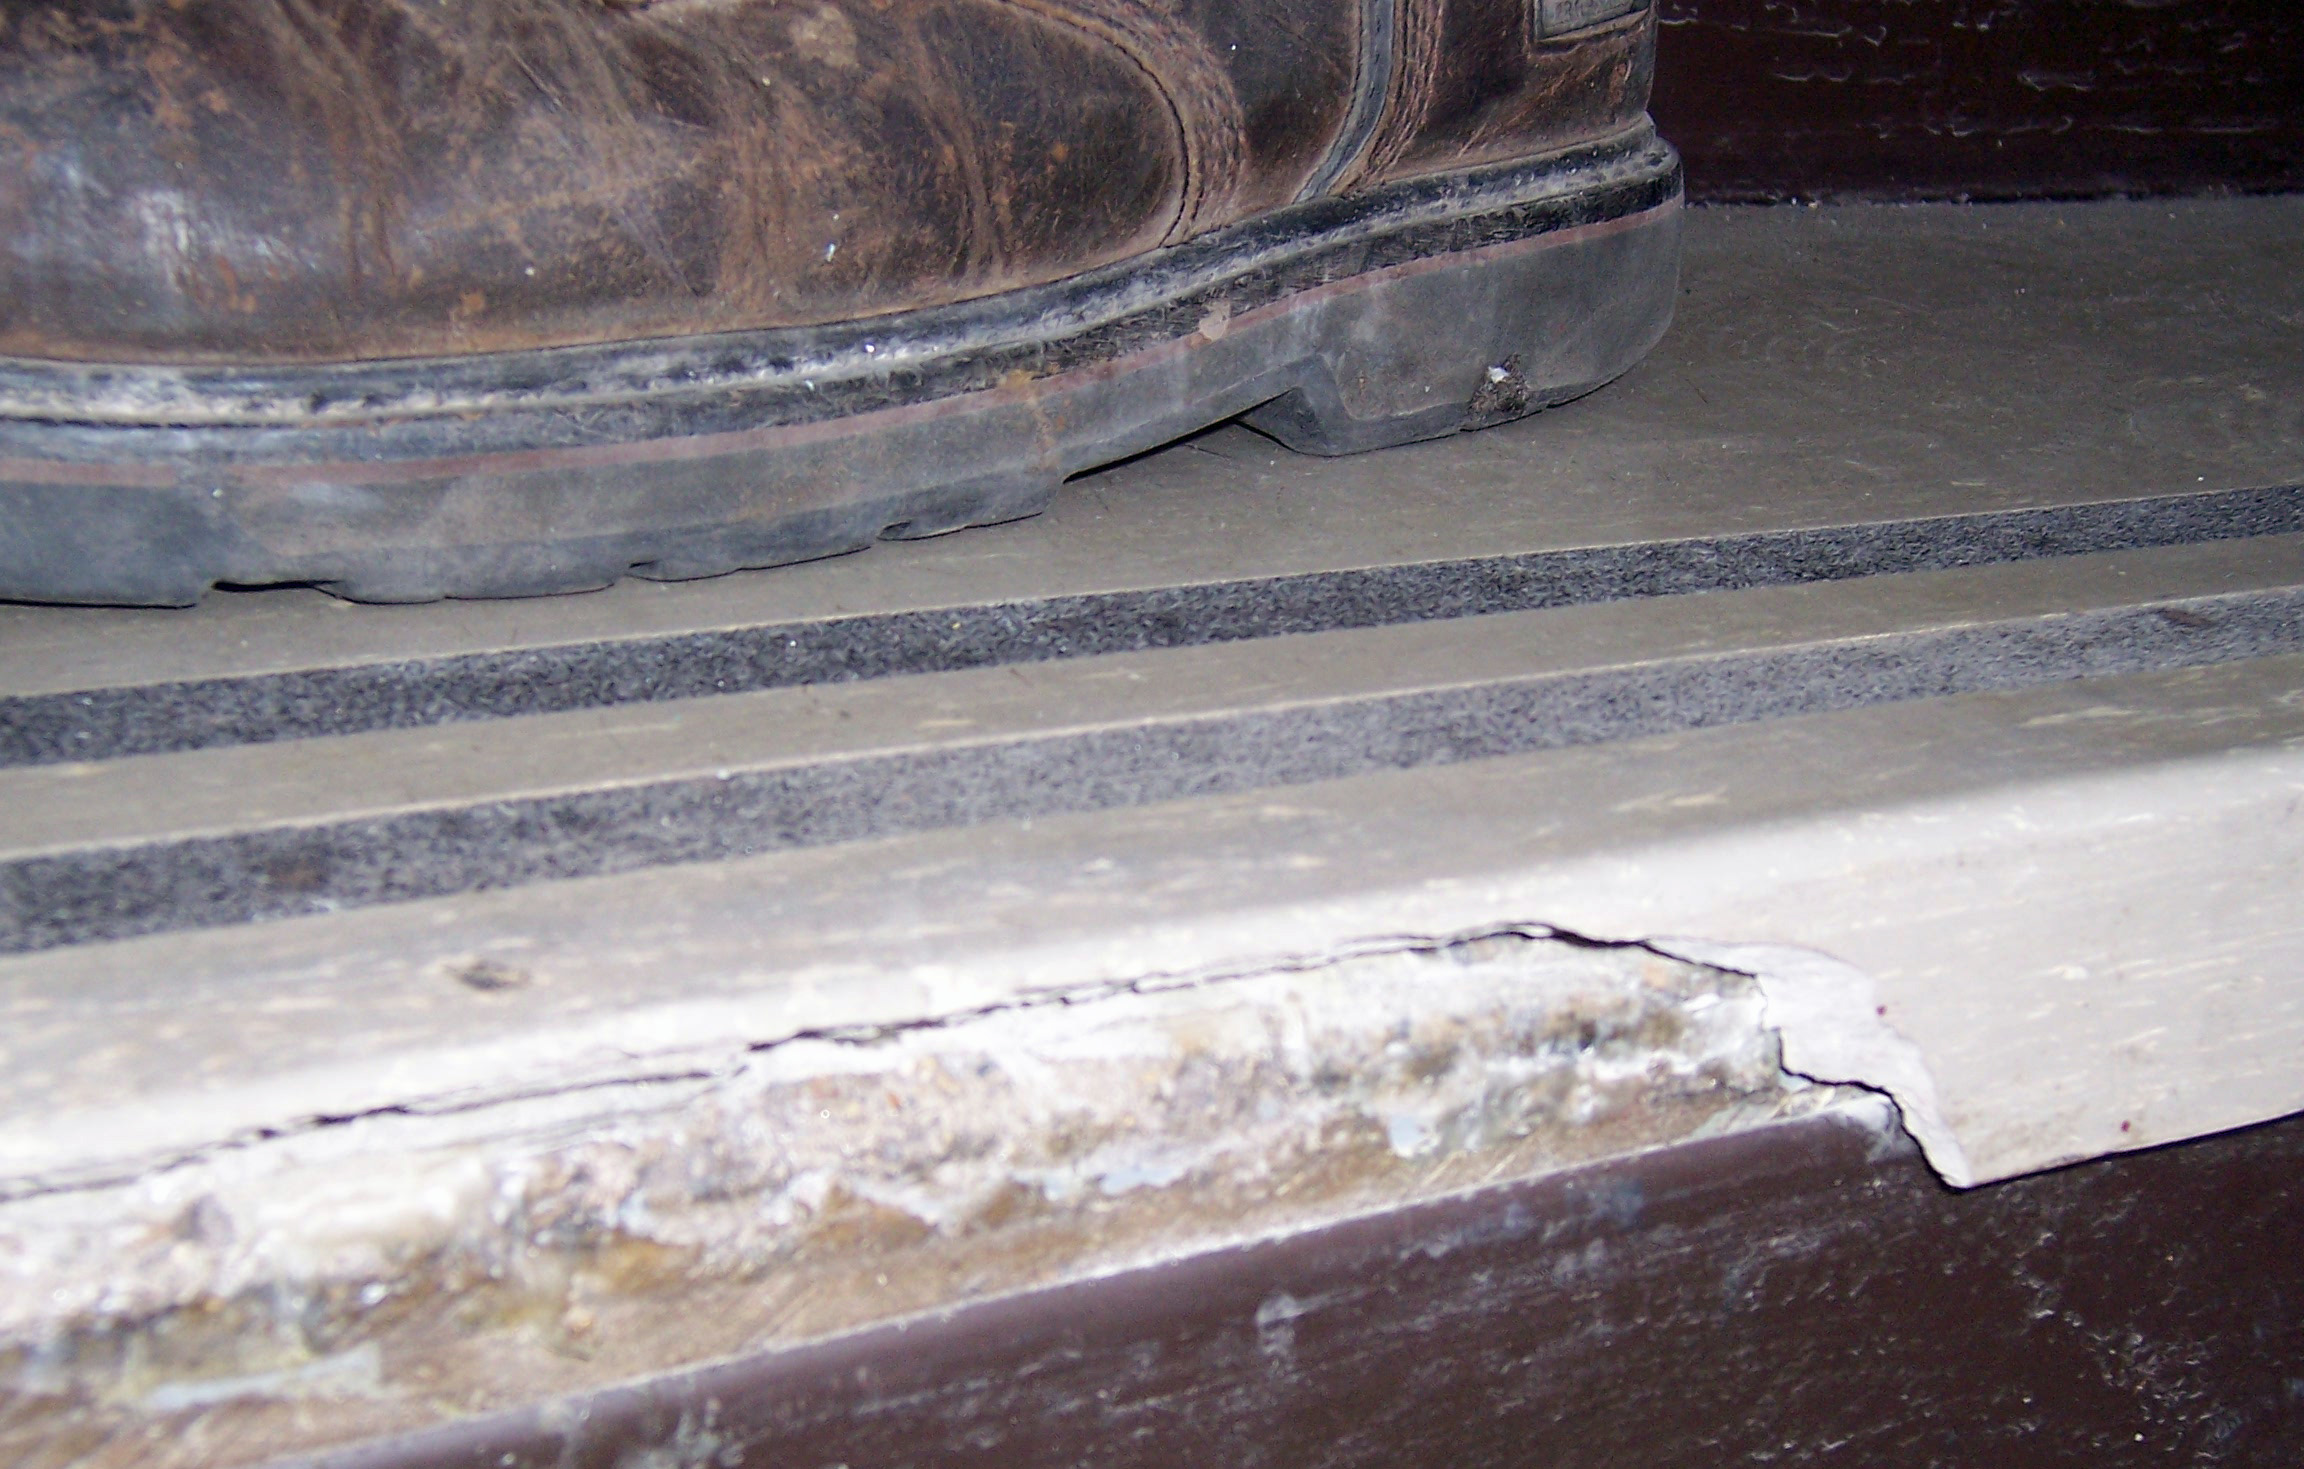
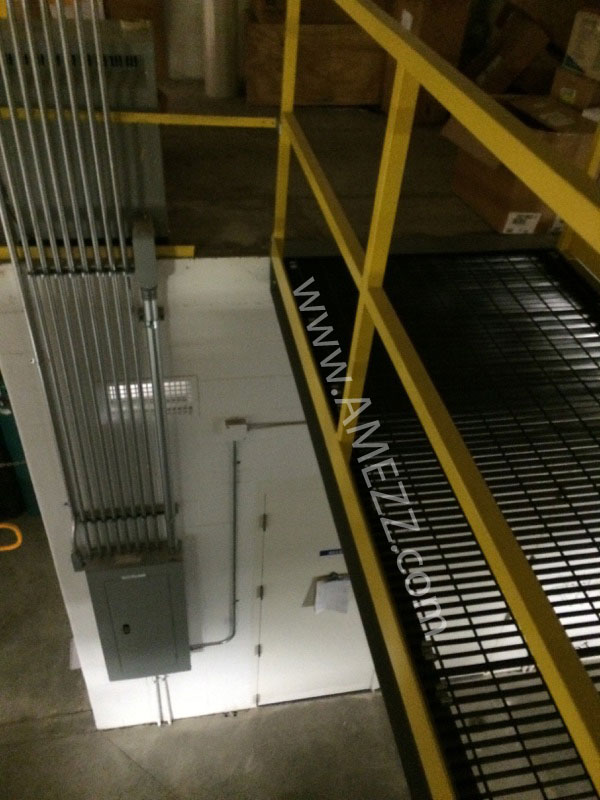
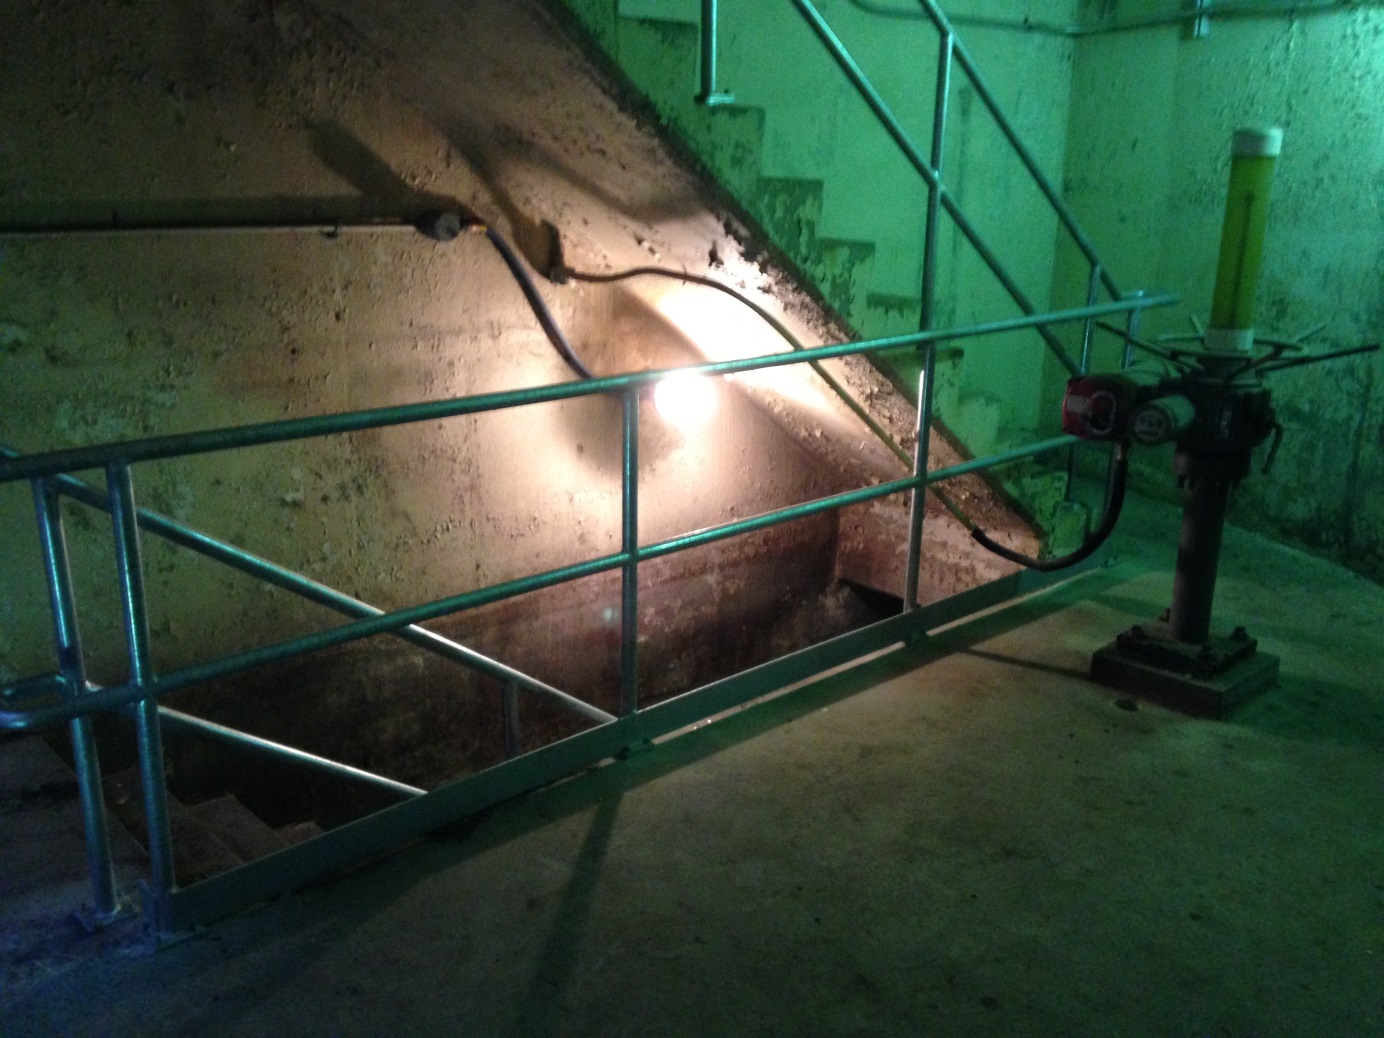
New rails with OSHA required toe guard to prevent items from falling over the edge
All of the new handrails were done to OSHA standards with a 4” toe kick at the bottom, a 21” mid rail and a 42” top rail. Along the stairs, the stair rails were 34” high from the edge of the nosing. There was no wall mounted rail as the stair width is less than 44” wide and there is only one open side.
29 CFR 1910.23 (d) Stairway railings and guards. “(1)(ii) On stairways less than 44 inches wide having one side open, at least one stair railing on open side.”
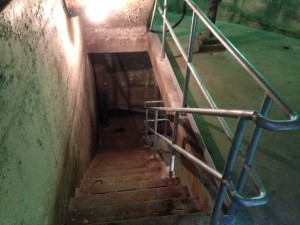
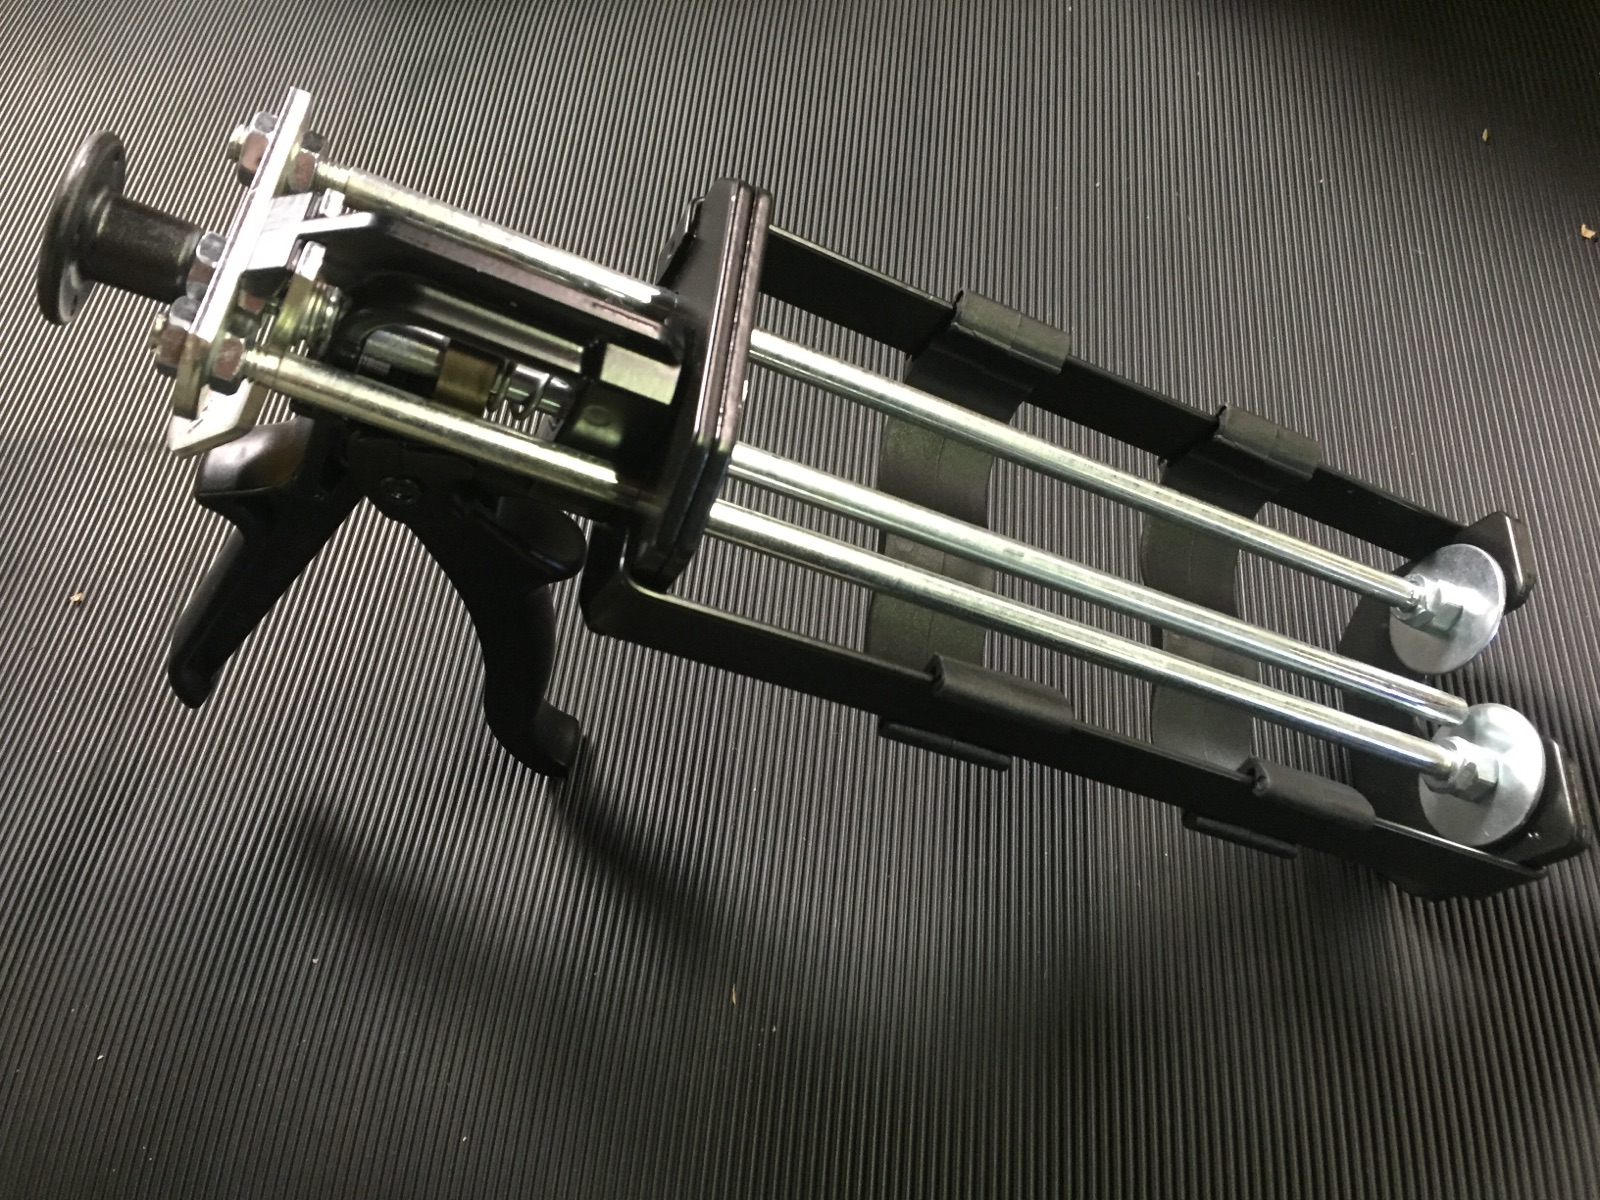
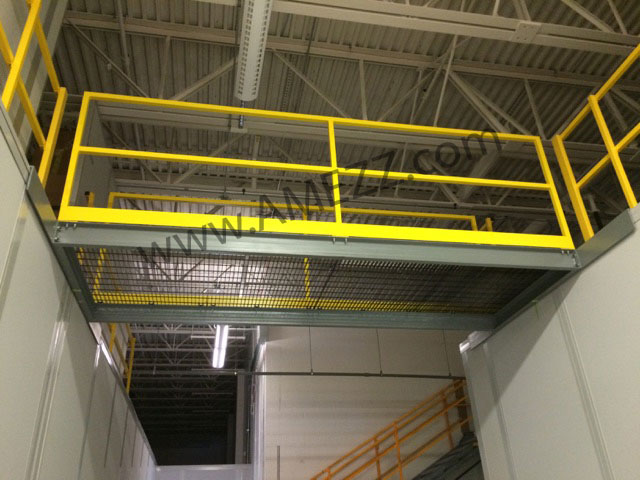
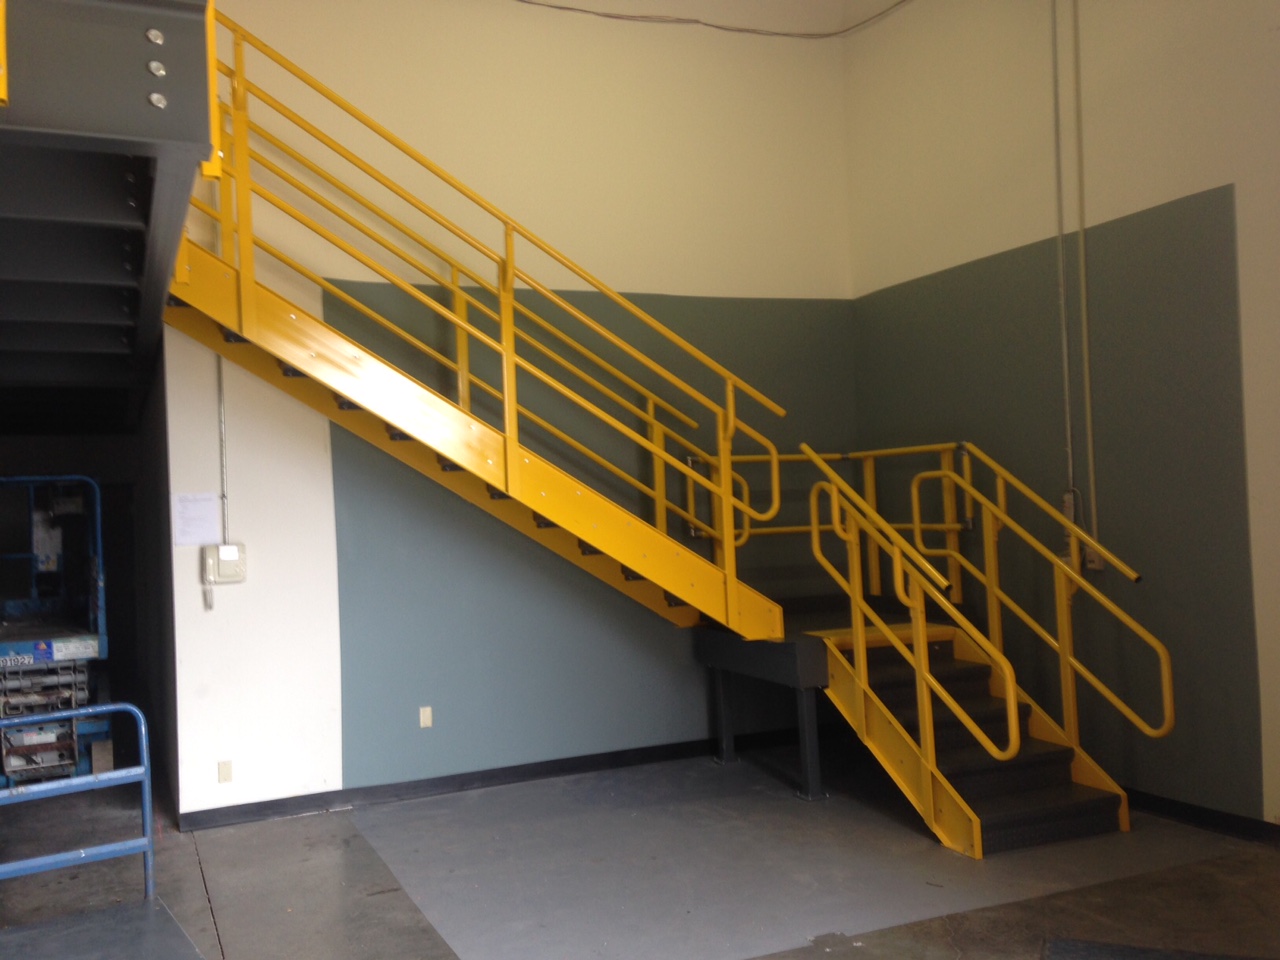
Smooth, continuous handrail to maintain contact with rail throughout the climb
The replacement stair rails are designed for a seamless transition between flights, allowing someone to slide their hand from the top rail to the bottom of the stairs without letting go of the rail. This gives a nice, clean look and also allows for safer access and increased strength of rails. Added strength also comes from the baseplate design with a four bolt pattern to maximize rail strength and minimize movement regardless of where pressure is applied front, back, top etc.
There were some unique challenges to this project with the winding rails, but with proper site dimensions and knowing the details about the installation environment, it was quite easy to supply this customer with replacement rails that fit and will last them a lot longer than their previous set.