By Derick
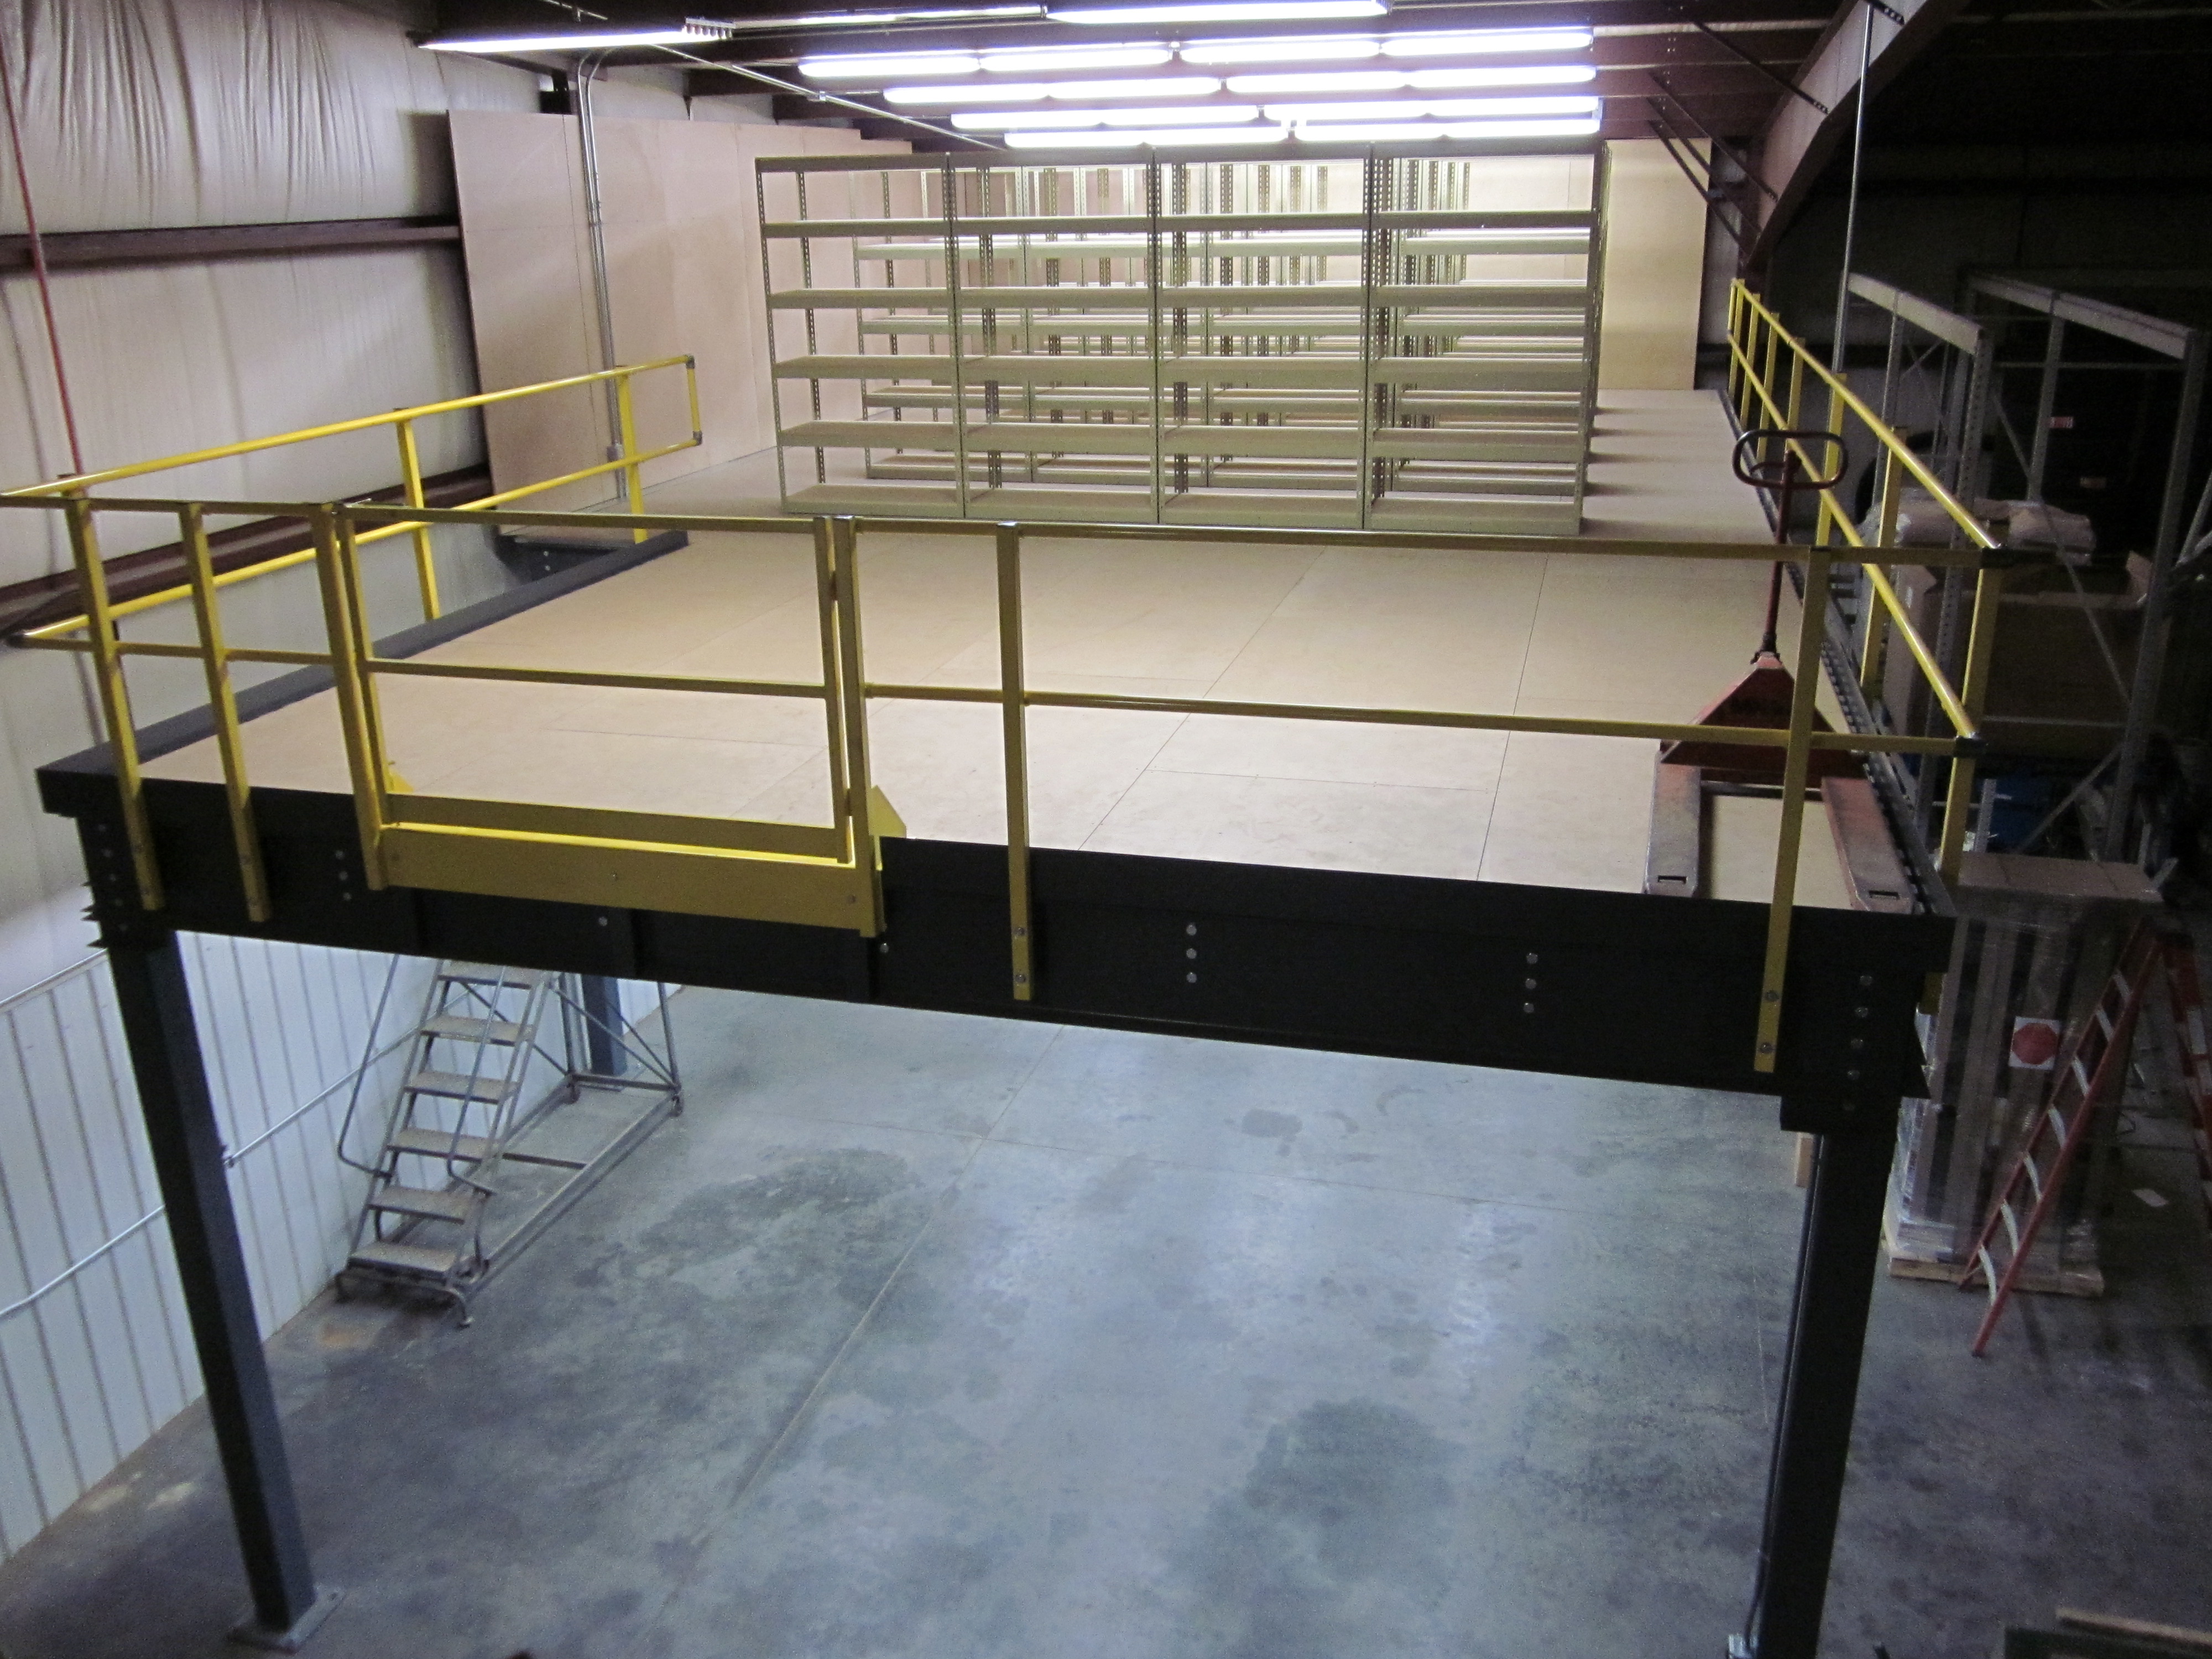
Front topside view of the completed parts storage mezzanine
We’re often asked by customers if they’re able to install their mezzanine order on their own. The following series of pictures were sent to us from a customer who did just that, and should provide you with a general idea of what a mezzanine installation entails.
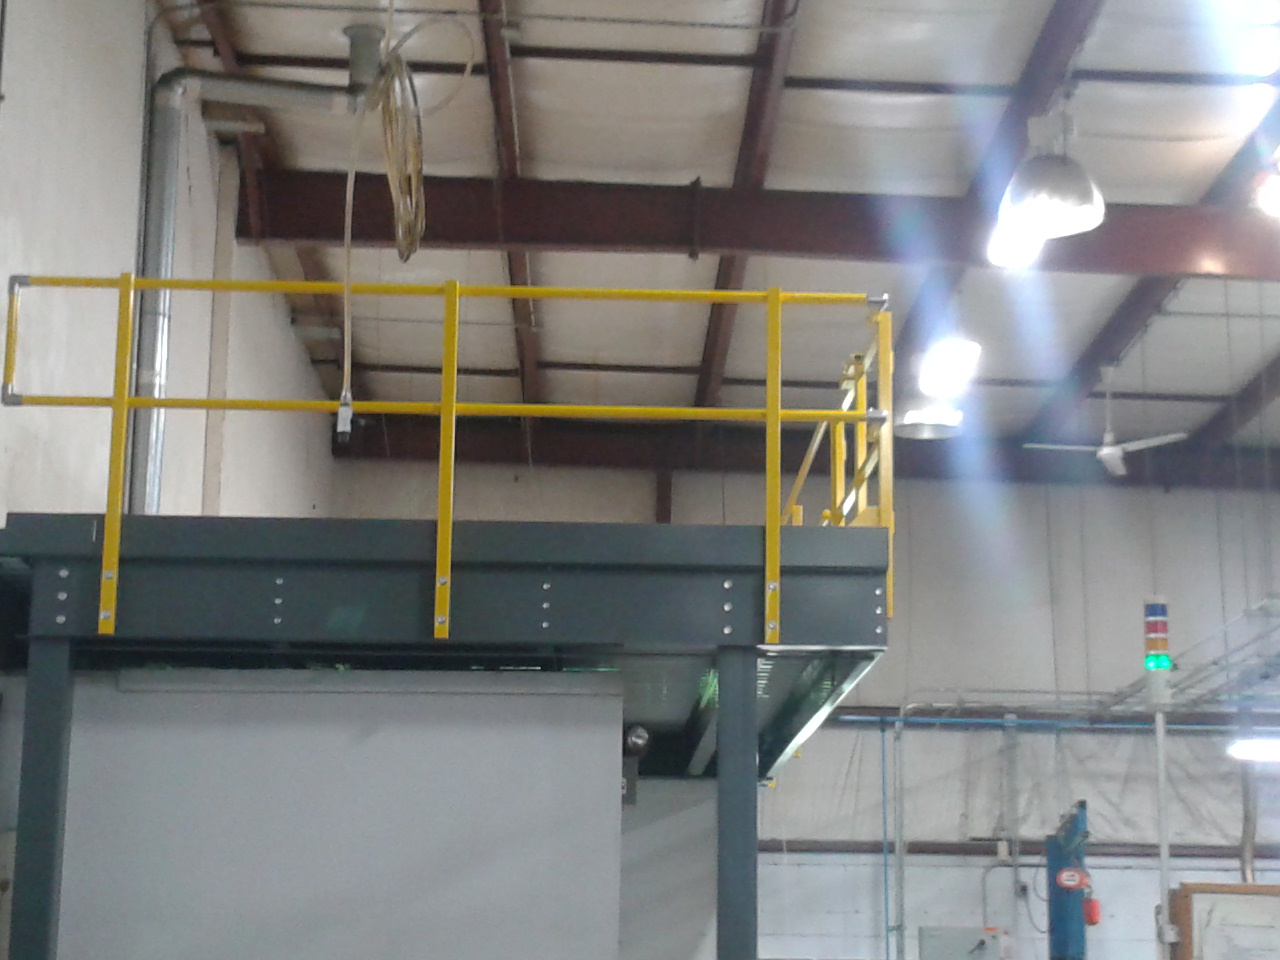
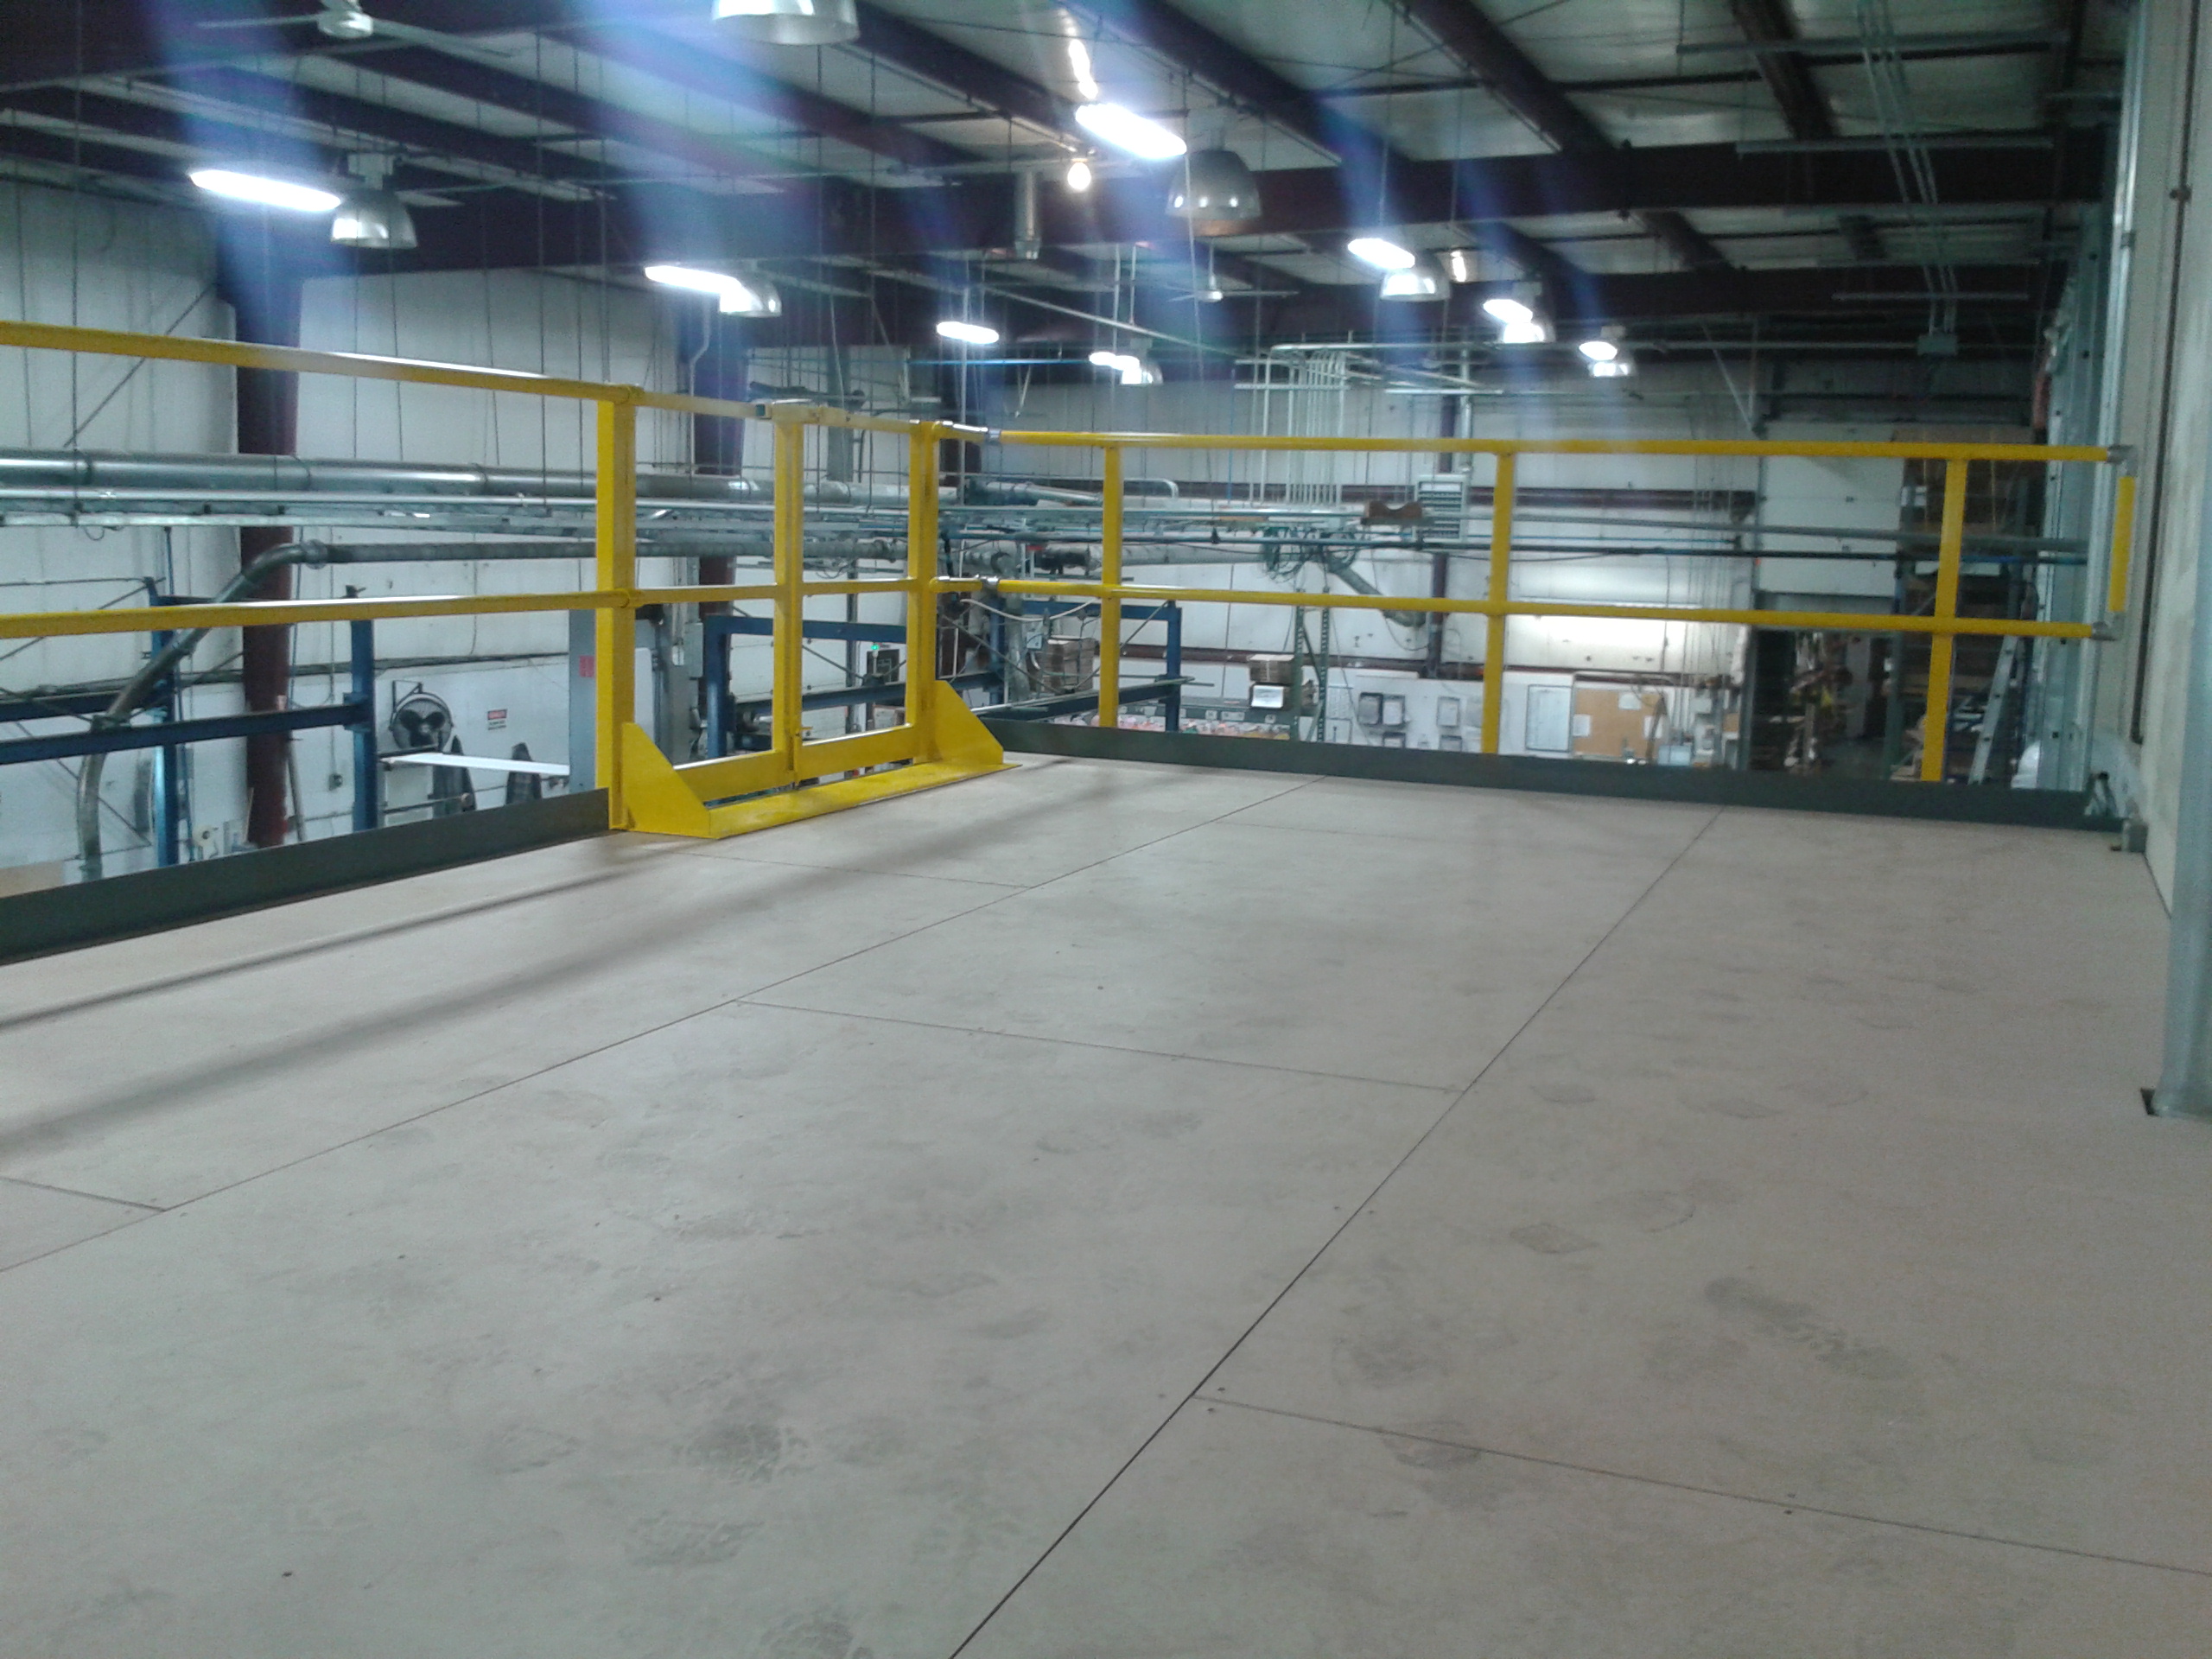
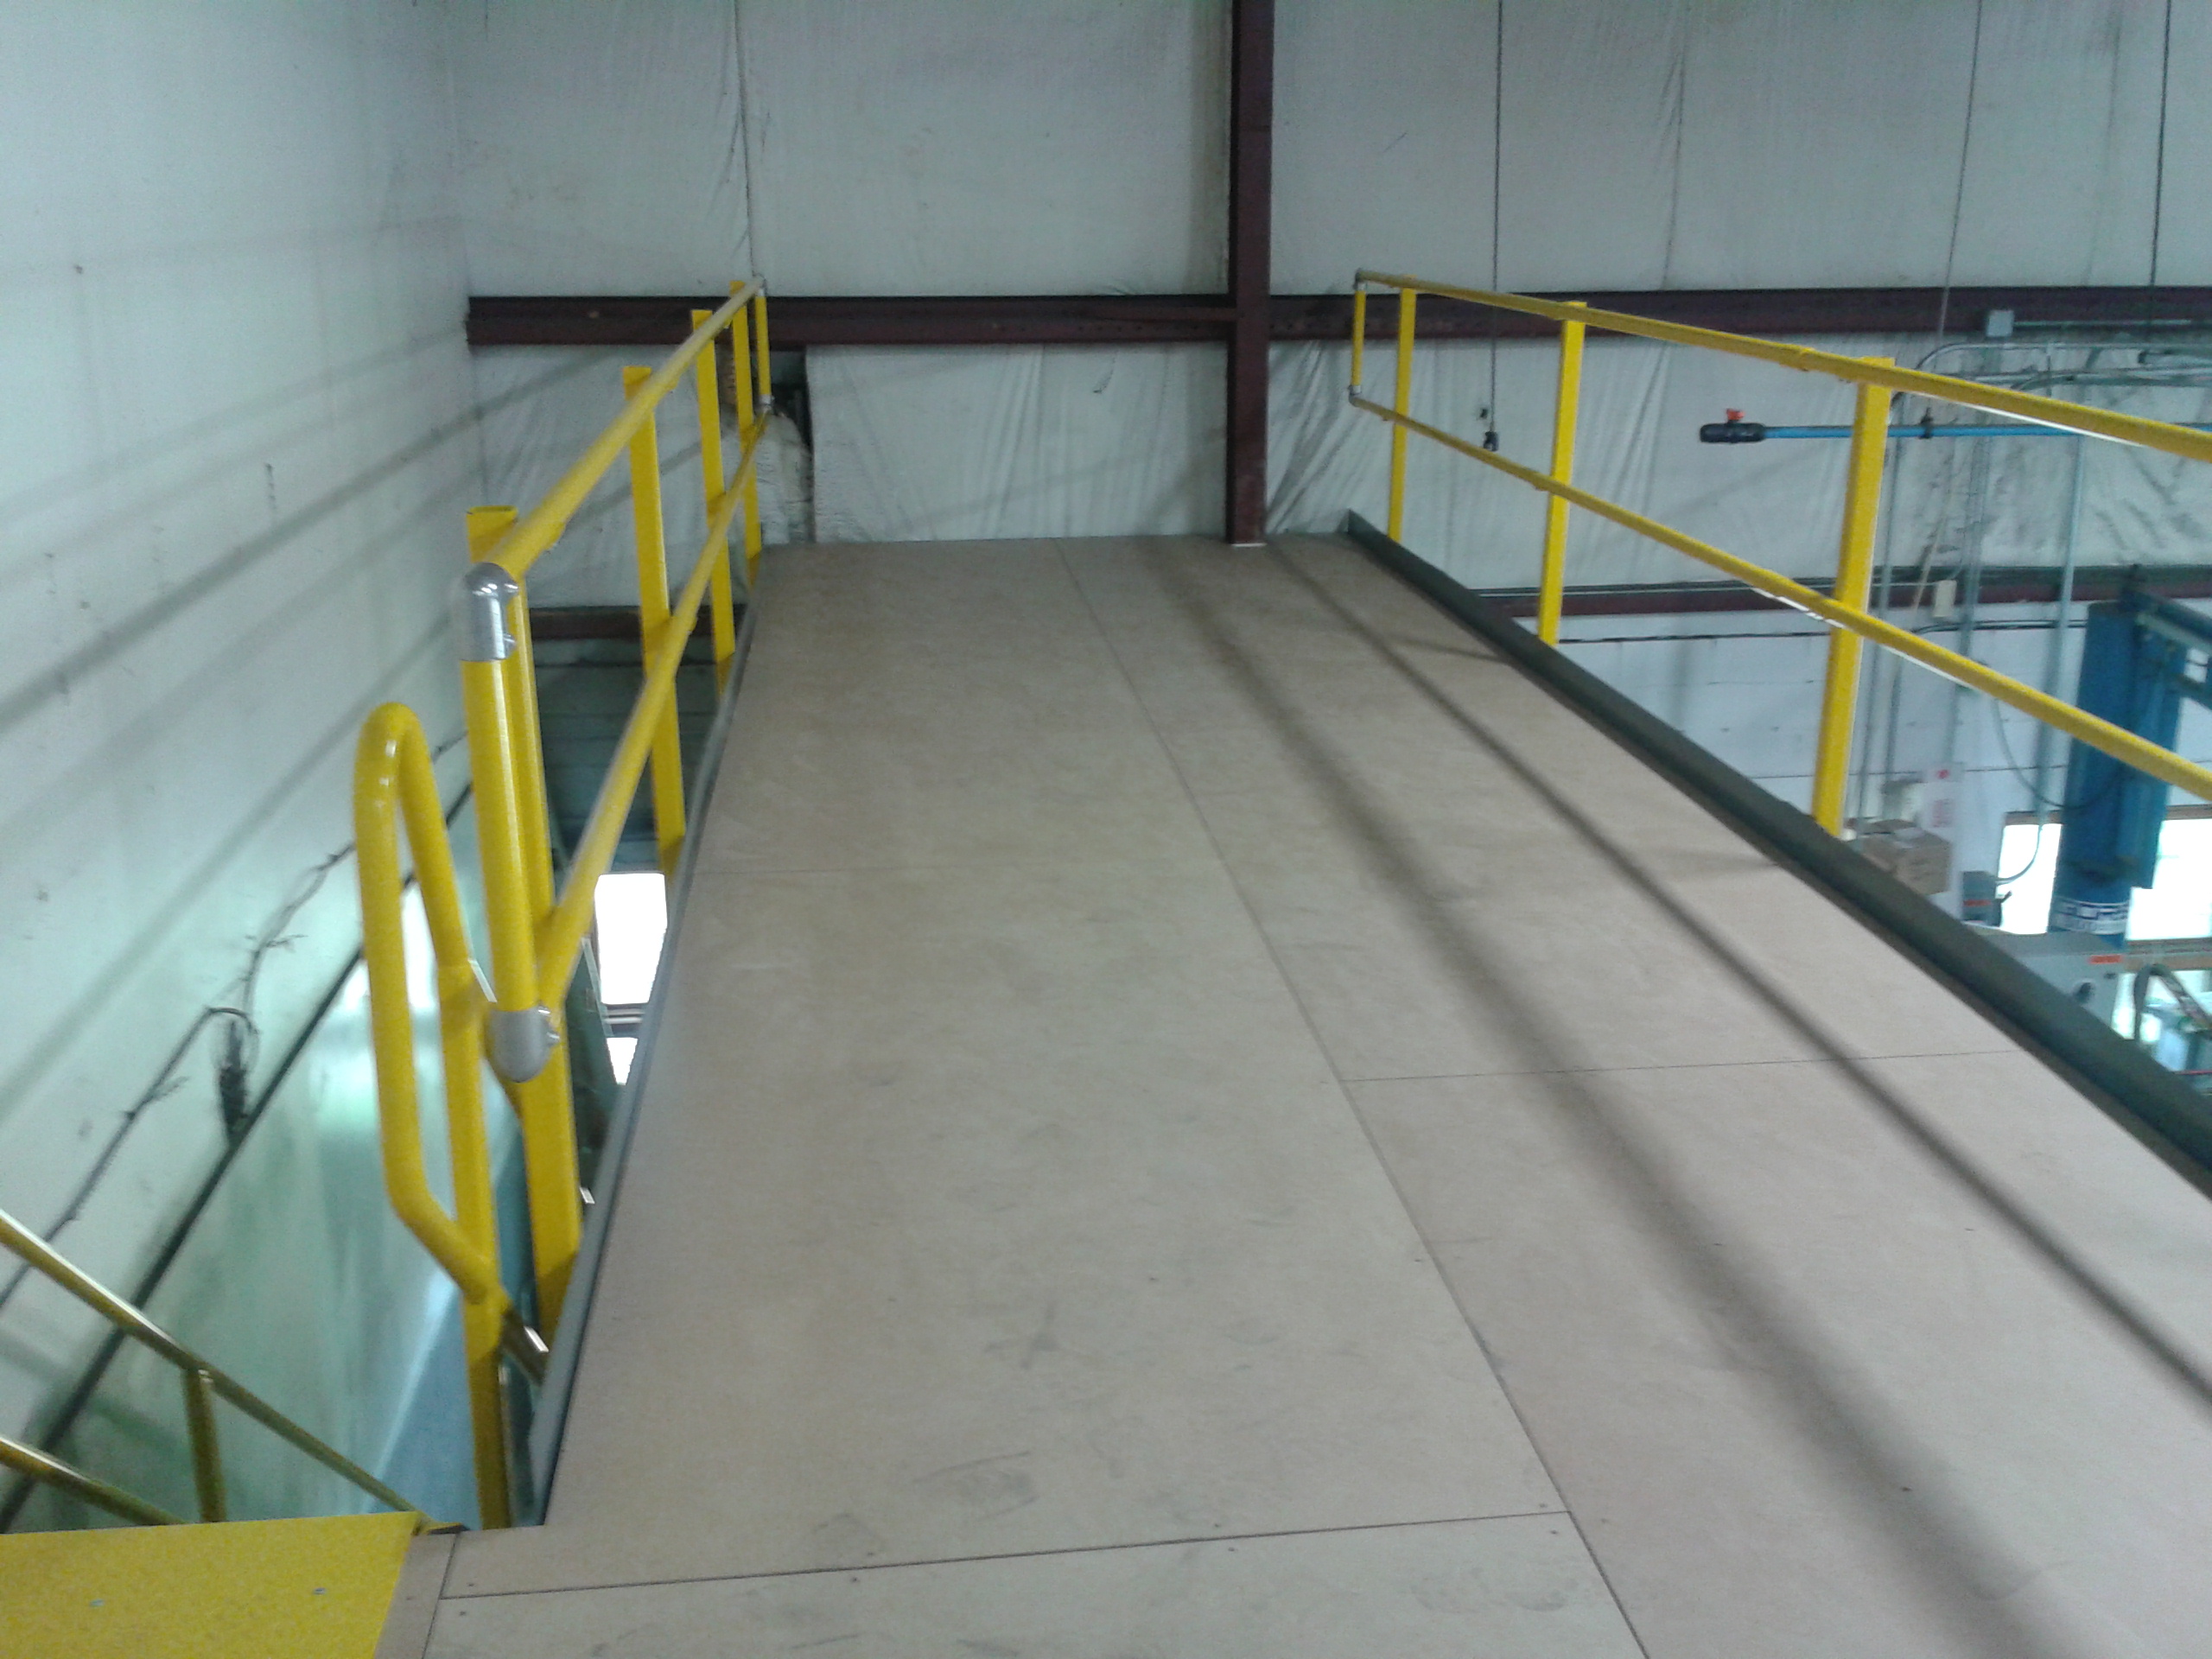
First, a little bit about the mezzanine. The customer was a metal welding and fabrication shop in Iowa and they were looking to move their parts storage up above the production floor. They wanted to provide their own staircase, but contacted us to design and provide them with a 46’ x 24’ mezzanine. Because this was going above their production area, they wanted to maintain at least a 10’ clearance height and to minimize the number of columns below the mezzanine deck. The mezzanine clear spanned the 24’ and broke the 46’ span into two 23’ nominal bays using a beam and c-section framing system. This left the customer plenty of space to maneuver around and work below. The deck was designed to accommodate both the point loads from their single rows of shelving as well as 125 psf distributed live load to accommodate 4’x4’ pallets up to 2000 pounds each. With the mezzanine situated in the corner of their building, we provided industrial use two rail handrail with a 4” kick plate on the two exposed sides, as well as along the opening for the customer’s staircase per IBC code. The decking on the other two sides was extended beyond the framing to the existing walls in order to utilize deck space and eliminate the need for additional handrails. The customer added additional resindek to their girders in order to further close off the walls and protect their insulation.

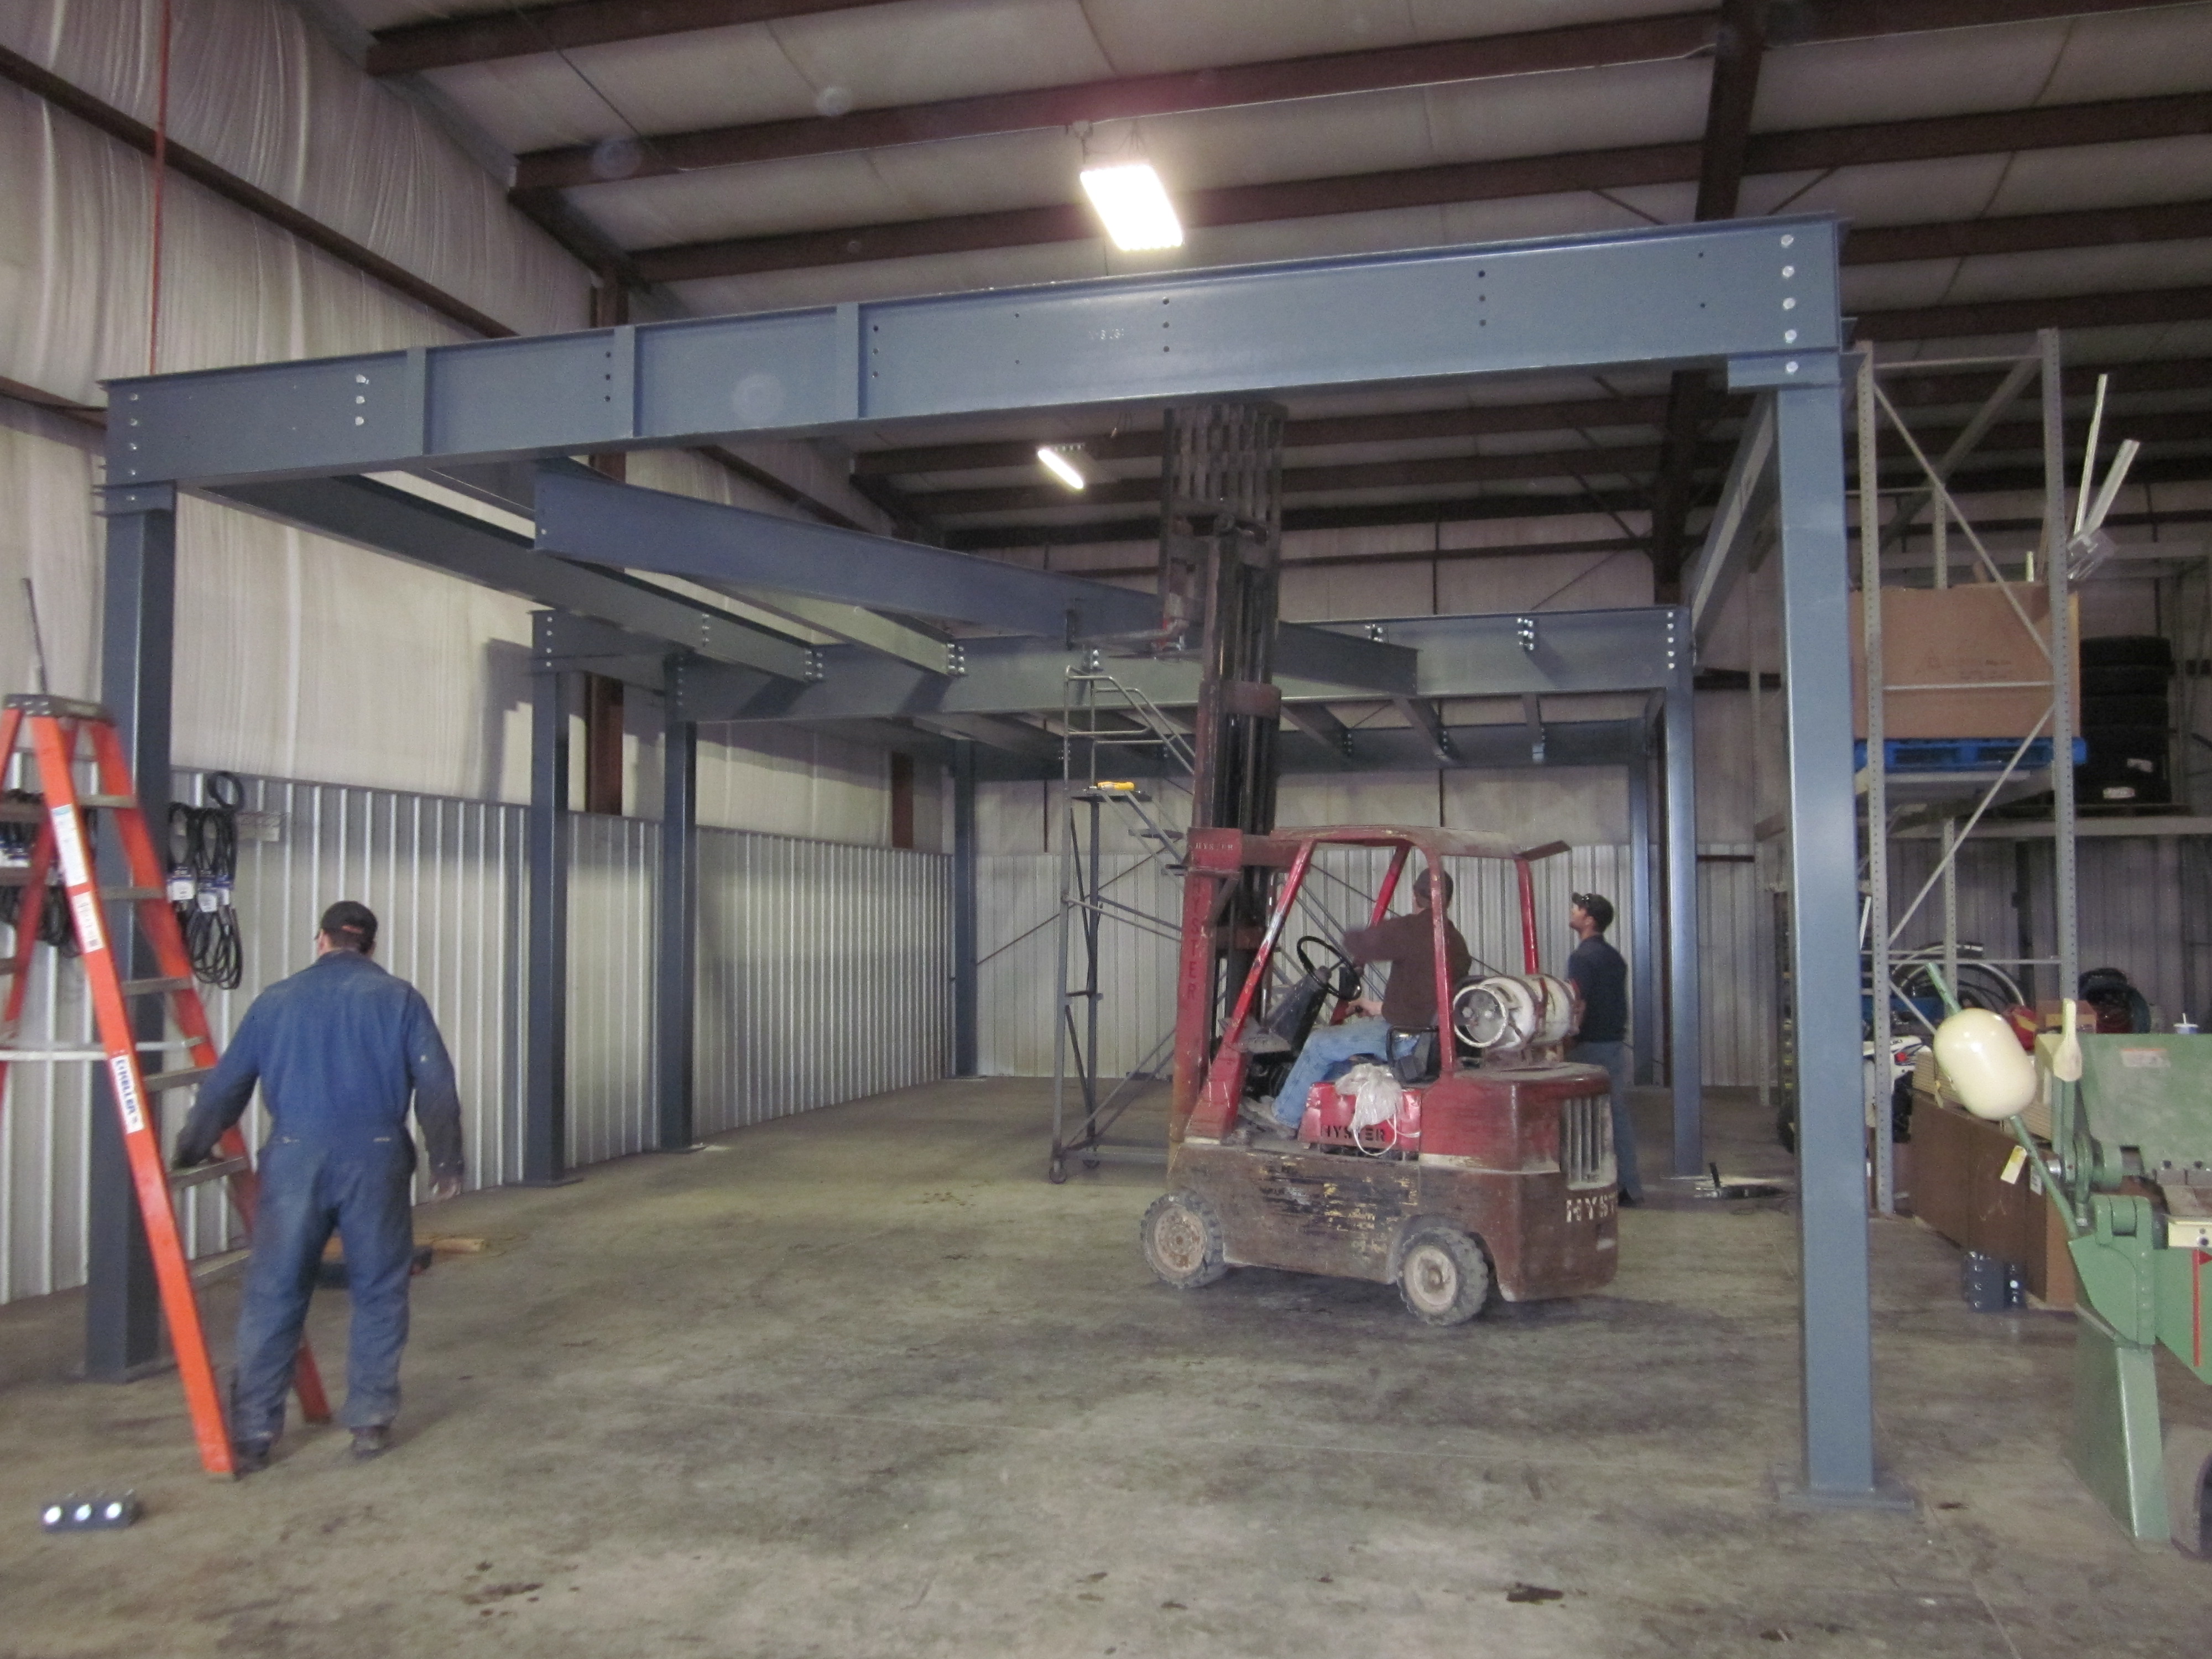
Attaching the primary framing members to the columns
Now for the installation of a prefabricated mezzanine, we would recommend a three man crew. You will want a fork lift on hand, and a scissor lift if possible. As everything is typically bolted together or fastened with a self-tapping screw, there is very little in the way of specialized equipment required.
Starting in the back corner and working forward, you’ll begin by positioning your columns and bolting in the primary framing members. Use the forklift to position the beams and hold them in place while you connect them as the beams can be quite heavy. A spud bar will come in handy to align your bolt holes. You will need to reach inside the square tube columns to tighten the bolts.
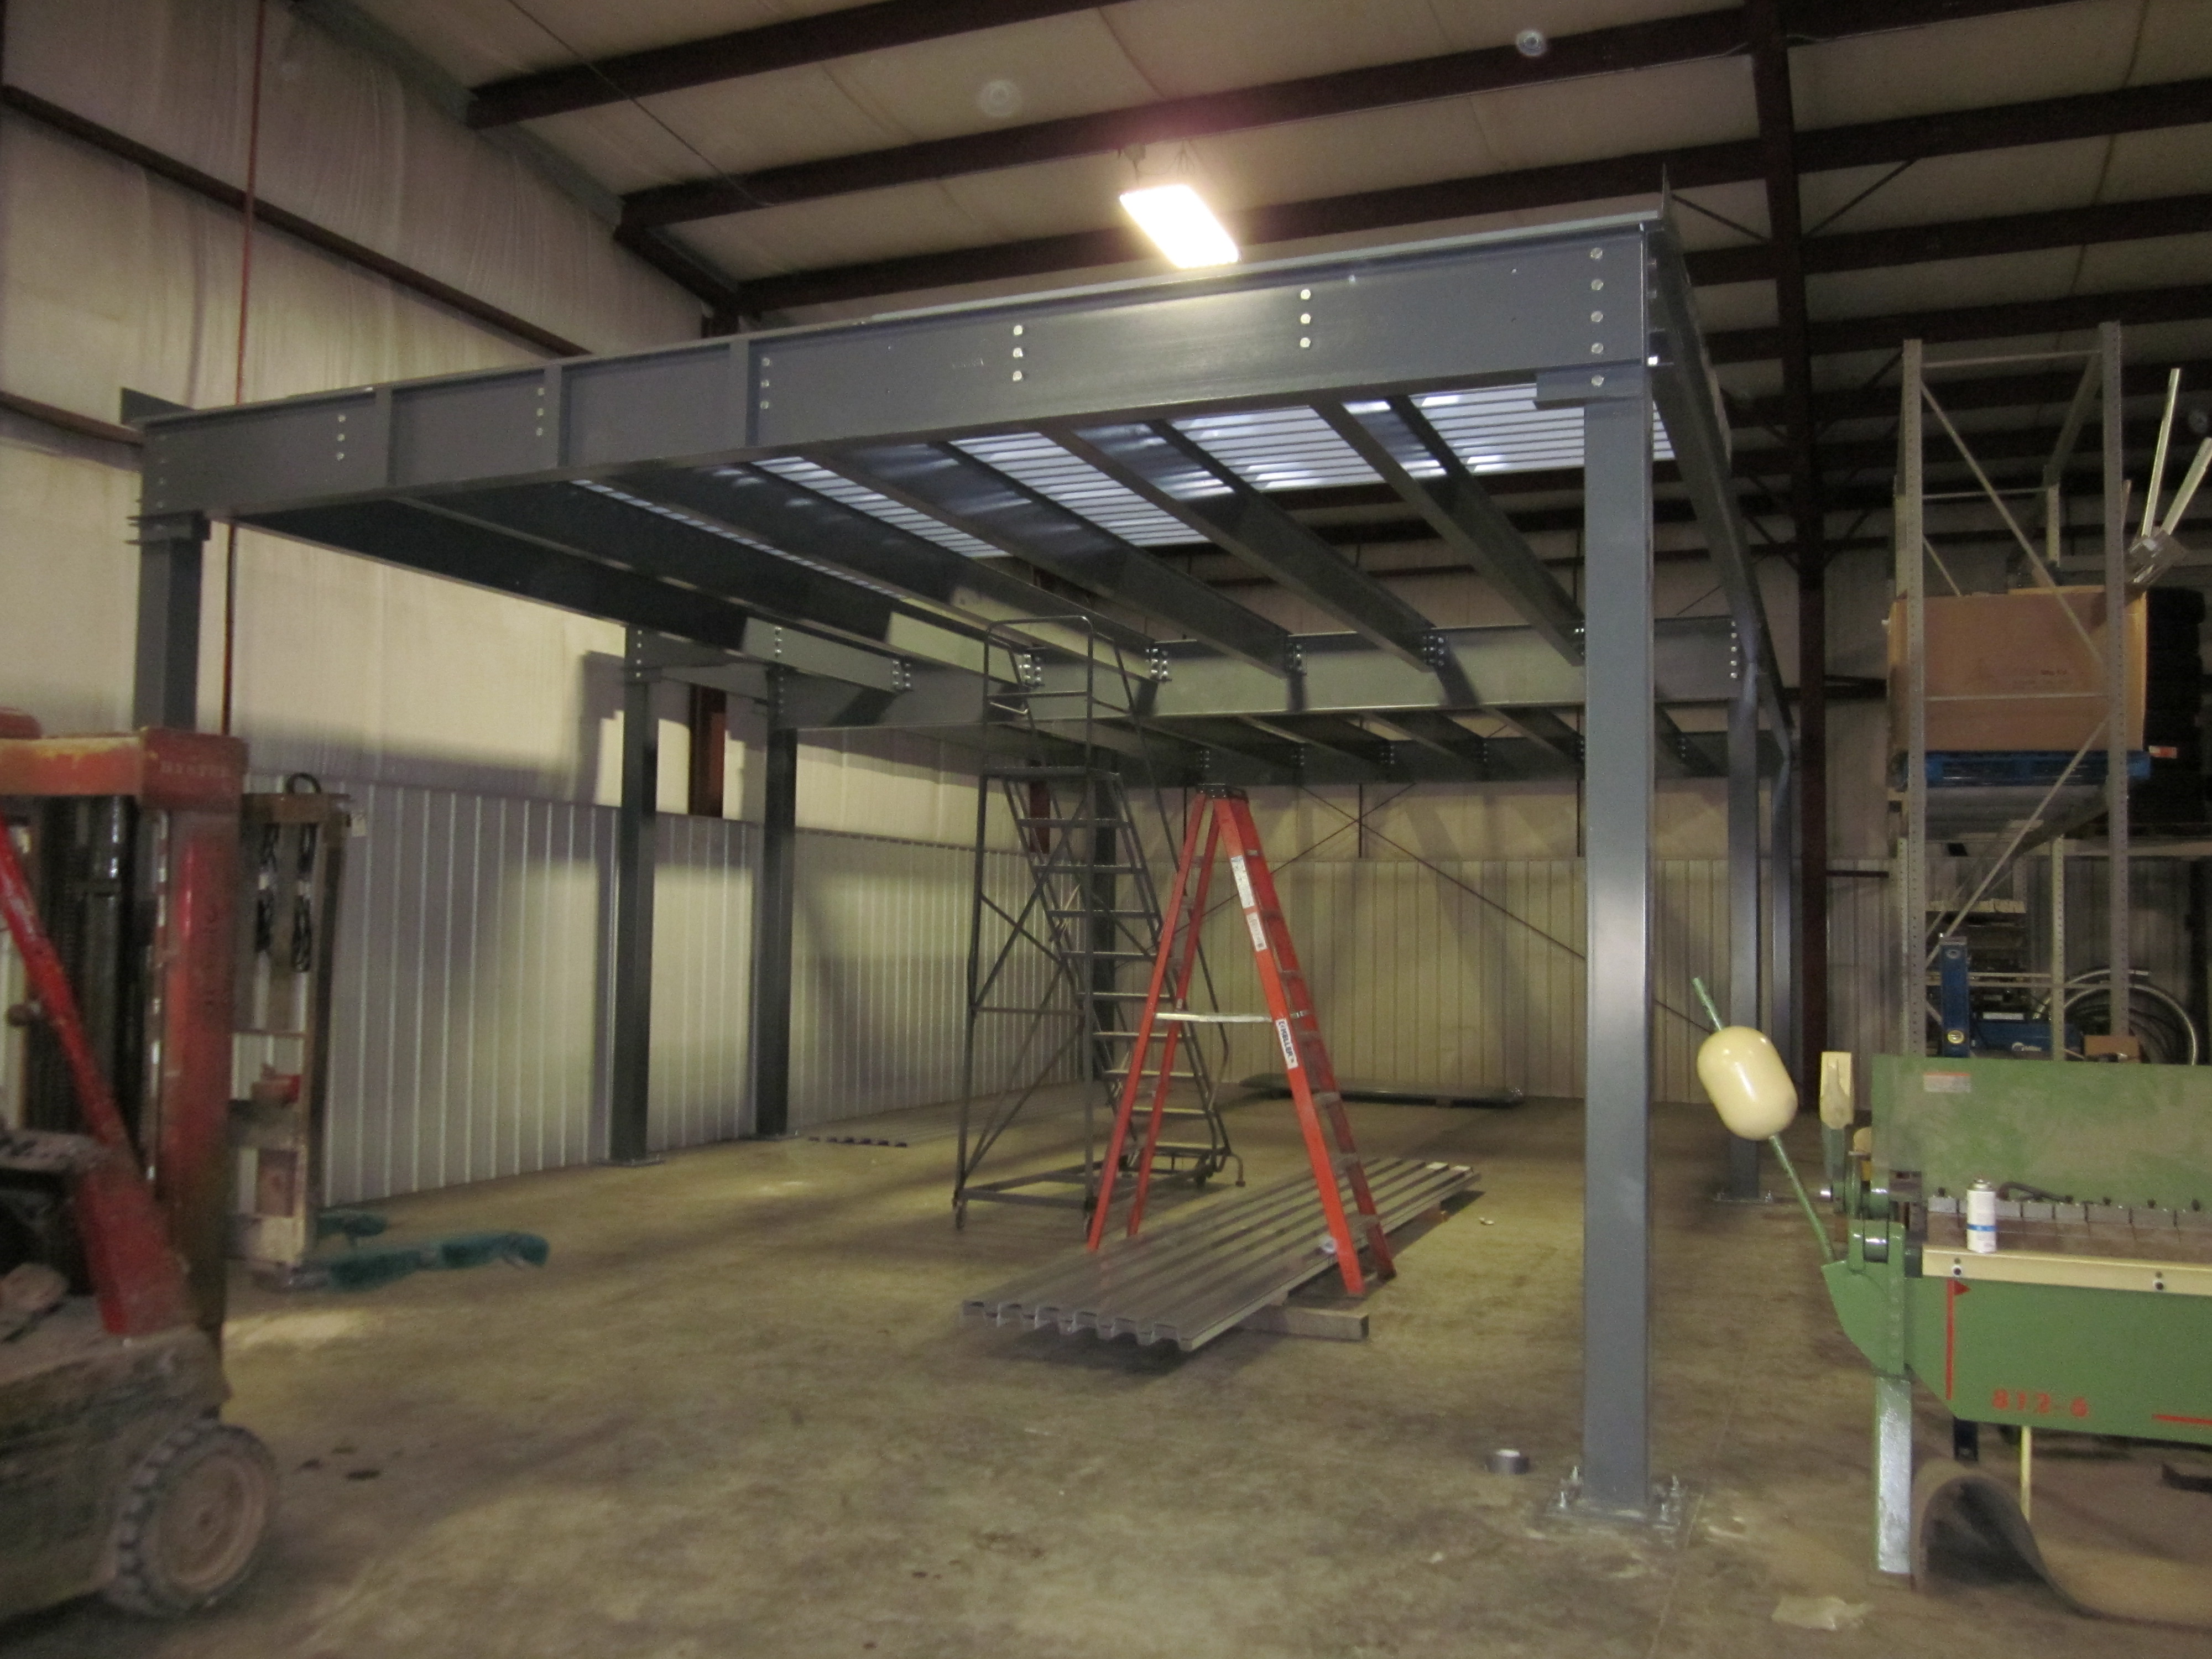
Connecting the secondary framing members
After the primary framing members have all been attached, your next task is to bolt the secondary framing members to the primary framing members. After all the framing is connected and tightened down, it’s time to anchor the columns to your floor with the provided concrete wedge anchors.
Installing the corrugated roof deck on the mezzanine
Next you will install the kick plate and decking to your platform. In this example we used a corrugated roof deck for the structural component and covered it with resindek. This was done to provide the customer with a cost effective and smooth surface to work on. The kick plate is an angle that goes between the roof deck and your primary framing members. This closes off the platform so you cannot see down the corrugation of the roof deck from the sides. It also protects workers below the structure from material/tools, etc. that could roll or be kicked off the top level. The roof deck sub floor is fastened down to the framing members below using the provided self-tapping screws at every valley. You’ll then need to install the deck surface and secure it to the sub floor. The tek screws for the resindek are provided in a ribbon for use with a stand-up screw gun in order to speed up the installation process, as each 4’x8’ sheet of resindek takes 20 screws to properly fasten.

Installed unfinished resindek on the completed parts storage mezzanine
We’re almost finished now. Our railing is typically mounted on the face of the mezzanine with a post that will need to be bolted on every eight feet at maximum. The railing typically ships in 21’ long pipes that are cut in the field to the appropriate lengths. The cut handrails are then connected together with the provided splices and pipe elbows, and are fastened to the saddle brackets of the posts. You will need to install the splice clips for the kick plate at every seam to establish a continuous appearance.
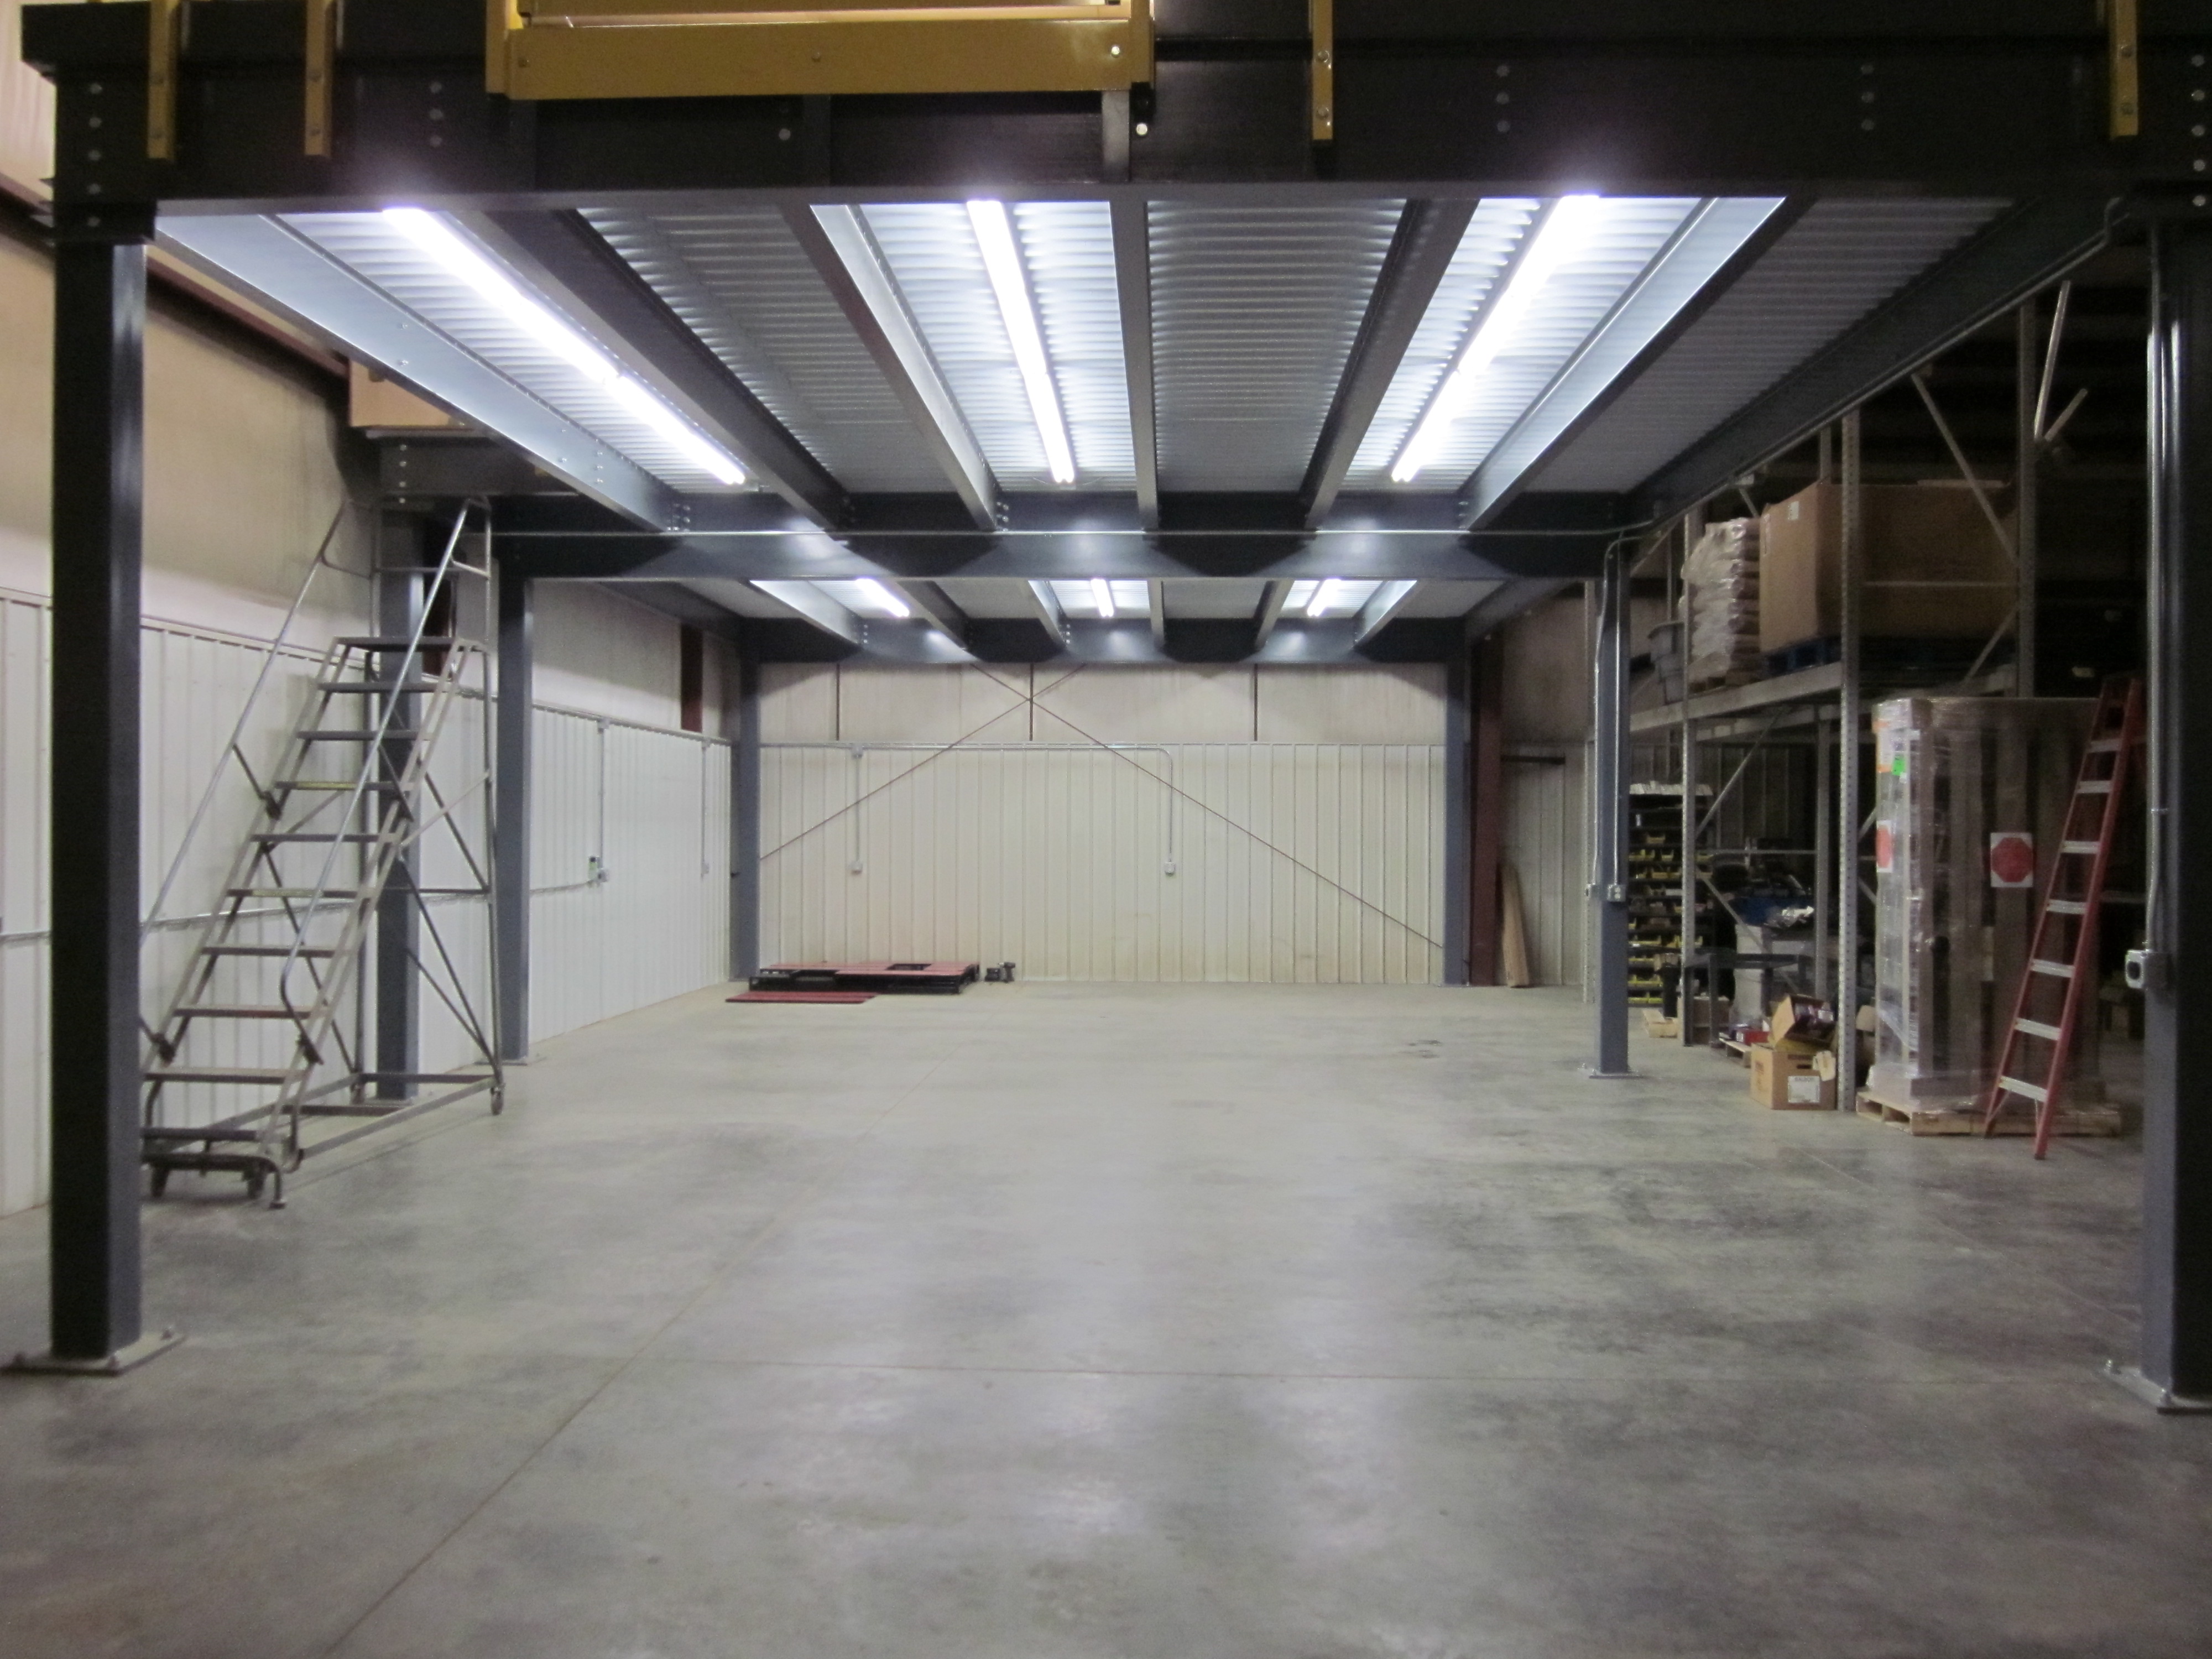
Underside of beam and c-section mezzanine with surface mounted lighting attached to the roof deck
Generally you would still need to bolt the treads to the stringers and finish off the handrail for the staircase, but in this case the customer was going to fabricate their own stair.
While this has been just a general overview, your mezzanine would ship with a very detailed set of assembly drawings and instructions that would go into much greater detail on the installation. This customer was pleased with the ease everything went together and the quality of the platform.