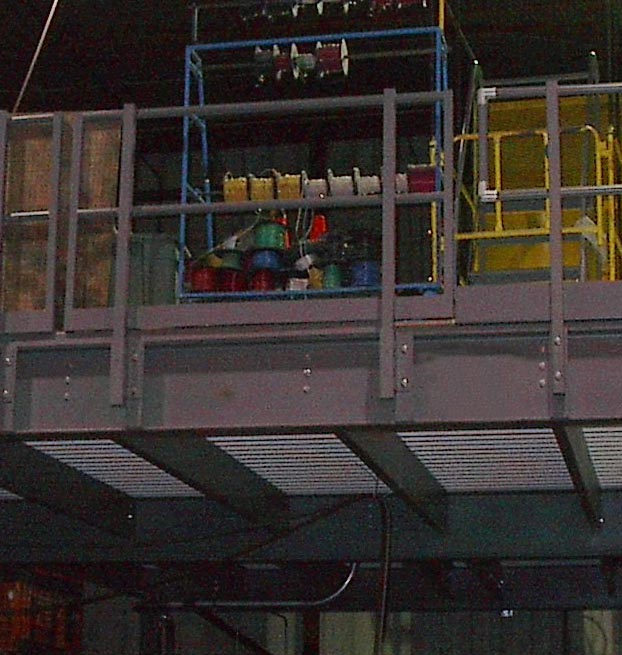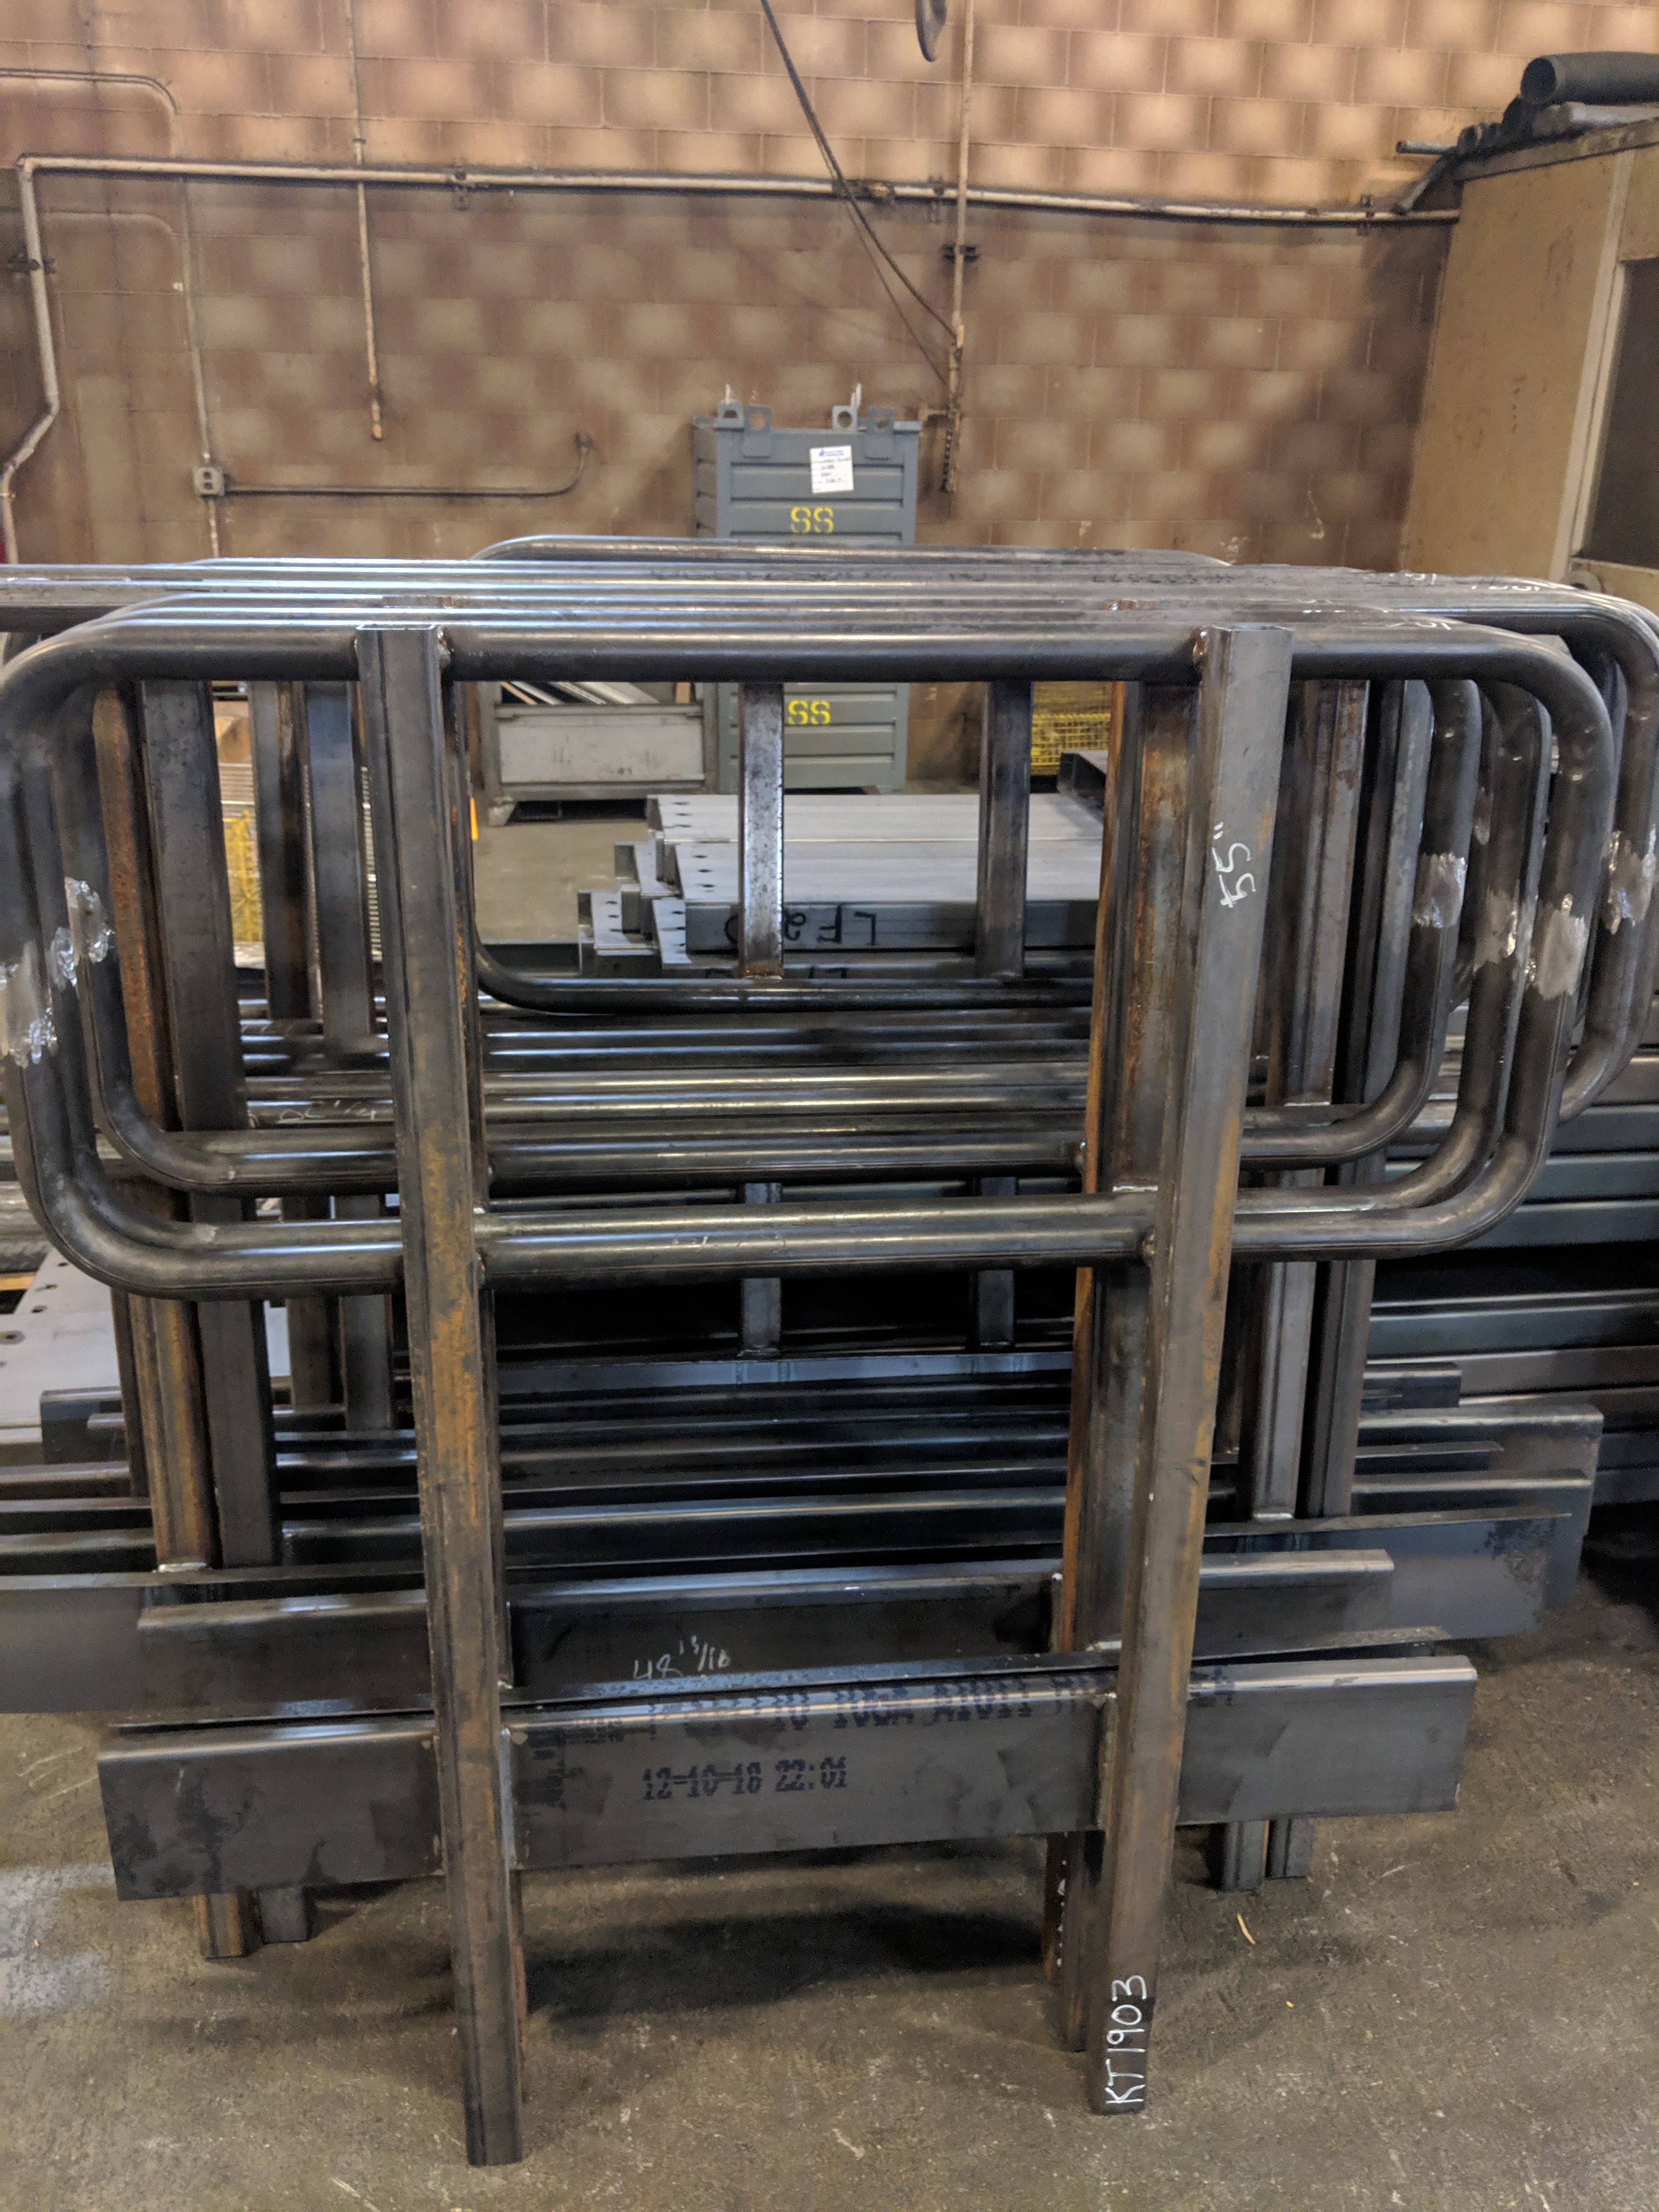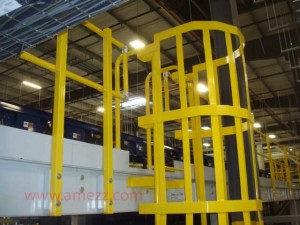
Walk-thru fixed ladder with safety cage
Do you need a ladder gate at your ladder opening in your railing? According to OSHA 1910.28(b)(3)(iv)“Each employee is protected from falling into a ladderway floor hole or ladderway platform hole by a guardrail system and toeboards erected on all exposed sides, except at the entrance to the hole, where a self-closing gate or an offset must be used.”
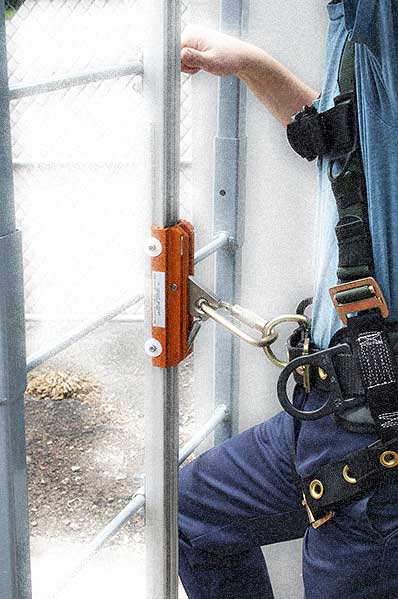
This means that every ladder opening needs to be either (a) Offset so that a person cannot walk (or fall) directly into the opening or (b) Protected by a ladder safety gate. It is an easy either/or. The most common ladder installation locations are not offset and as such require safety gates. Below you will see some photos of ladders and top view sketches clarifying why each of their orientations either do or do not require a gate. Note: ladder chains do not meet OSHA standards.
Another seemingly redundant standard from OSHA further increases the areas requiring gates is 1910.29(b)(13) and 1910.29(b)(13)(i): When guardrail systems are used around holes that serve as points of access (such as ladderways), the guardrail system opening: (1910.29(b)(13)(i) has a self closing gate that slides or swings away from the hole, and is equipped with a top rail and midrail or equivalent intermediate member(…).
This standard opens up gate requirements to manhole covers, roof hatches and other similar systems that would remain open while accessed.
Now that we know what the code requirement is, it is time to review a few common ladder mounting orientations to discuss where they fall under the code.
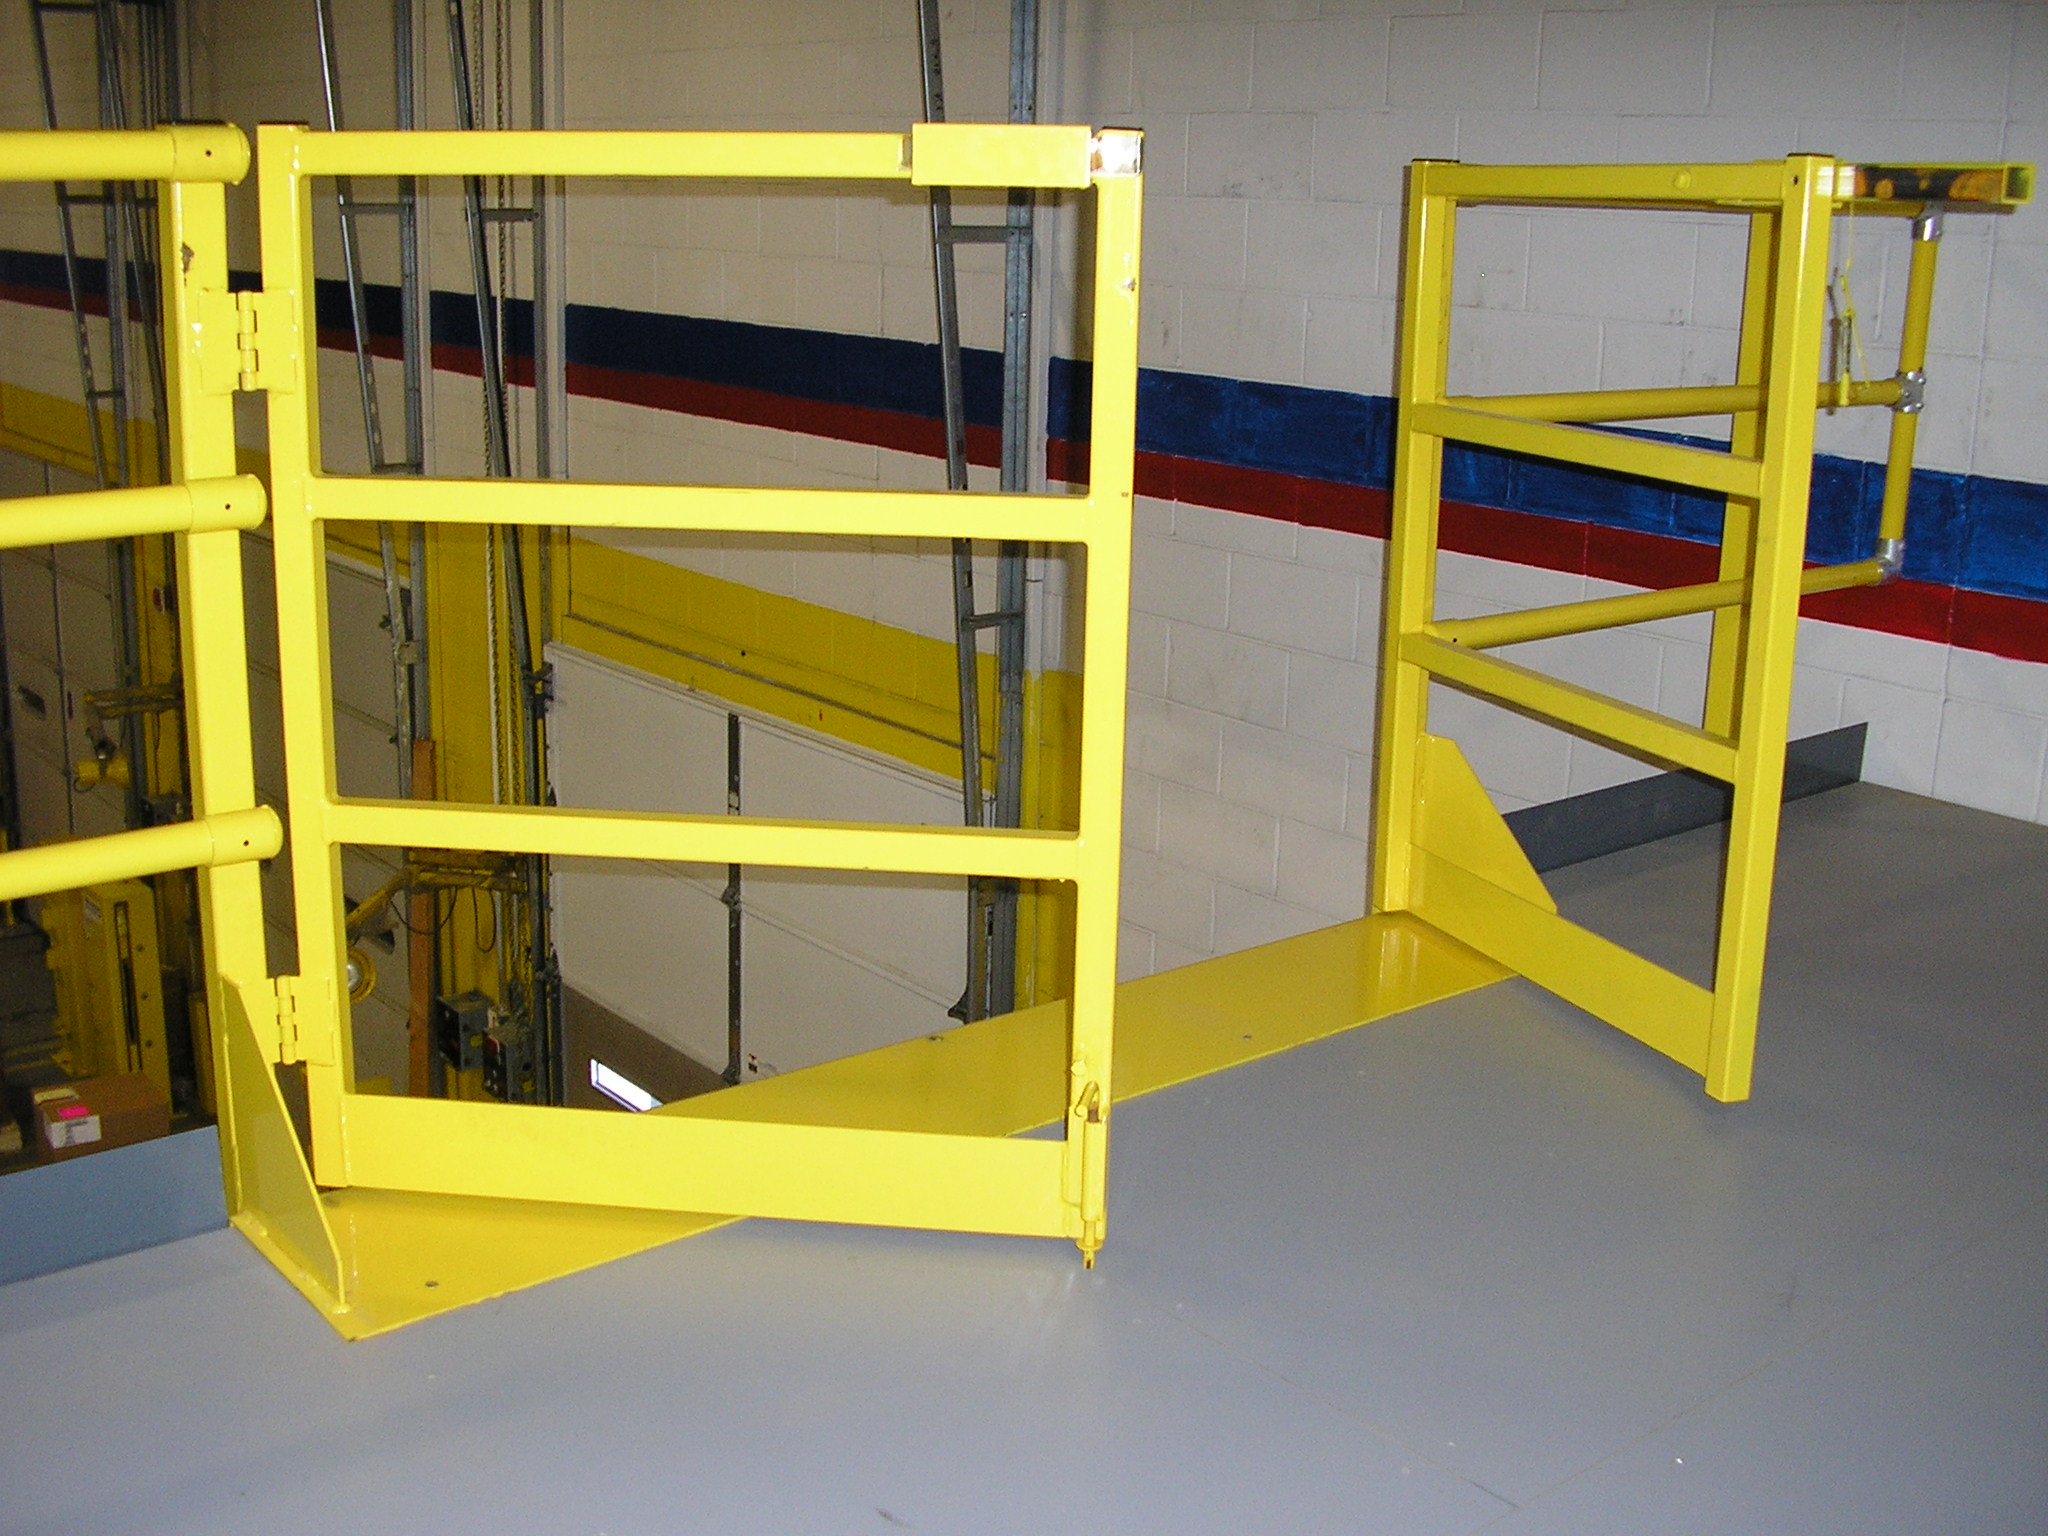
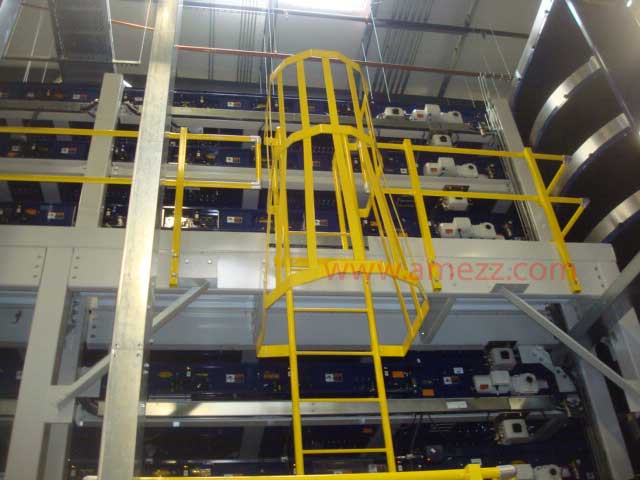
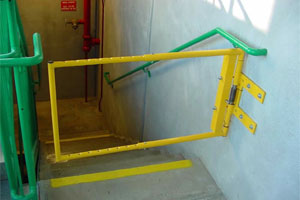
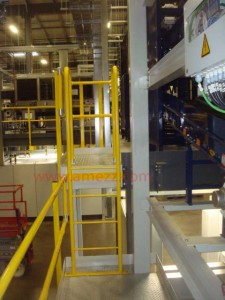
Fixed ladder mounted to side of platform
The above fixed ladder is mounted onto the side of the platform. Work is performed further down the platform but it is possible to fall directly down the ladder opening. This location is not offset and as such would require a swing gate. See the below top view sketch for clarification.
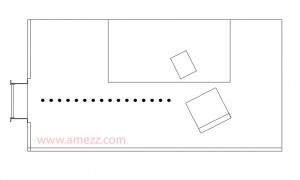
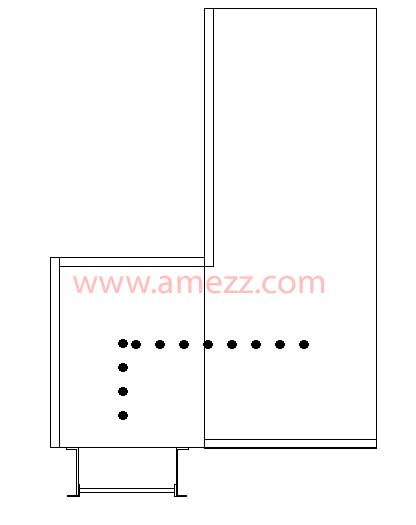
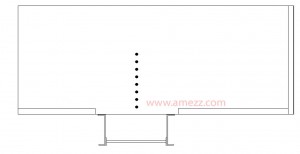
Top view sketch of side mounted fixed ladderway opening
You can walk directly to the ladder opening from where work is/can be expected to be performed and as such, a safety gate is required at the ladder opening.
Fixed ladder with offset landing platform
The above ladder accesses a platform and then turns to access the main walkway. This ladder is offset and would not require a swing gate at the opening.

Top view sketch of offset mounted fixed ladderway opening
As you can see above, if someone fell while at the main walkway they would fall onto the ladder landing surface, they would not fall down the ladder opening. If the ladder was rotated to the left side of the landing it would require a safety gate because then the ladder opening would no longer be offset.

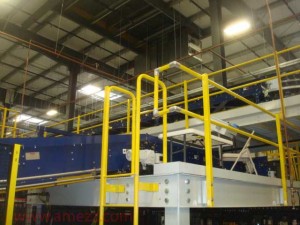
Ladderway opening on side of catwalk
Above is a very common ladder mount position. This one can be tricky until you lay it out from the top view. From first glance it looks like because the ladder is off to the side that it would be offset from the normal flow of traffic, but if you fell at that point of the catwalk there would be no guarding to protect you. A swing gate is a requirement at this location.
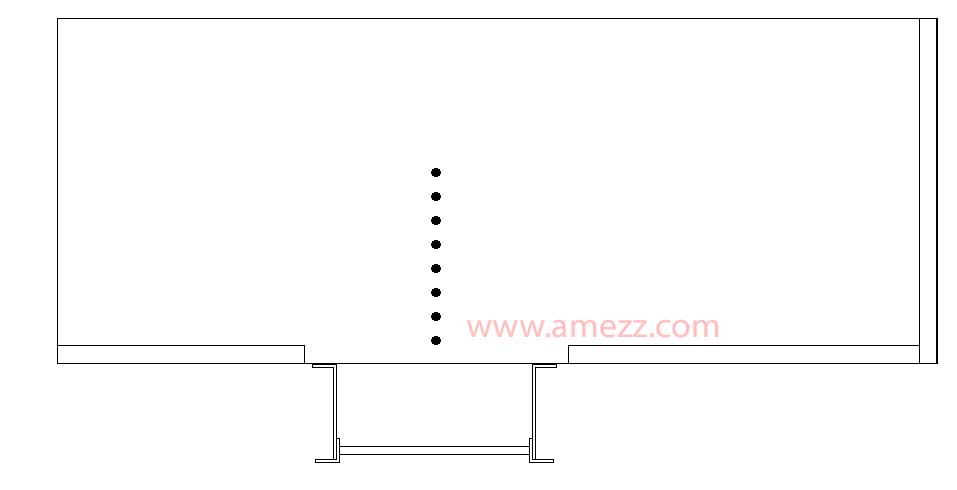
Top view sketch of catwalk side mounted fixed ladderway opening
As you can see from the above sketch, there is a single direction of travel to the ladder from the catwalk. This is not offset. It would be a single direction fall into the ladder opening and as such, a ladder safety gate is required to protect your employees when a ladder is installed in the above orientation.
Most areas are not offset. A good rule of thumb is that if you can fall into the ladder opening with a single direction fall, then you are not offset. The only example above that didn’t need a gate was the second ladder location. With that orientation, you would fall onto the ladder landing and then hit the rear railing, not fall through the ladder opening.