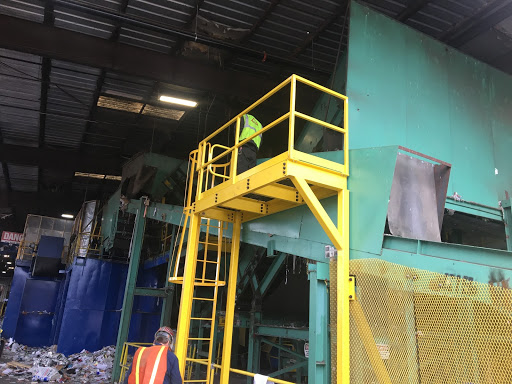
Custom Galvanized Steel Catwalk with Fall Protection at Wastewater Treatment Plant
At A-Mezz Industrial Structures we specialize in designing and manufacturing custom industrial access platforms and fall protection systems that keep your workers safe and operations running smoothly. One of our latest projects—an elevated galvanized steel catwalk system—was installed at a wastewater treatment plant to provide secure and compliant access for maintenance personnel working above large equipment.

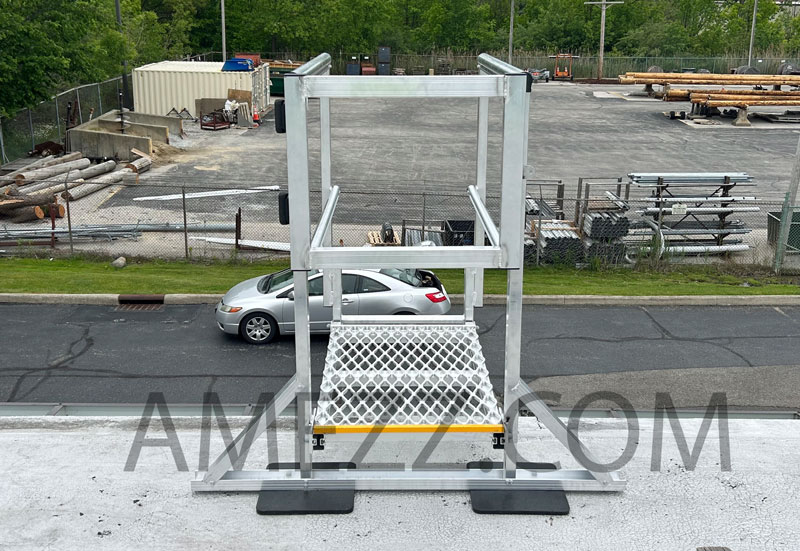
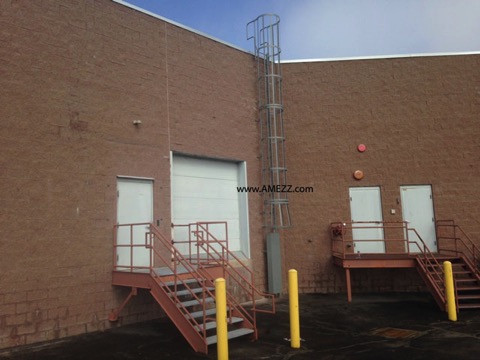
A-Mezz galvanized steel catwalk platform provides safe elevated access with self-closing gates, fixed ladders, and a horizontal lifeline system for worker fall protection.
This project highlights how our design-build approach delivers tailored, OSHA-compliant solutions that enhance both safety and productivity in high-risk industrial environments.
Design-Build Catwalk Platform for Wastewater Facilities
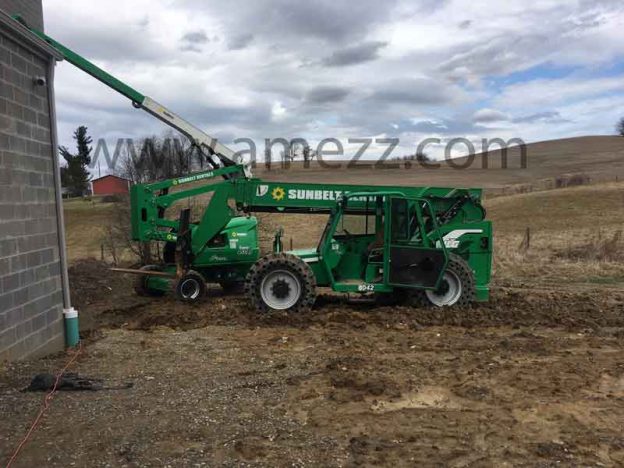
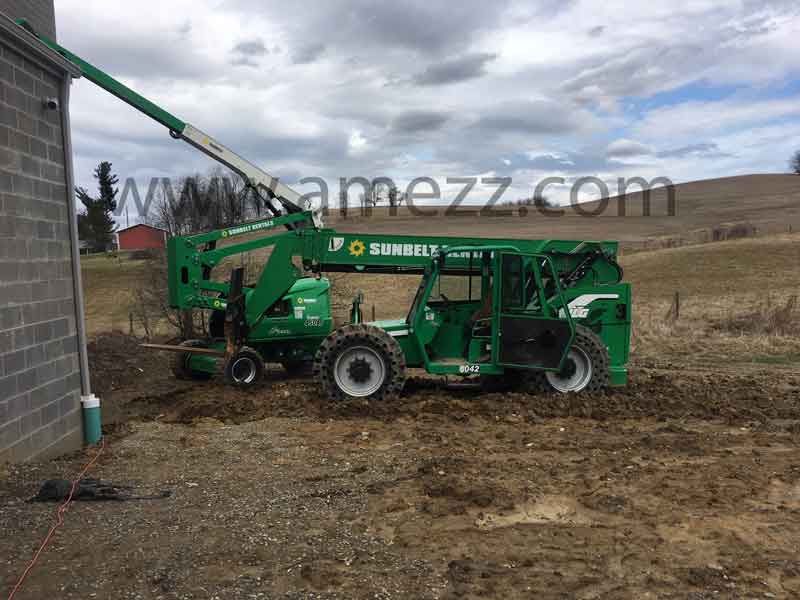
Every facility has unique access challenges, especially in industrial settings like wastewater treatment plants, where equipment layouts, environmental hazards, and regulatory standards converge. That’s why we employed a design-build strategy to develop a custom catwalk system from concept through installation.
Our engineers worked directly with the client to evaluate site conditions, define access points, and design a durable steel platform that integrates seamlessly with existing infrastructure. The result? A heavy-duty elevated catwalk that enables maintenance crews to safely navigate the top of equipment while adhering to OSHA fall protection standards.
Key components of this project include:
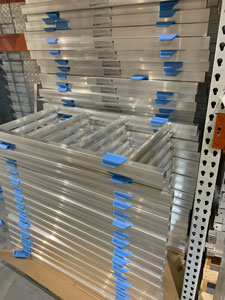
- Galvanized steel construction for corrosion resistance in a moisture-rich, chemical-heavy environment
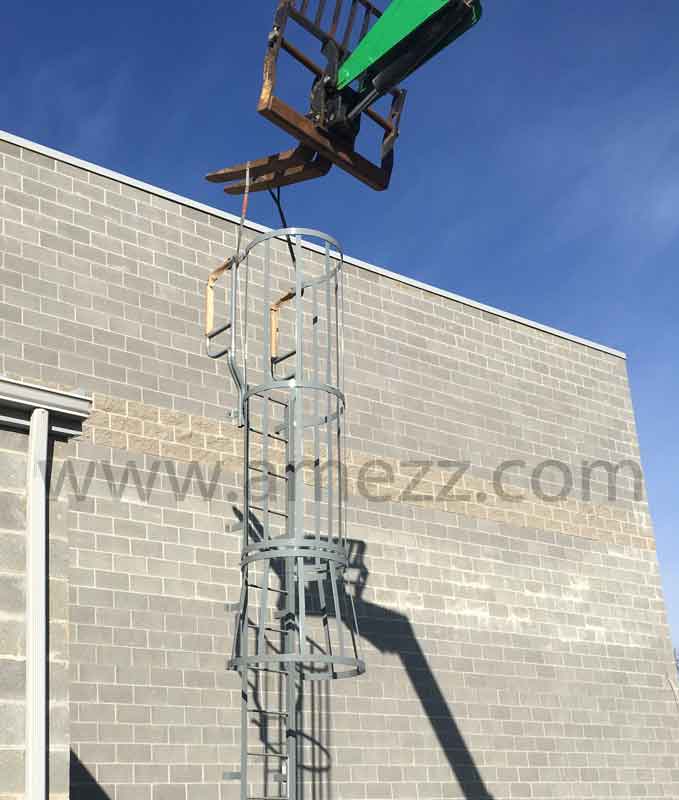
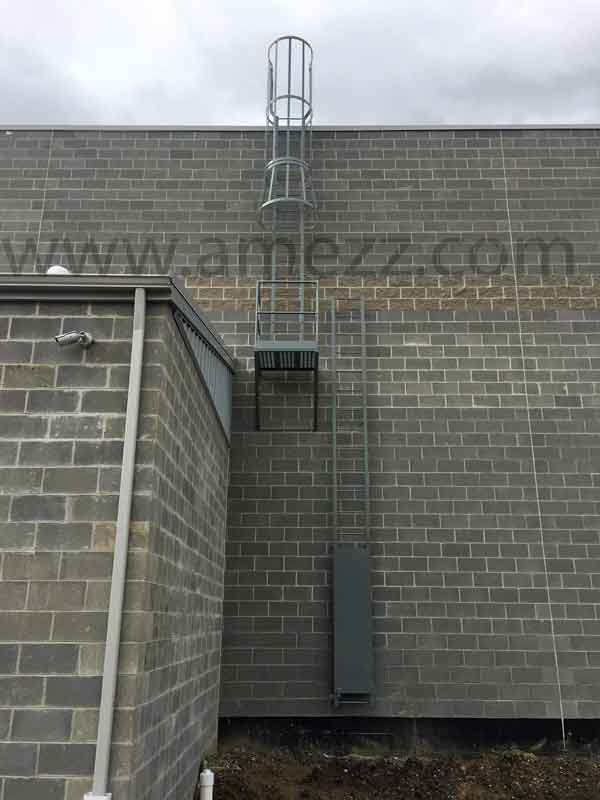
- Ladder access with self-closing safety gates at both ends
- A fully integrated horizontal lifeline fall arrest system for two workers
- OSHA-compliant yellow safety guardrails for maximum visibility and protection
Fall Protection: OSHA-Compliant and Worker-First
At A-Mezz, fall protection isn’t just a checkbox—it’s a core design principle. This catwalk platform was engineered with multiple layers of passive and active fall protection systems to keep maintenance personnel safe at heights.
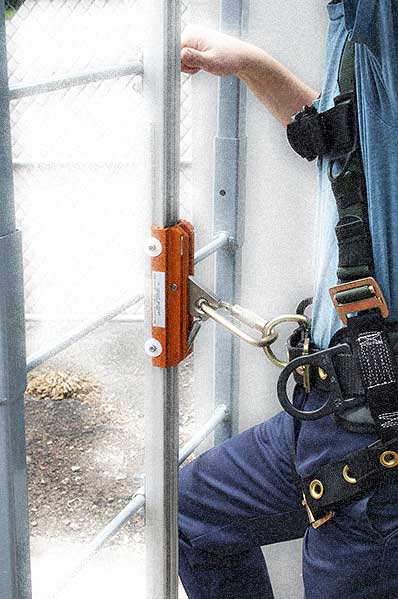
✔️ Horizontal Lifeline System
A two-user horizontal fall arrest system allows workers to tie off while moving across the catwalk, maintaining 100% tie-off and reducing the risk of serious injury. The continuous line ensures no need to disconnect and reconnect, improving both safety and efficiency.
✔️ Self-Closing Safety Gates
Bright yellow self-closing gates were installed at each ladder entry to eliminate open edges. These gates automatically close behind workers to provide constant fall protection without relying on user intervention.
✔️ OSHA-Approved Guardrails
All exposed edges are protected by yellow powder-coated handrails that meet or exceed OSHA height and load requirements for industrial guardrails.
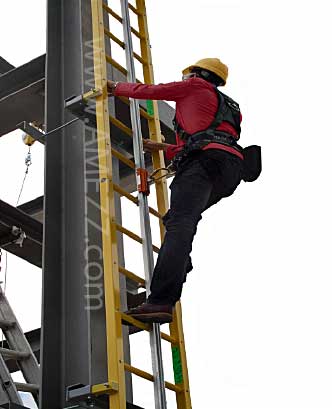
✔️ Secure Ladder Access
Fixed steel ladders offer safe, stable access to the platform. Their alignment with the gates and lifeline system ensures a smooth, protected workflow for maintenance crews.
Built for Durability: Galvanized Steel Catwalks
In harsh environments like wastewater plants, material choice is critical. We used hot-dip galvanized steel throughout the catwalk system to resist rust, corrosion, and chemical damage. This material ensures long-term reliability, minimizes maintenance, and meets the rugged demands of 24/7 industrial operations.
Galvanized steel catwalks are ideal for:
- Chemical processing plants
- Water and wastewater facilities
- Food and beverage manufacturing
- Power generation and utility sites
Why Choose A-Mezz for Industrial Catwalk Systems?
With decades of experience in custom access platforms, industrial catwalk design, and fall protection integration, A-Mezz is your go-to partner for safe and efficient access solutions. Our turnkey design-build services ensure you get a code-compliant, field-ready platform tailored to your exact needs.
Benefits of working with A-Mezz:
- Personalized engineering and fabrication
- Fully OSHA-compliant solutions
- Custom fit for your equipment and facility layout
- Fast, efficient installation and support
Get a Quote on Your Custom Catwalk System
If your facility needs a reliable catwalk platform, elevated access system, or a complete fall protection solution, contact A-Mezz Industrial Structures today. We’ll help you design and build a system that meets OSHA standards, protects your workforce, and stands the test of time.
📞 Call us or Request a quote online to get started on your custom project.