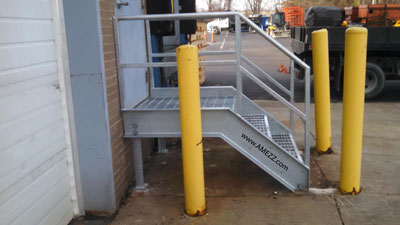
While our Mezzanine Stair and Ladder Gates (MLG safety gates) are designed to meet OSHA fall protection requirements, they also work great as pedestrian traffic control gates. Below you can see that the design lends itself very easily to control pedestrian traffic flow to restricted locations. They are also a great way to get your message out.

304 stainless steel MLG gate used for pedestrian traffic control with mounted signage
Your Message… Right Where You Need It
Our customer above had custom signs printed up that they riveted onto our stainless steel gate. After mounting the sign to our MLG gate, their message is front and center – right where they need it. Do you have cost concerns about using these at your location? It is easy to incorporate an advertisement for a local business with its logo/slogan to offset the cost of the gate and sign printing. While A-Mezz does not offer graphic printing, we have heard from customers that they have had it done for $30-100 per sign – depending on what material and options they choose, such as di-cutting they had selected from their printer.
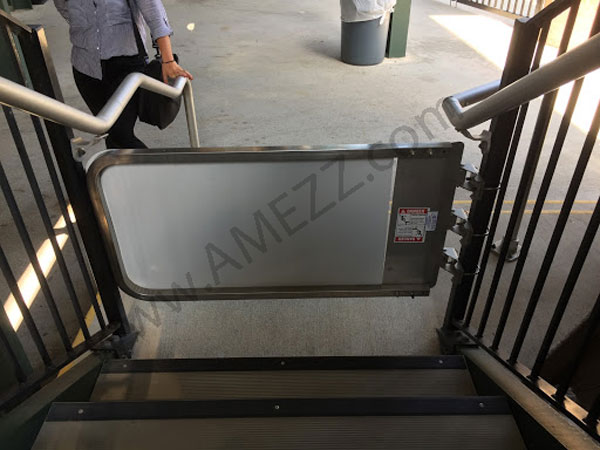
Rear view of MLG 304 stainless steel safety gate mounted to stairs with pedestrian traffic control sign.
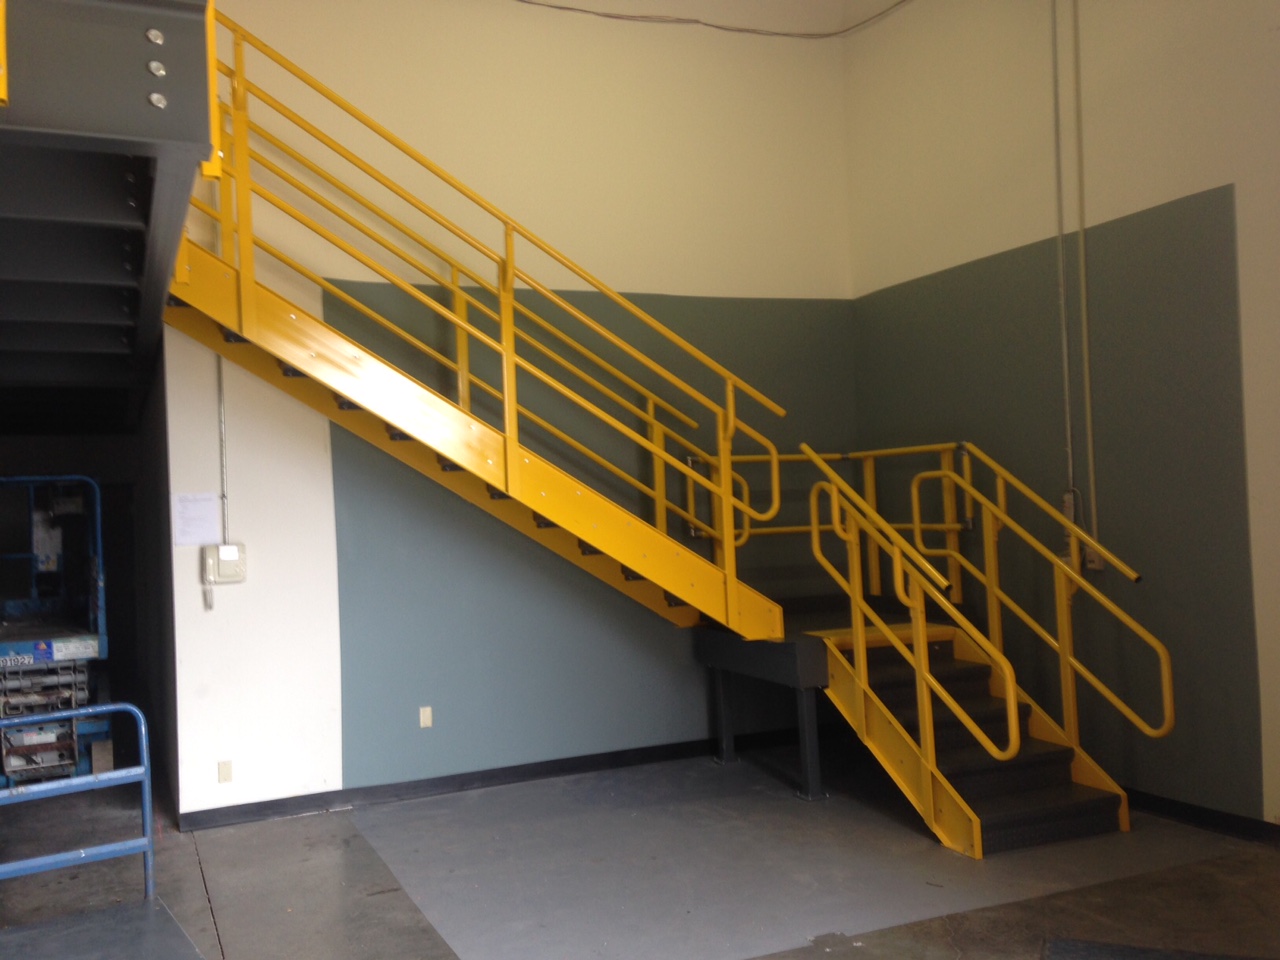
MLG gates are also a great place to have important safety information such as at the top of a ladder that accesses a confined space.
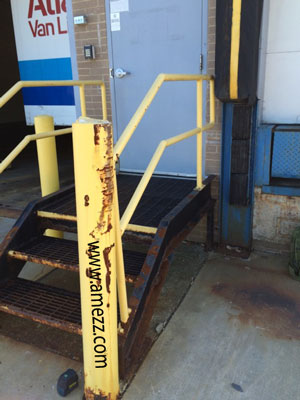
Stairwell Interruption Gate
Our MLG gates are also often used to comply with NFPA 101 – Life Safety Code as a stairwell interruption gate. The 2018 edition of NFPA 101 stipulates 7.7.3.2: “Stairs and ramps that continue more than one-half story below the level of discharge shall be provided with an approved means to prevent or dissuade occupants from traveling past the level of discharge during emergency building evacuation”.
When descending a stairway, A-Mezz MLG gates are used where the stairs continue past the emergency exit. The gates stop panicked occupants from continuing down the stairs, past the exit point. When ascending the stairs from below, anyone can simply walk through the gate to safety. Many customers have aluminum signs printed stating there is no exit past the gate and an arrow pointing to the exit location.
While they were designed for fall protection applications, our MLG gates are much more versatile. Featuring quick shipping times, in-stock status, and low cost, MLG gates are ideal for many uses. Contact A-Mezz today for more details and a quote.