What is hot dipped galvanized metal and why do people use it?
Before we get into how to paint over galvanized metal, let’s give a really quick background into what hot dipped galvanizing is and why people would do it.
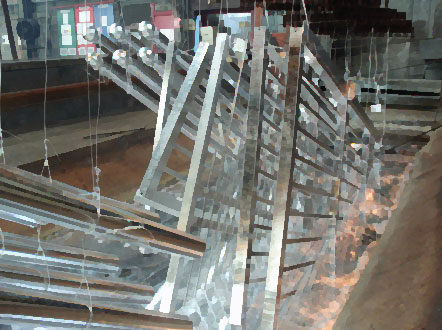
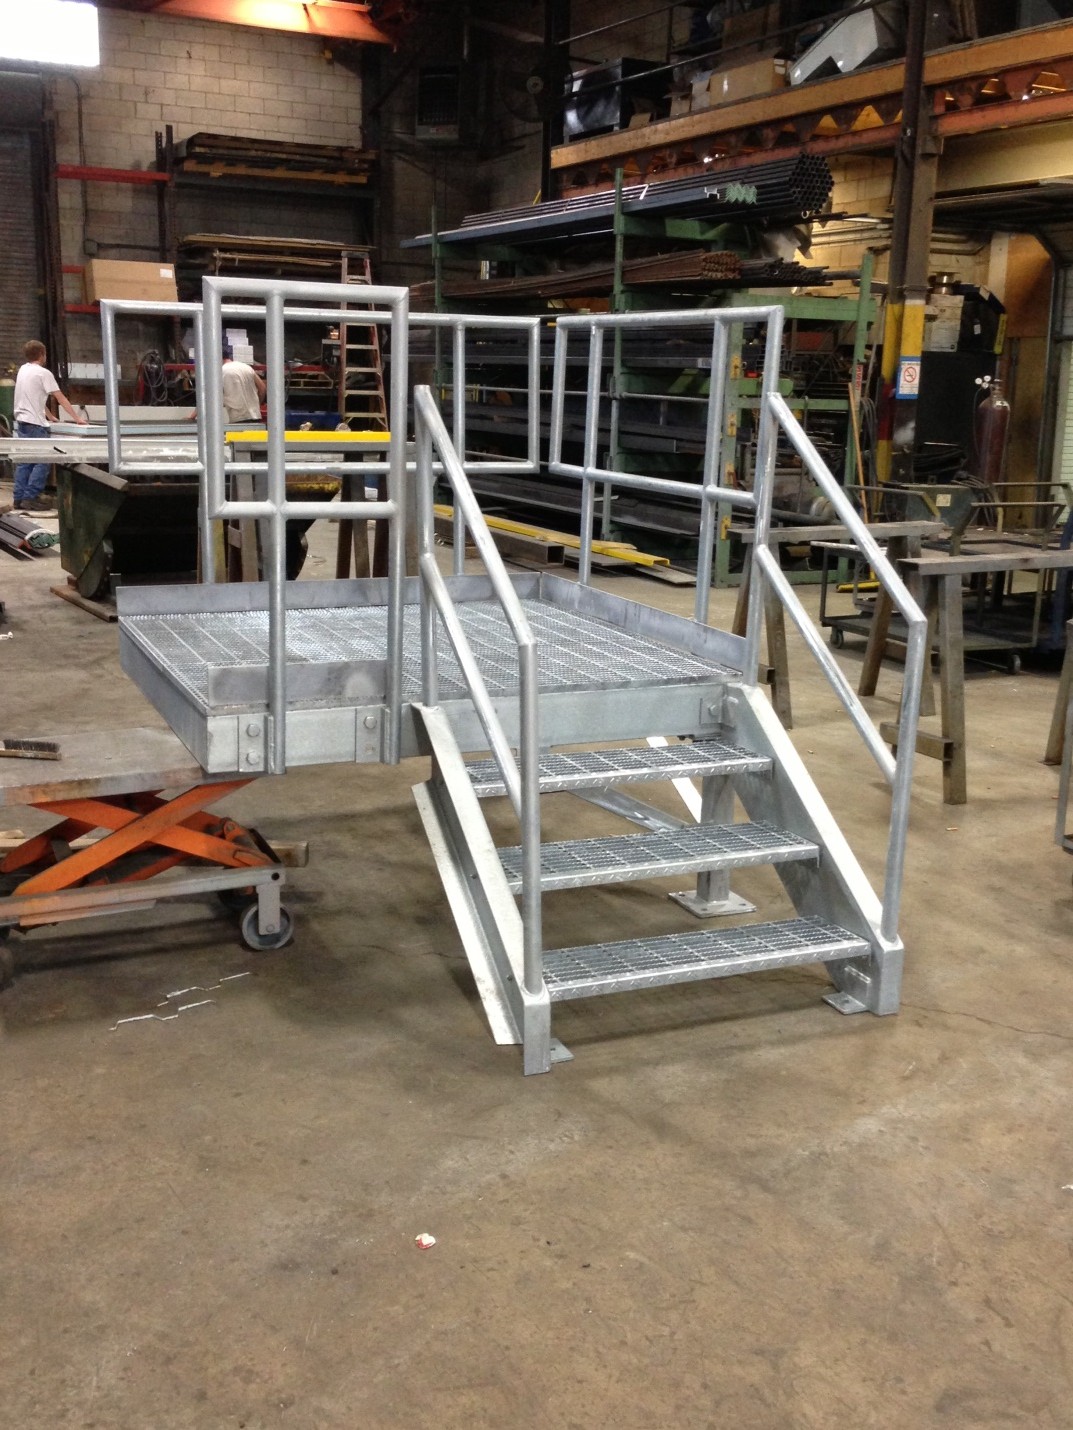
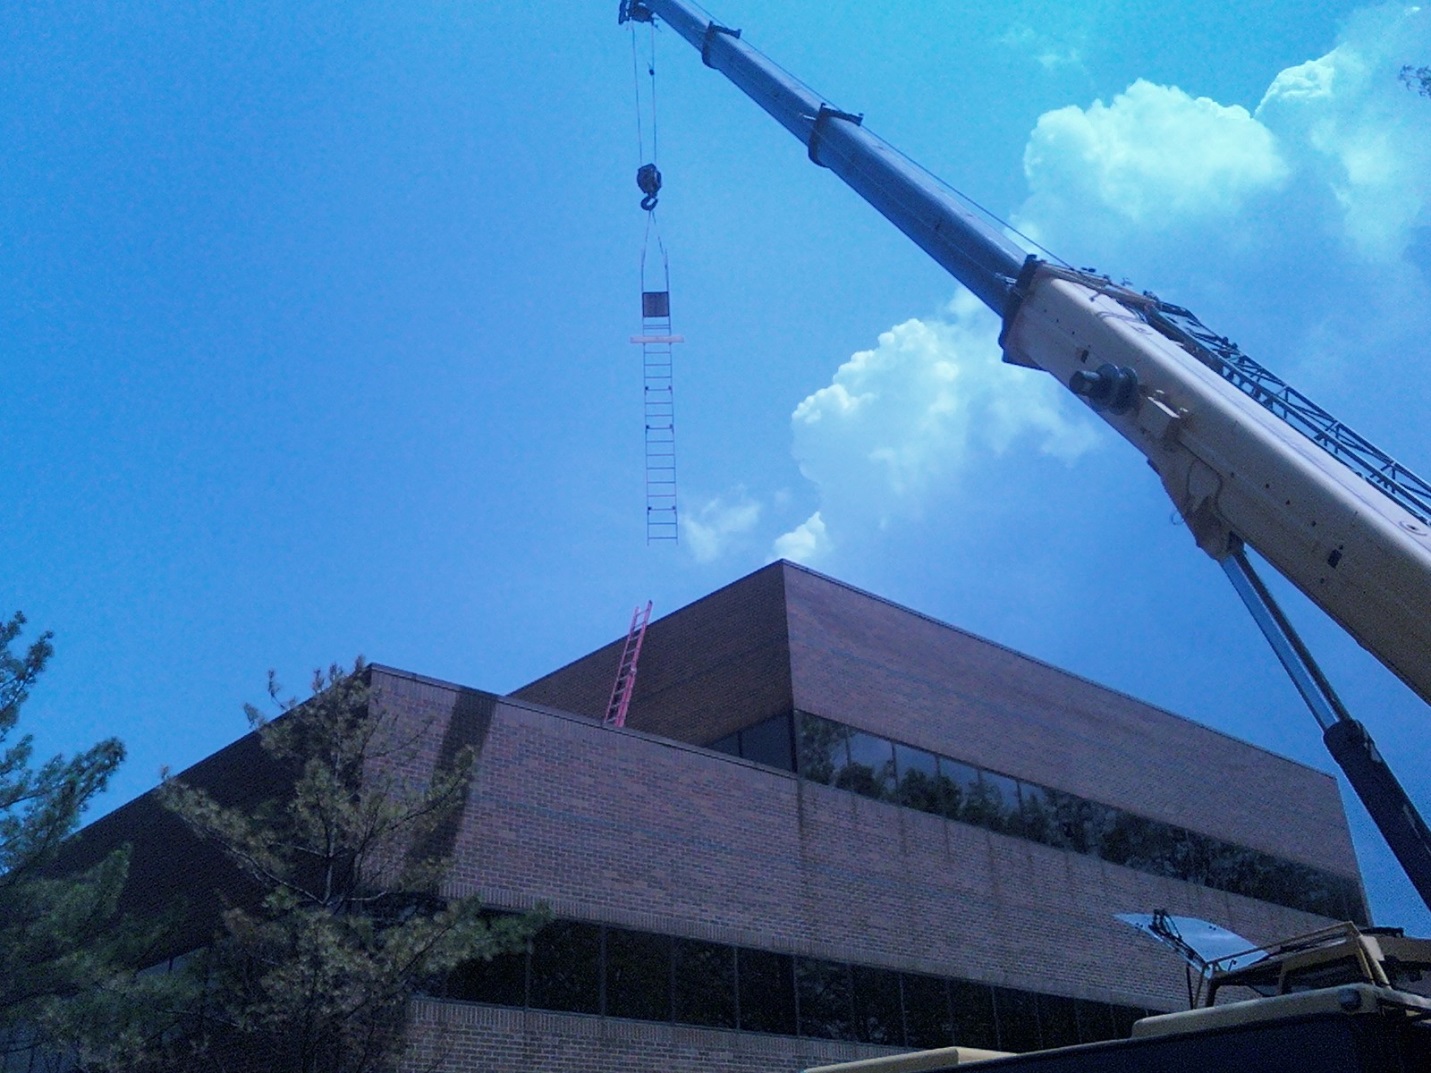
Stair parts being lowered into a bath of molten zinc
Hot dipped galvanizing is a process that involves dipping steel into a bath of molten zinc. This process creates a coating that is metallurgically bonded to the steel, in essence becoming the outer layer and part of the steel itself.
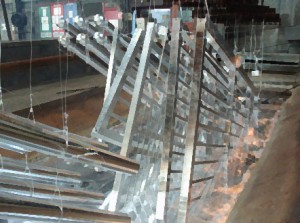
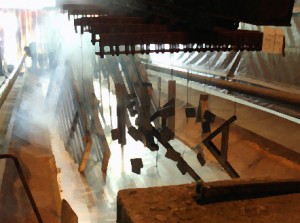
Stair components coming out of the zinc bath
The galvanized coating adheres to the steel at around 3600 psi, where other coatings, like zinc rich painting and zinc plating, adhere to the steel at a rate of 300-600 psi at best. The hot dipped coating has a hardness of between 170-250 DPH (Diamond Pyramid Hardness) as compared to the soft non-abrasion resistant coating of zinc rich paint or a 75 DPH hardness of zinc plating. This is important as it shows why hot dipped galvanizing is such a popular means of corrosion resistance as opposed to other coating options out there.
How do I paint over hot dipped galvanized steel?
If you are looking for a finish other than the shiny or dull galvanization finishes (there are cosmetic differences between each in luster, but no corrosion difference between the two), you would need to do a duplex, or two part, finish to your product: a hot dipped galvanized base layer and a painted top layer.
In order to paint galvanized metal you will need to first know whether the steel is:
- newly galvanized (under 48hrs exposed, no zinc compounds built up on outside of steel),
- partially weathered (day 2 to one year, some zinc compounds built up on outside of steel as well as possible dirt, grease, dust, etc.)
- fully weathered (one year on, zinc compounds covering the entire surface.)
If the galvanizing is new you will need to profile the surface to give the paint something to adhere to. You will also need to grind down any bumps or drips that may be present from the galvanizing process as these will show through the paint. REMEMBER: Take care not to grind away the entire galvanized coating; using a hand grinder may be best practice to control pressure and grinding depth. For a partially weathered galvanized surface you will also need to remove any drips or runs, as well as the built up zinc compounds on the surface. For fully weathered surfaces you can skip those steps as the built-up zinc compounds are good for helping the paint adhere.
After you have profiled and/or prepped the surface you will need to clean the oil, dirt and other compounds from the steel. You can wipe down the handrails using a product like “simple green” to ensure there is no oil or other buildup on the material. Then you will need to use clean water to rinse the surface and dry it. Dry time to paint time should be kept to a minimum (under 12 hrs.) in order to avoid allowing any other contamination or build-ups to occur.
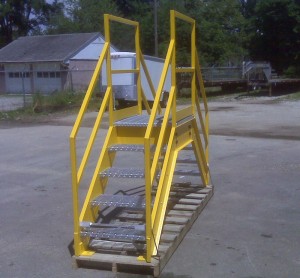
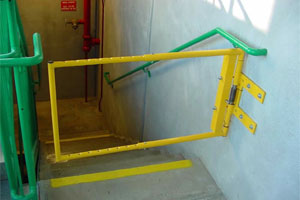
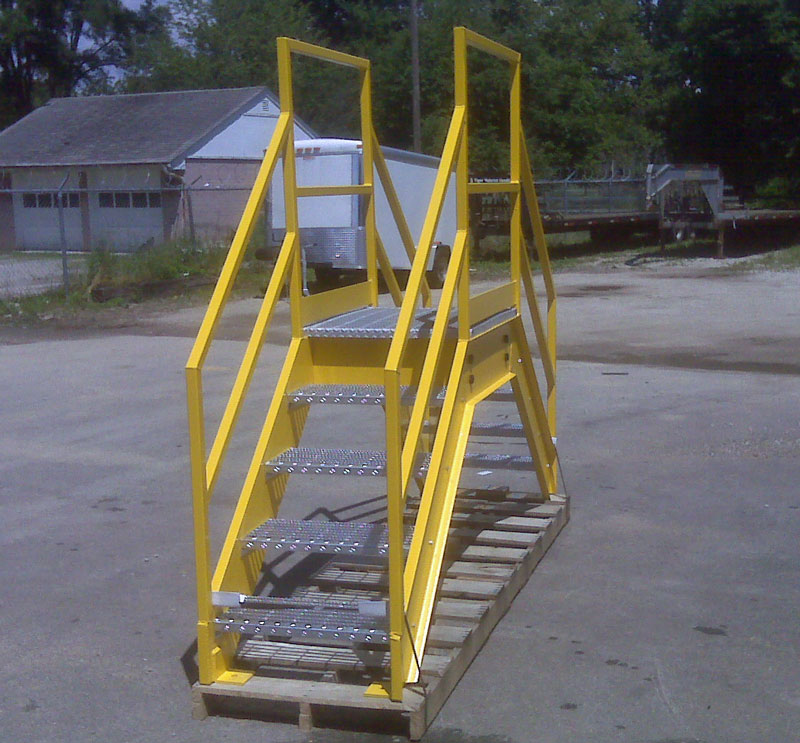
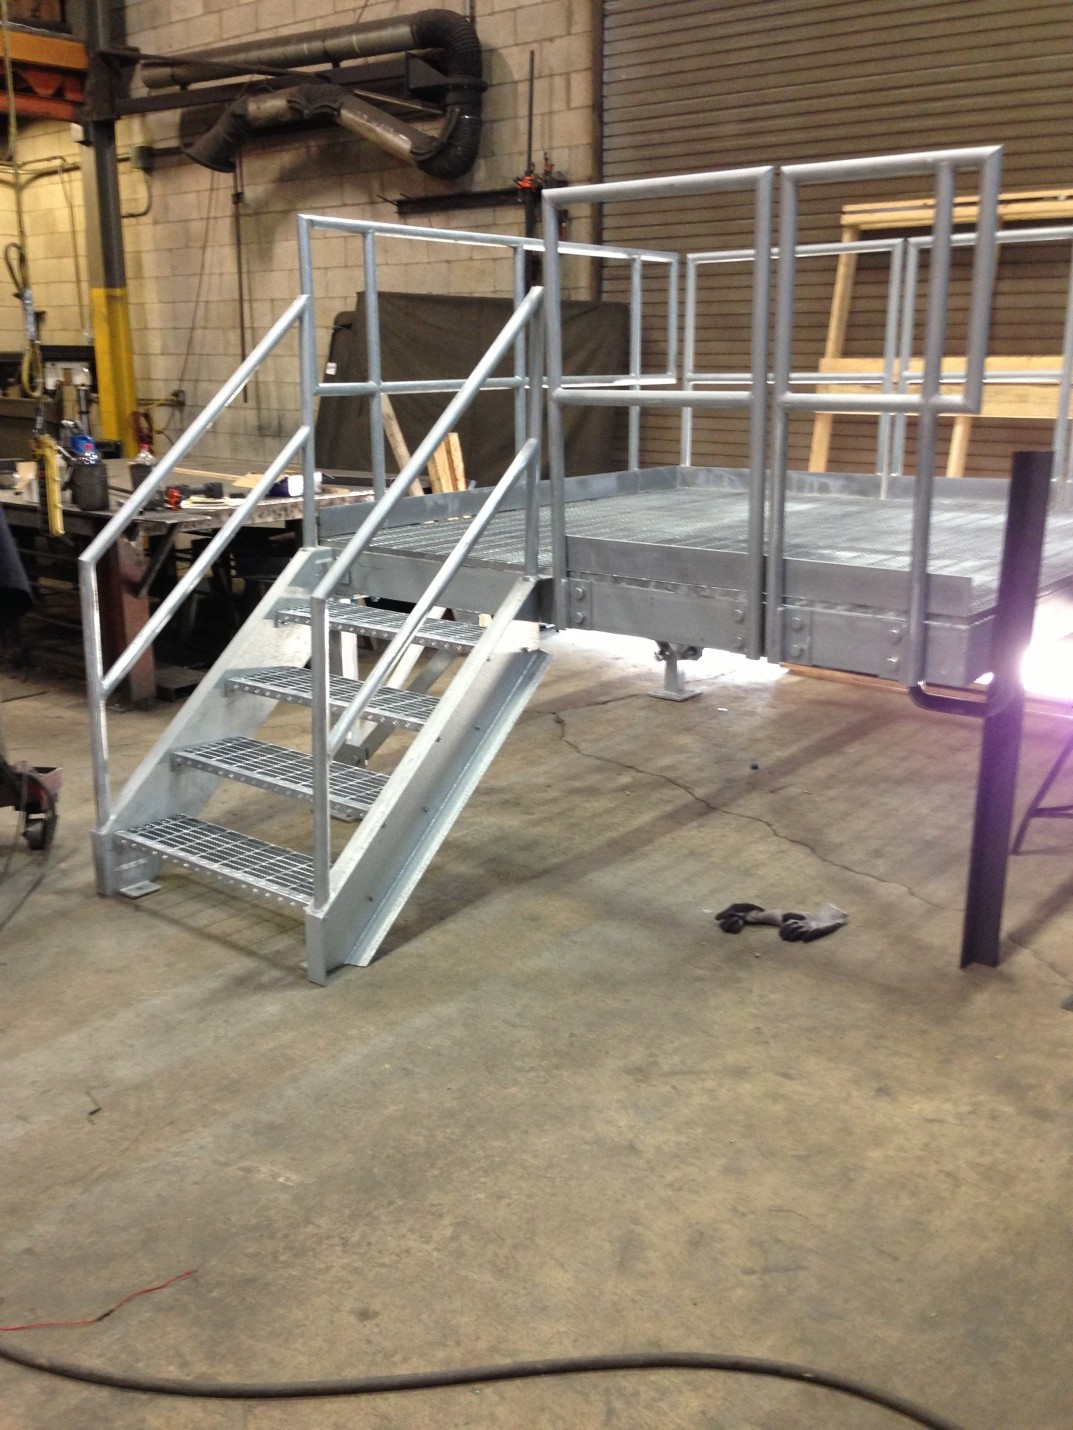
Stair crossover with yellow paint over galvanized steel handrails and stringers
What are some paints that are available for use over galvanized steel?
After the surface is clean and profiled you are ready to paint. A primer such as Sherwin Williams “pro-cryl” can be used. This primer dries fast and is corrosion resistant. You can top coat shortly after that with an acrylic coating paint like “DTM”. Check with your local paint supplier for additional options, as well as to get re-coat and cure times based on your temperature, humidity and paint thickness.