A customer called asking for a safe and secure means of accessing their roof and us to do a fixed ladder installation. They have a building that has multiple tenants and didn’t want to have to go through the tenants’ space every time roof access was needed, so an interior ladder and roof hatch combination was off the table. This happens more often than not either because they don’t have a good location inside to mount the ladder or they don’t want to make a hole in their roof.
We went out for a preliminary site visit to verify what the job would entail. The location that was chosen to mount that ladder at was flat from floor to roof. There were no gutters so we would not have to worry about having to either start and stop the gutter and add another down spout, or add a step across platform at the top of the ladder to keep within OSHA’s requirement of a maximum step across a distance of 12”.

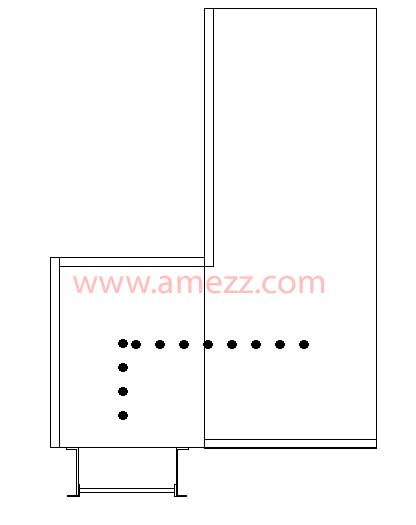
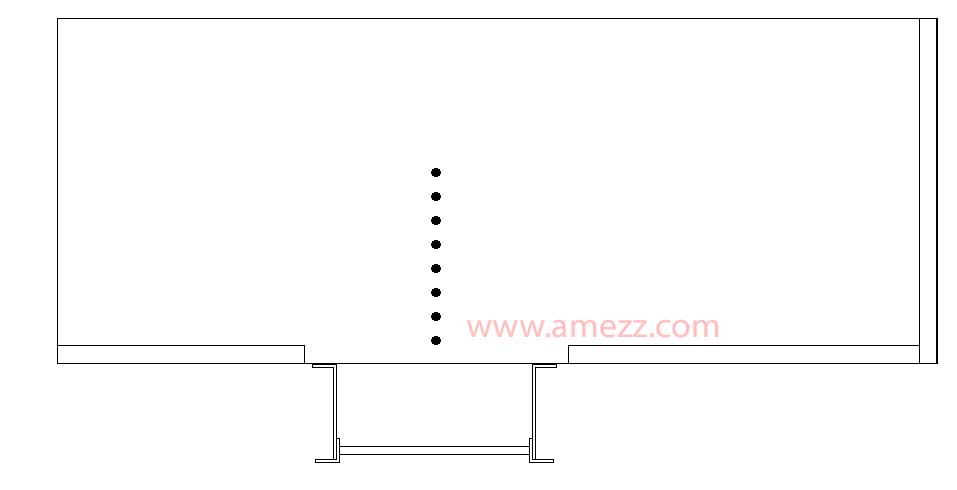
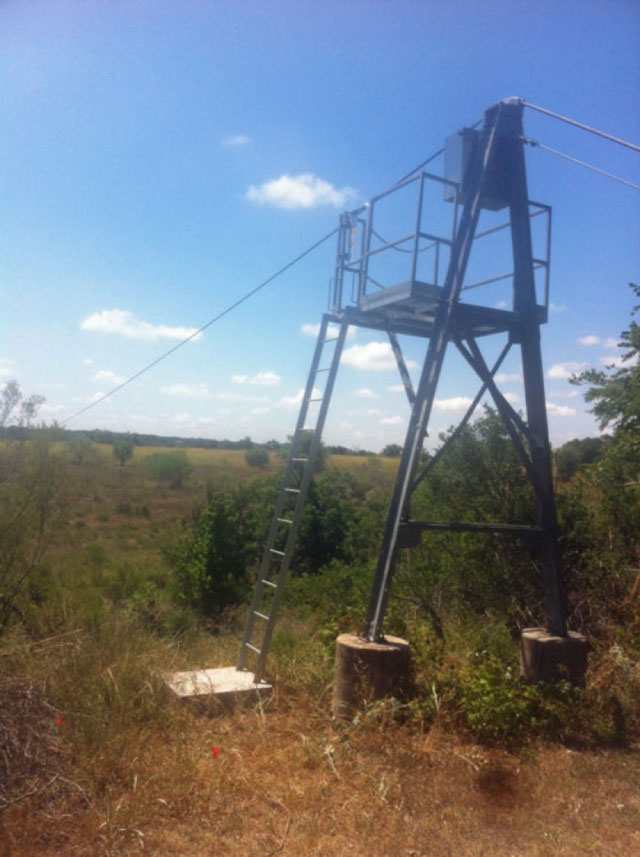
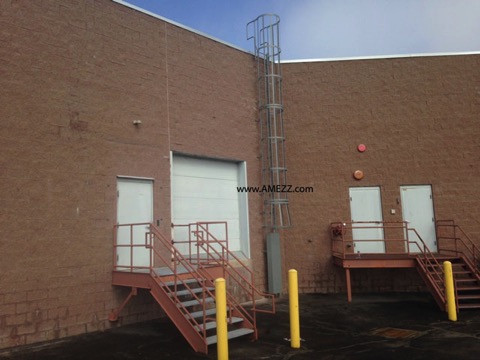
Installation site for caged ladder
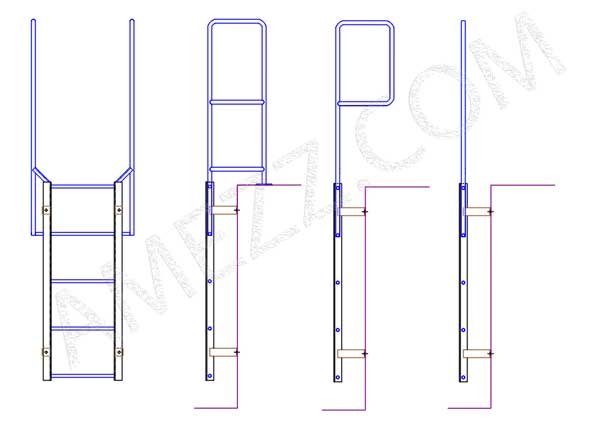
There was a slight parapet at the top of the wall so we set up the extension ladders to verify that the parapet was under 14”high so we would not need to have a crossover ladder with return on the back. We did elect to modify the walk through handrail to remove the return down to the roof to allow more flexibility with installation. Using the self supported walk through handrail allowed a proper fit regardless of the parapet thickness.
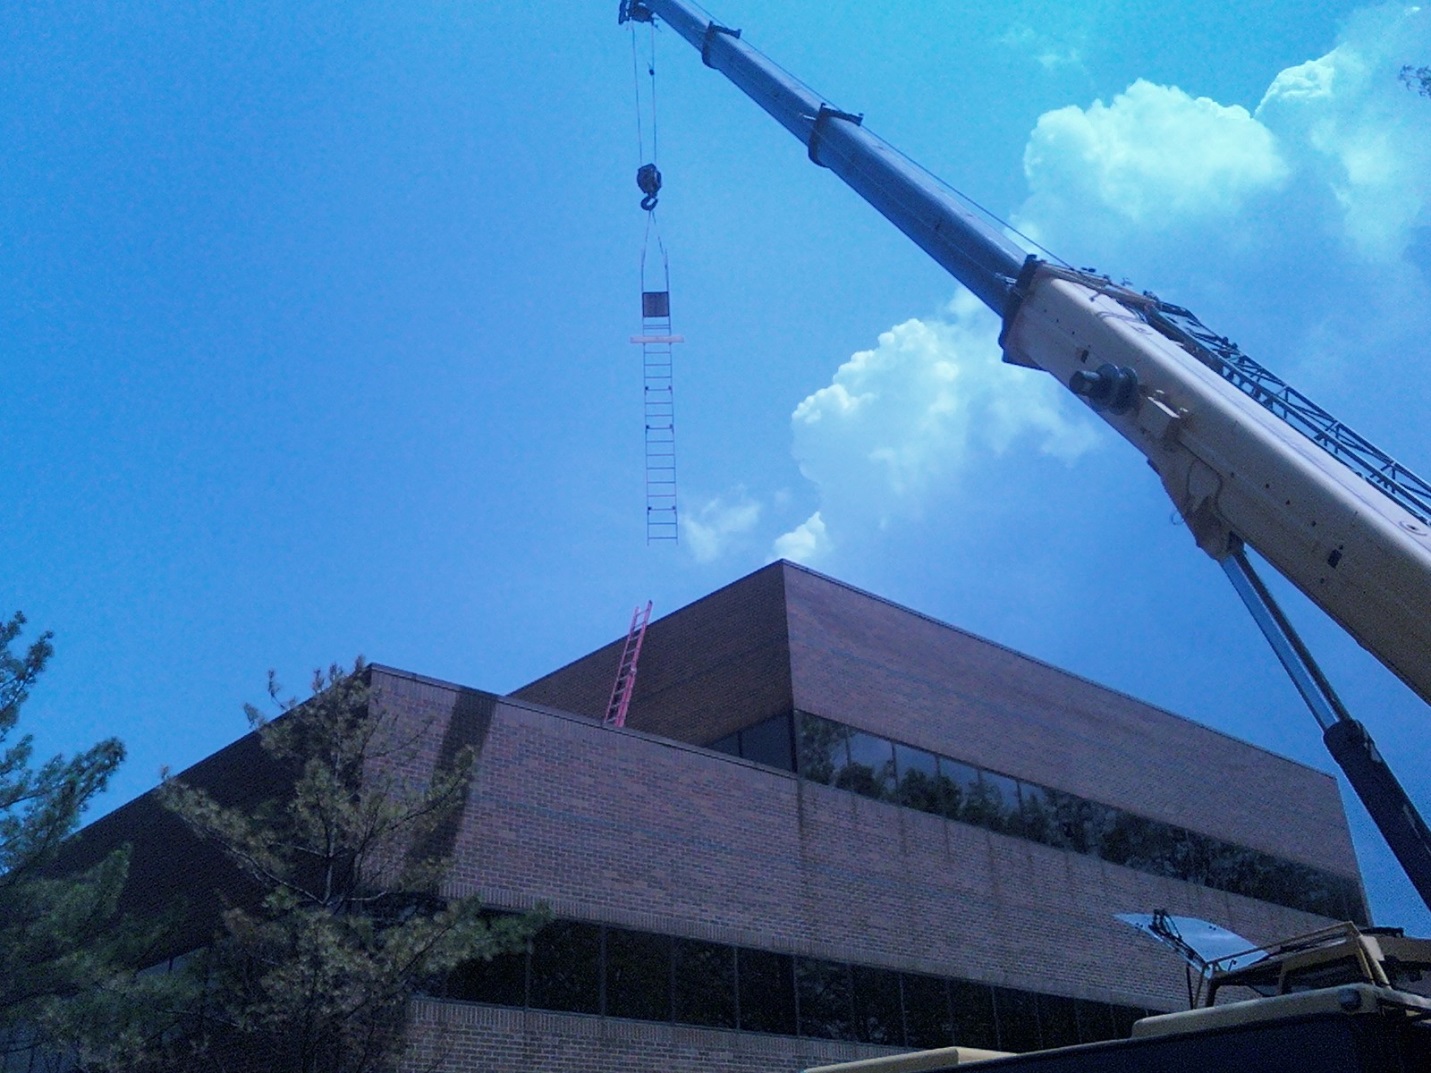
Materials were fabricated and shipped to the jobsite where the installation crew attached the lower and upper ladder sections together with the supplied brackets. Next, the ladder was hooked up and elevated into place by a forklift boom. By securing the ladder a little lower than the top, but well past the weight ½ way point, we were able to safely use a shorter, readily available lift and avoid the added cost of additional machine rental.

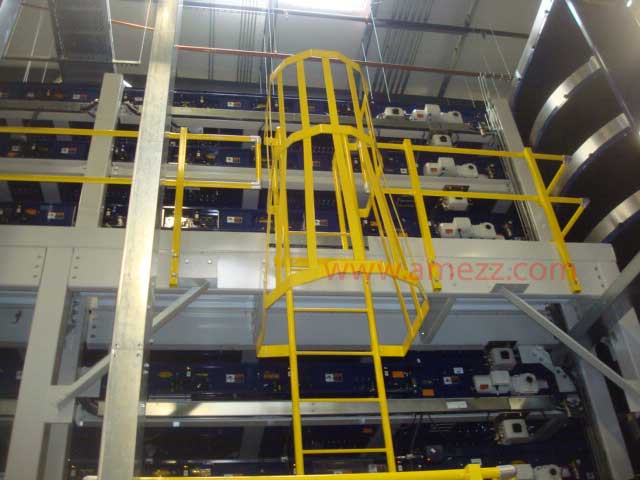
Lifting the fixed ladder into position
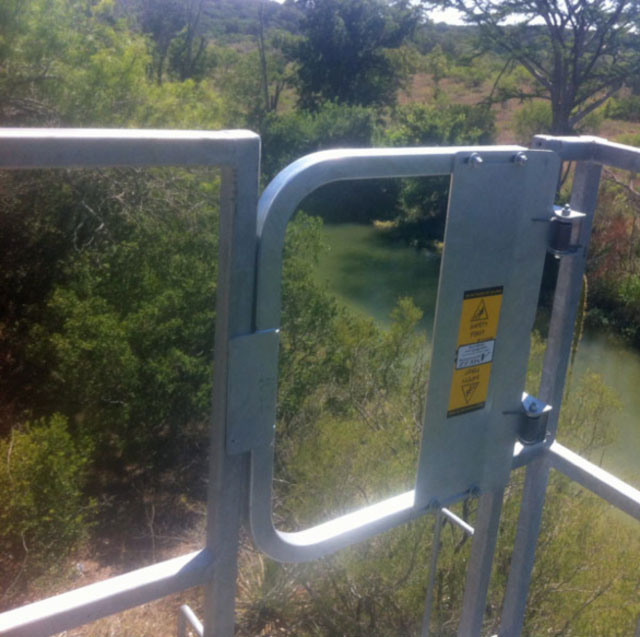
The ladder was also outfitted with the LG6 6’ security ladder rung guard to prevent unauthorized access to the ladder. Once hoisted into place, ½” sleeve anchors were inserted into holes drilled into the block and turned until expanded properly, securing the ladder to the wall. For this ladder 18 anchors were used, distributing the 650# ladder and 300# capacity load to well below the tension and shear values for sleeve anchors with the recommended 1-7/8” minimum embedment and a 4:1 (25%) safety factor. Installation was completed in just one morning by a crew of two.
Completed fixed ladder installation
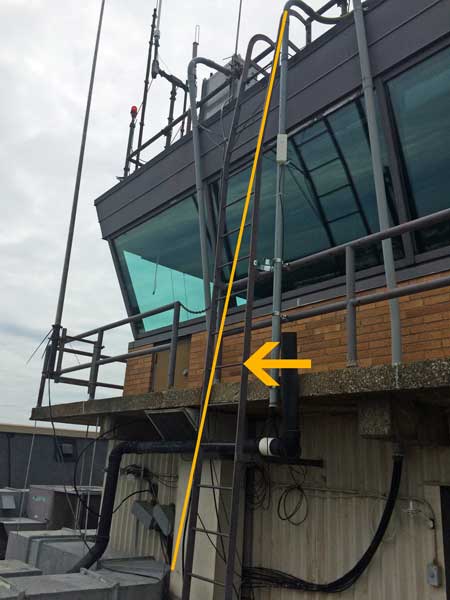
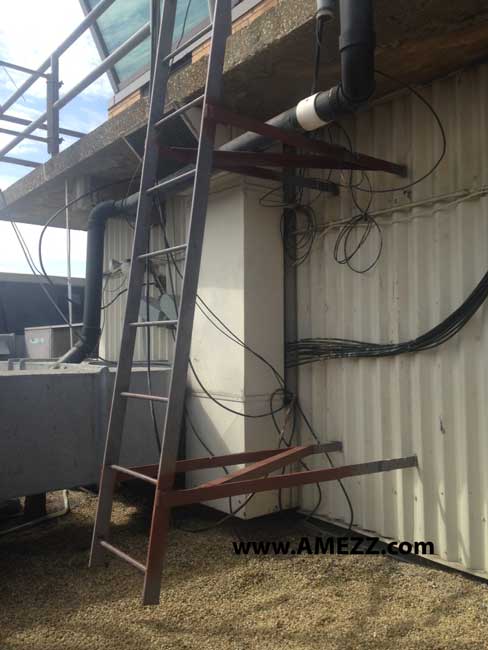
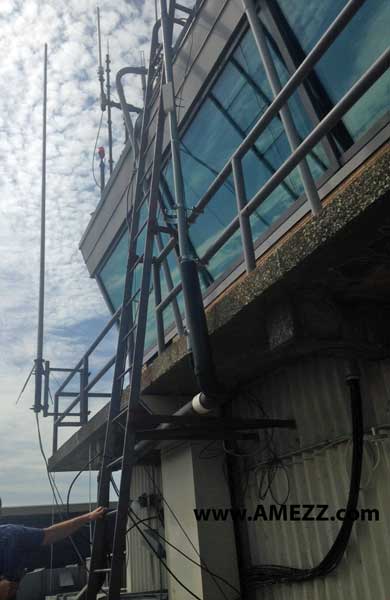
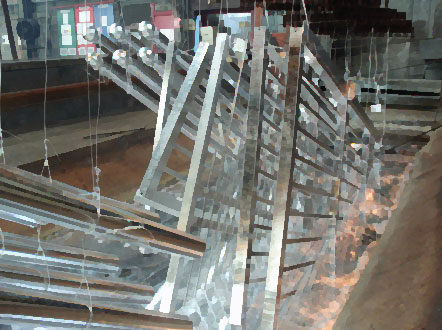
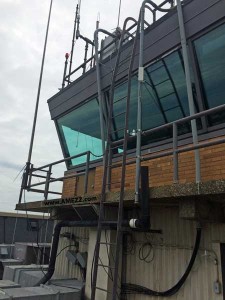 We recently were called out to look at a ladder that did not meet OSHA standards (1910.27) for clearance on the back side of the ladder. The ladder also had two angles of climb as shown in the above photo. When climbing up the ladder, the concrete walk was too close to the ladder for you to safely grasp the rung and also to put your foot on the rung while climbing. The ladder was accessing the top of the traffic control tower at an airport, and as such, we had to work around a variety of factors to ensure a proper replacement or modification of the ladder could take place without interrupting operations. As the install location was at an airport, the use of a crane to bring a replacement ladder to location would have been a logistical nightmare. We decided that whatever the solution was, it was to be brought up from the inside of the tower.