Author Archives: Derick

The New Pallet Rack Gate System: Improving the Safety on Your Pick Units and Pallet Rack Mezzanines

pallet rack gates protecting two bays of pallet rack

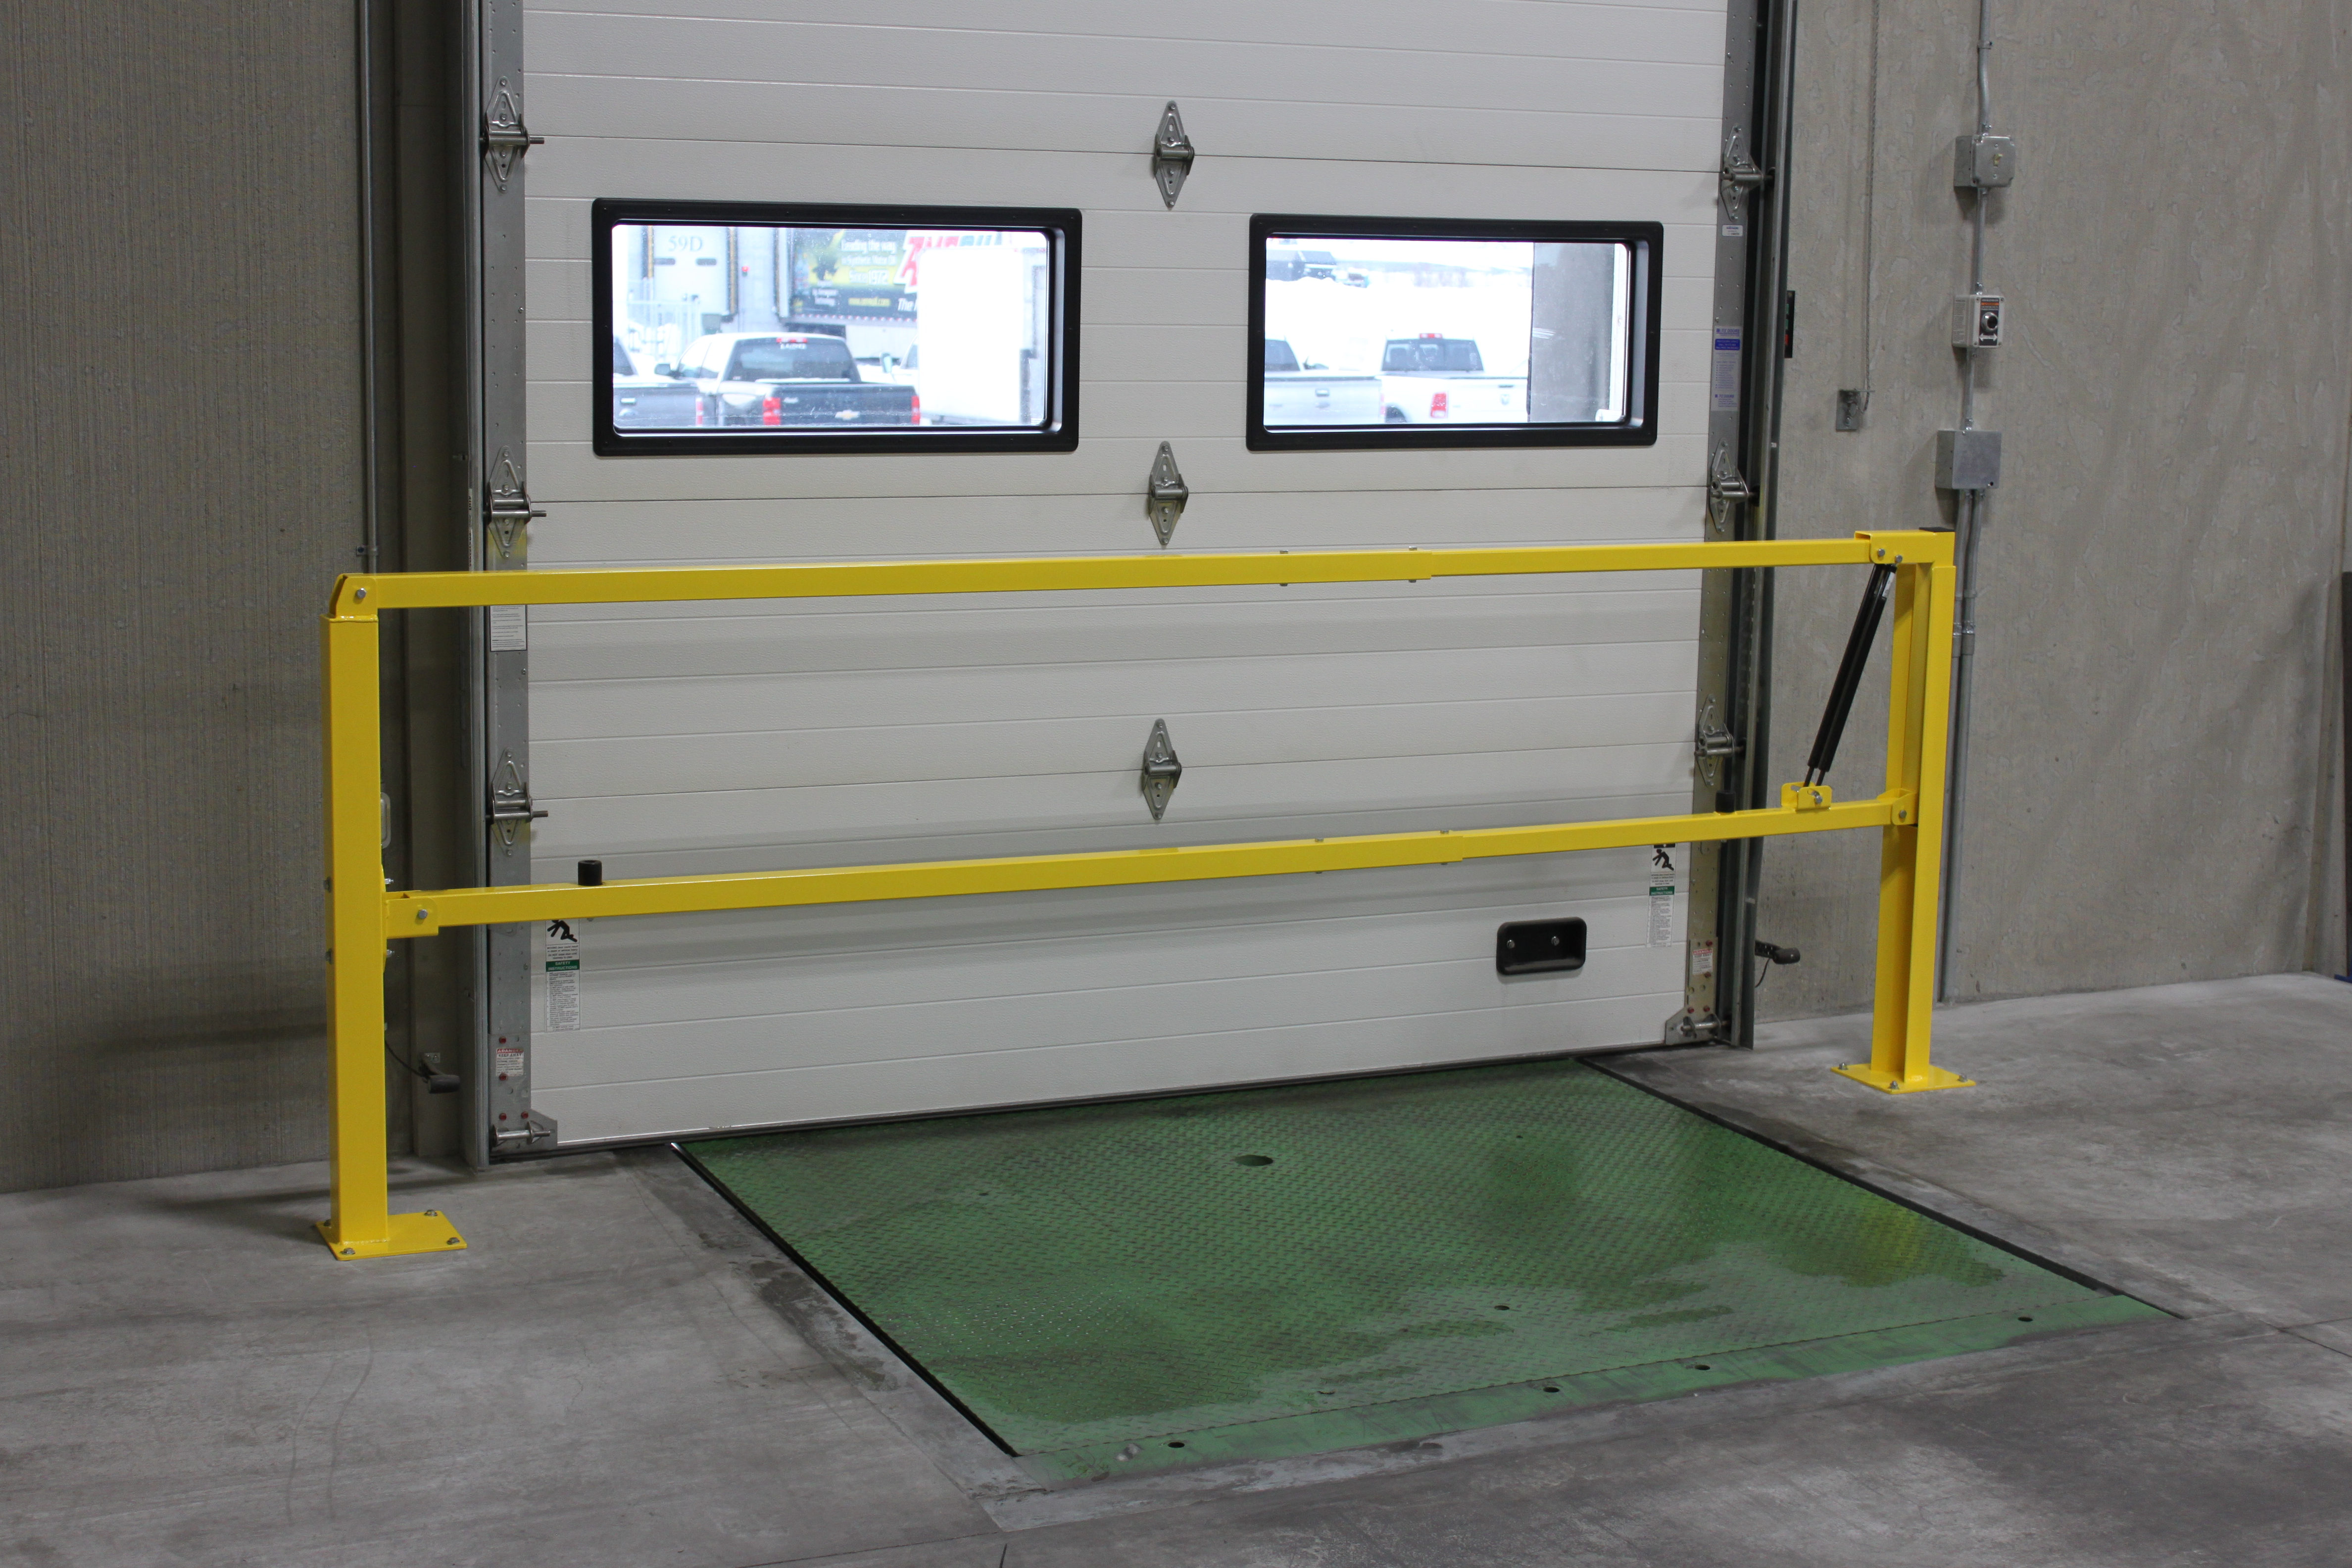
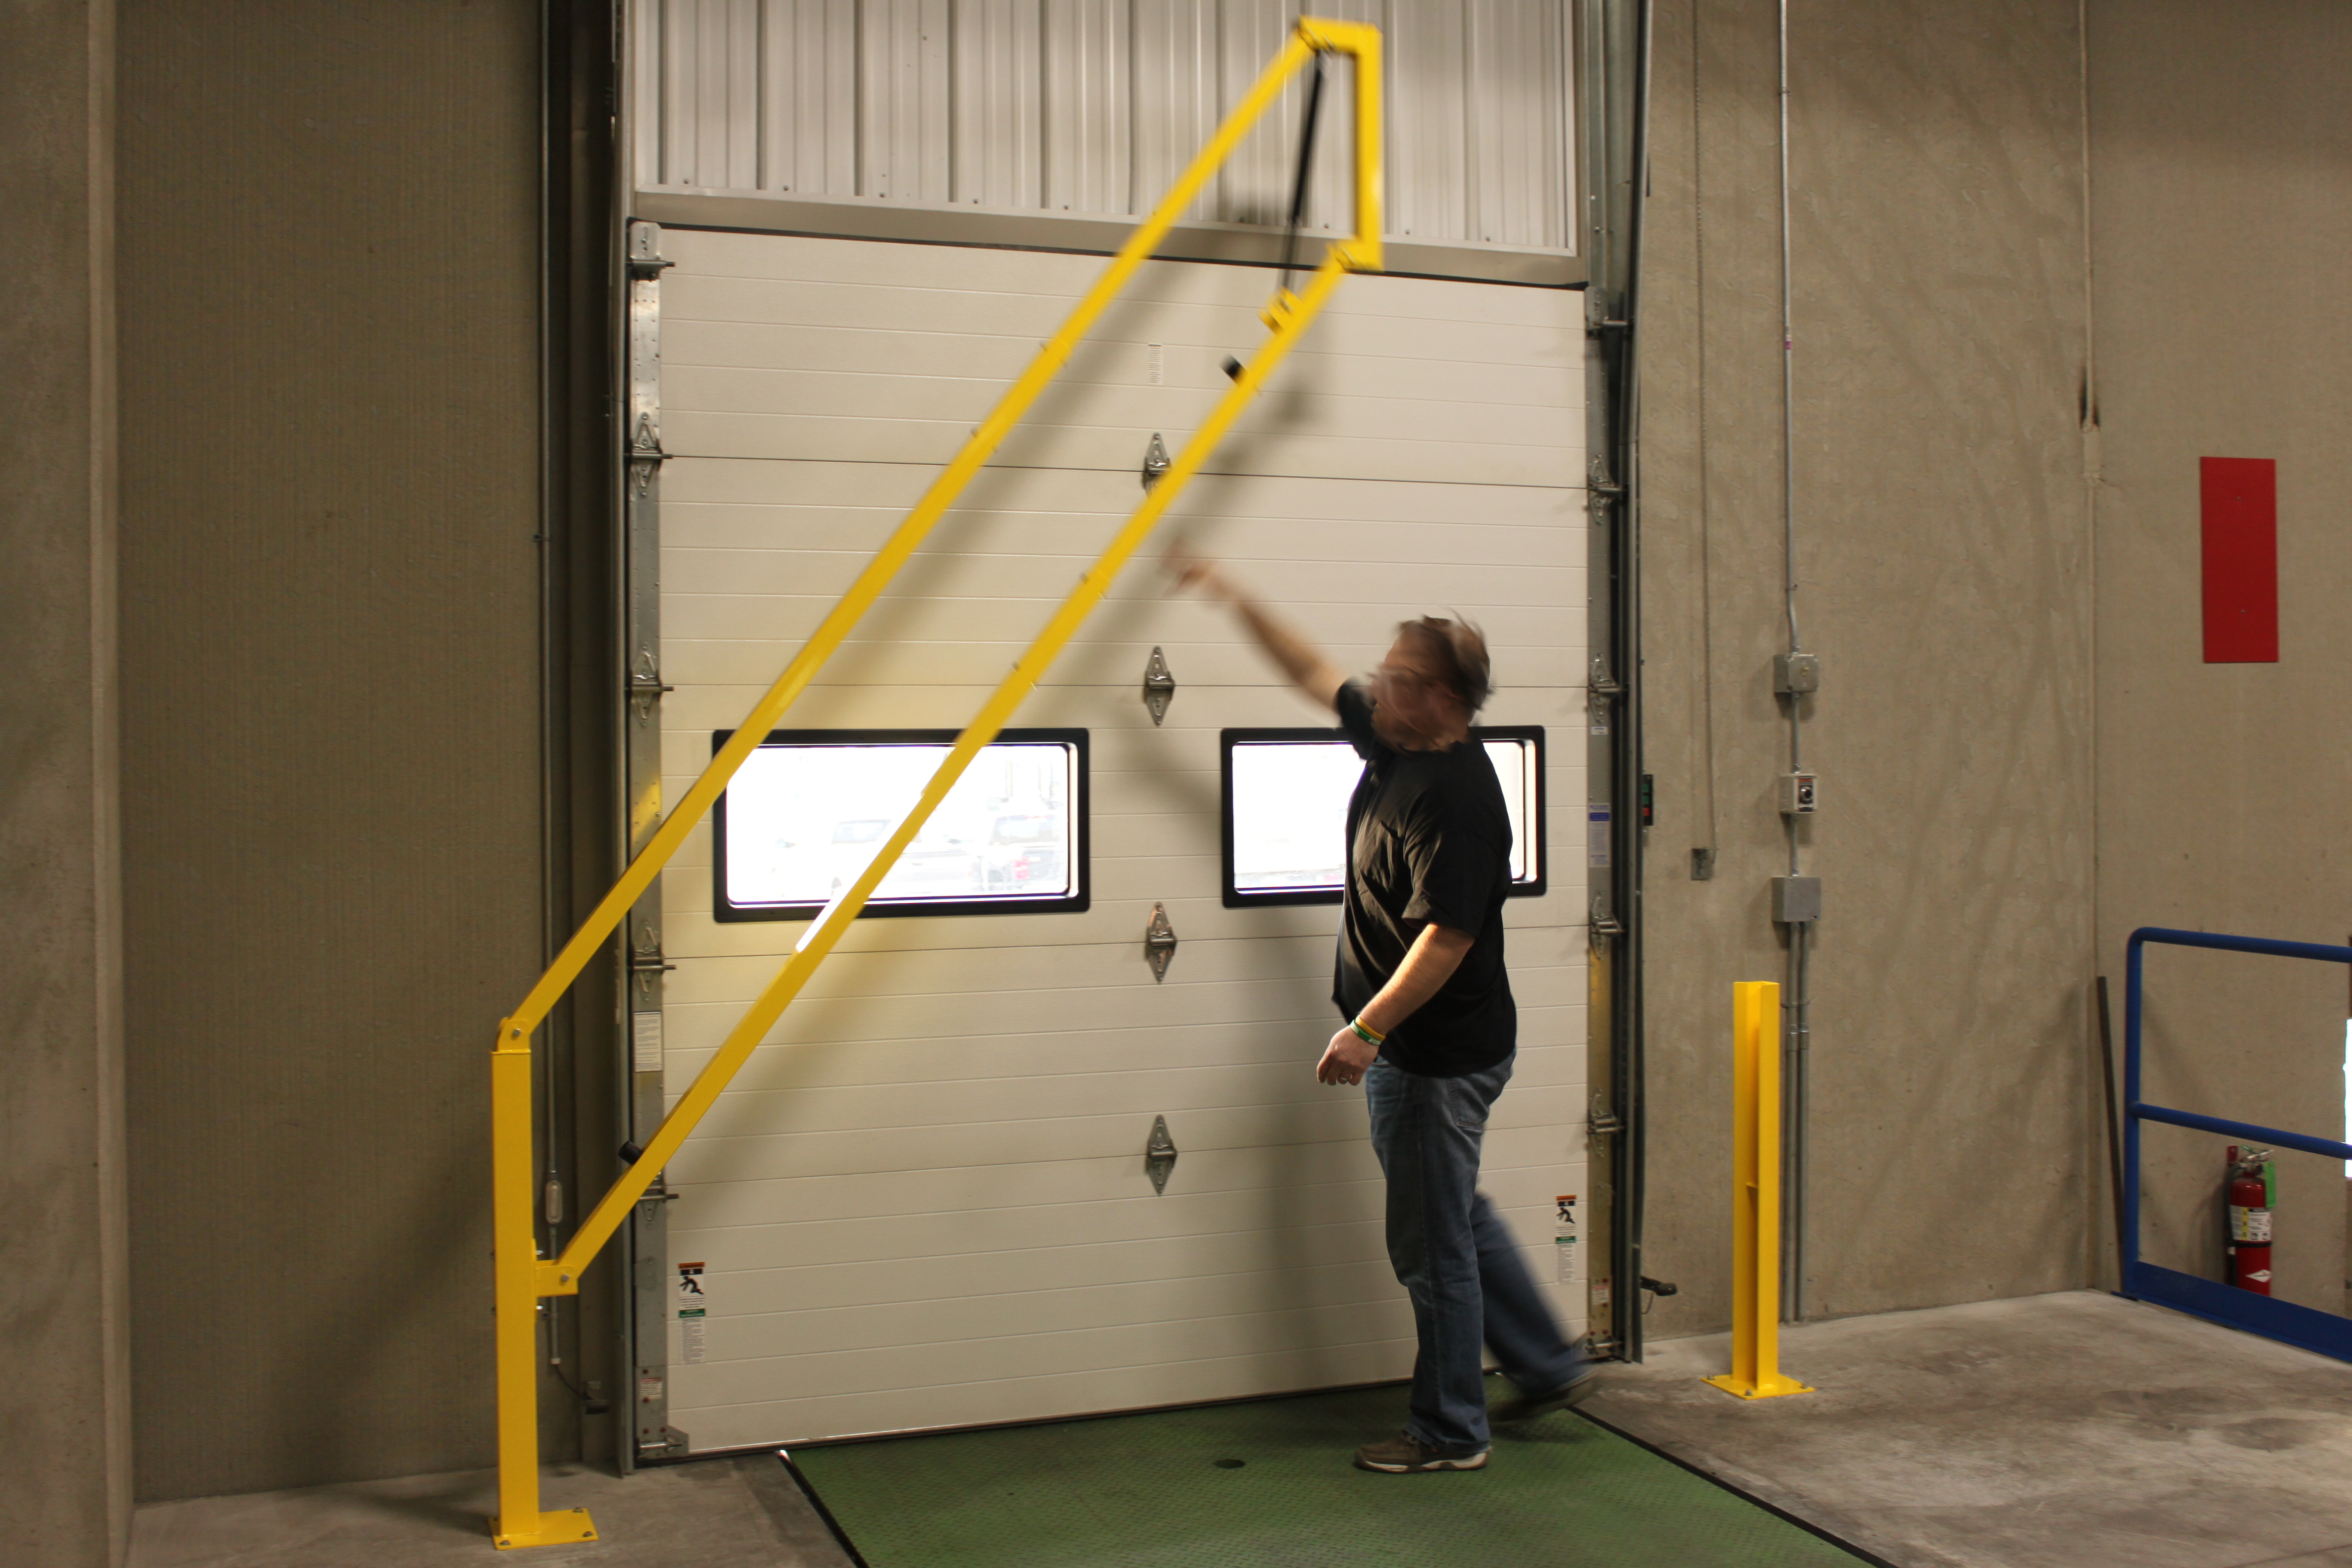
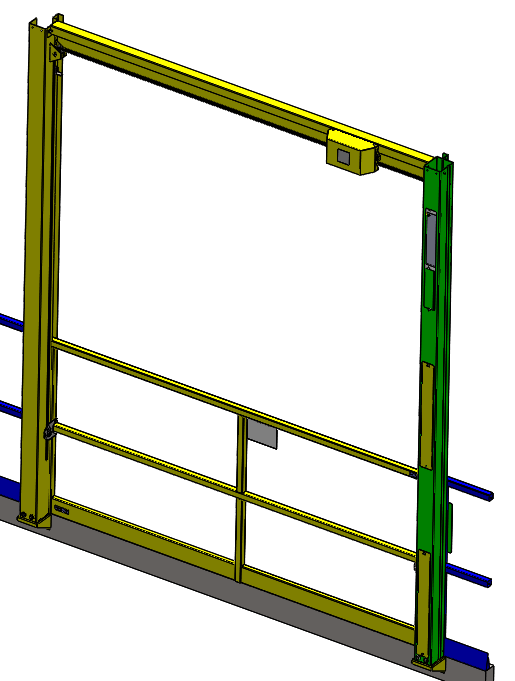
The Pallet Rack Gate automatically closes off the edge as the pallet clears the bay, protecting your employees.

We’ve been adding a number of gates to our mezzanine gate collection over the past year. Today I’d like to take a minute to talk about another of our newly added gates:  the Pallet Rack Gate.

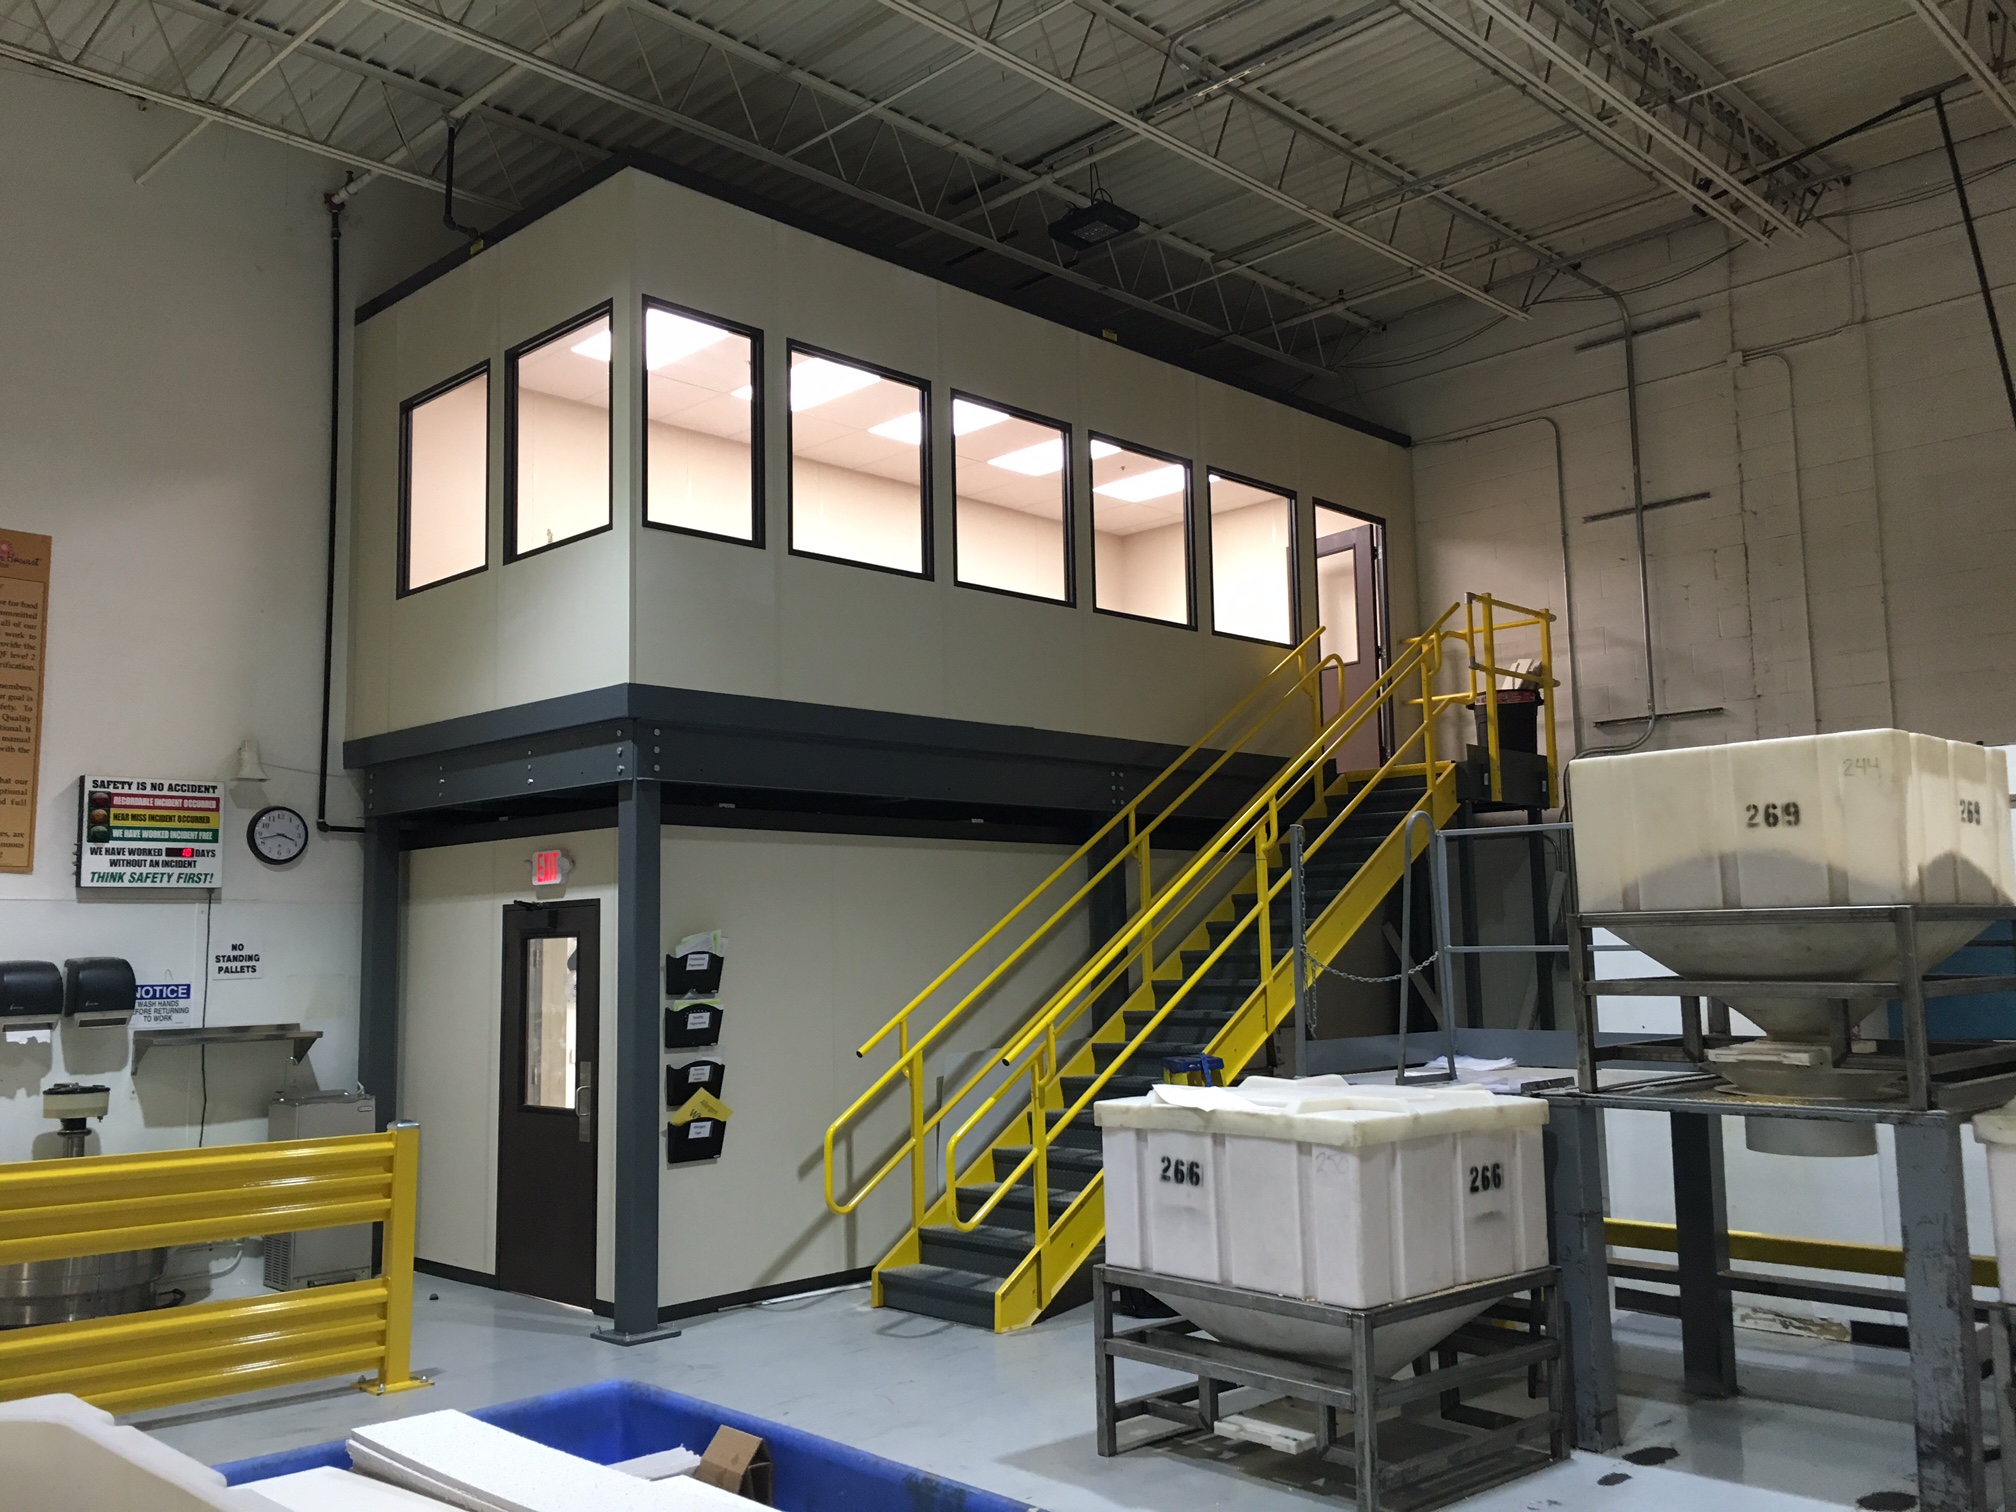
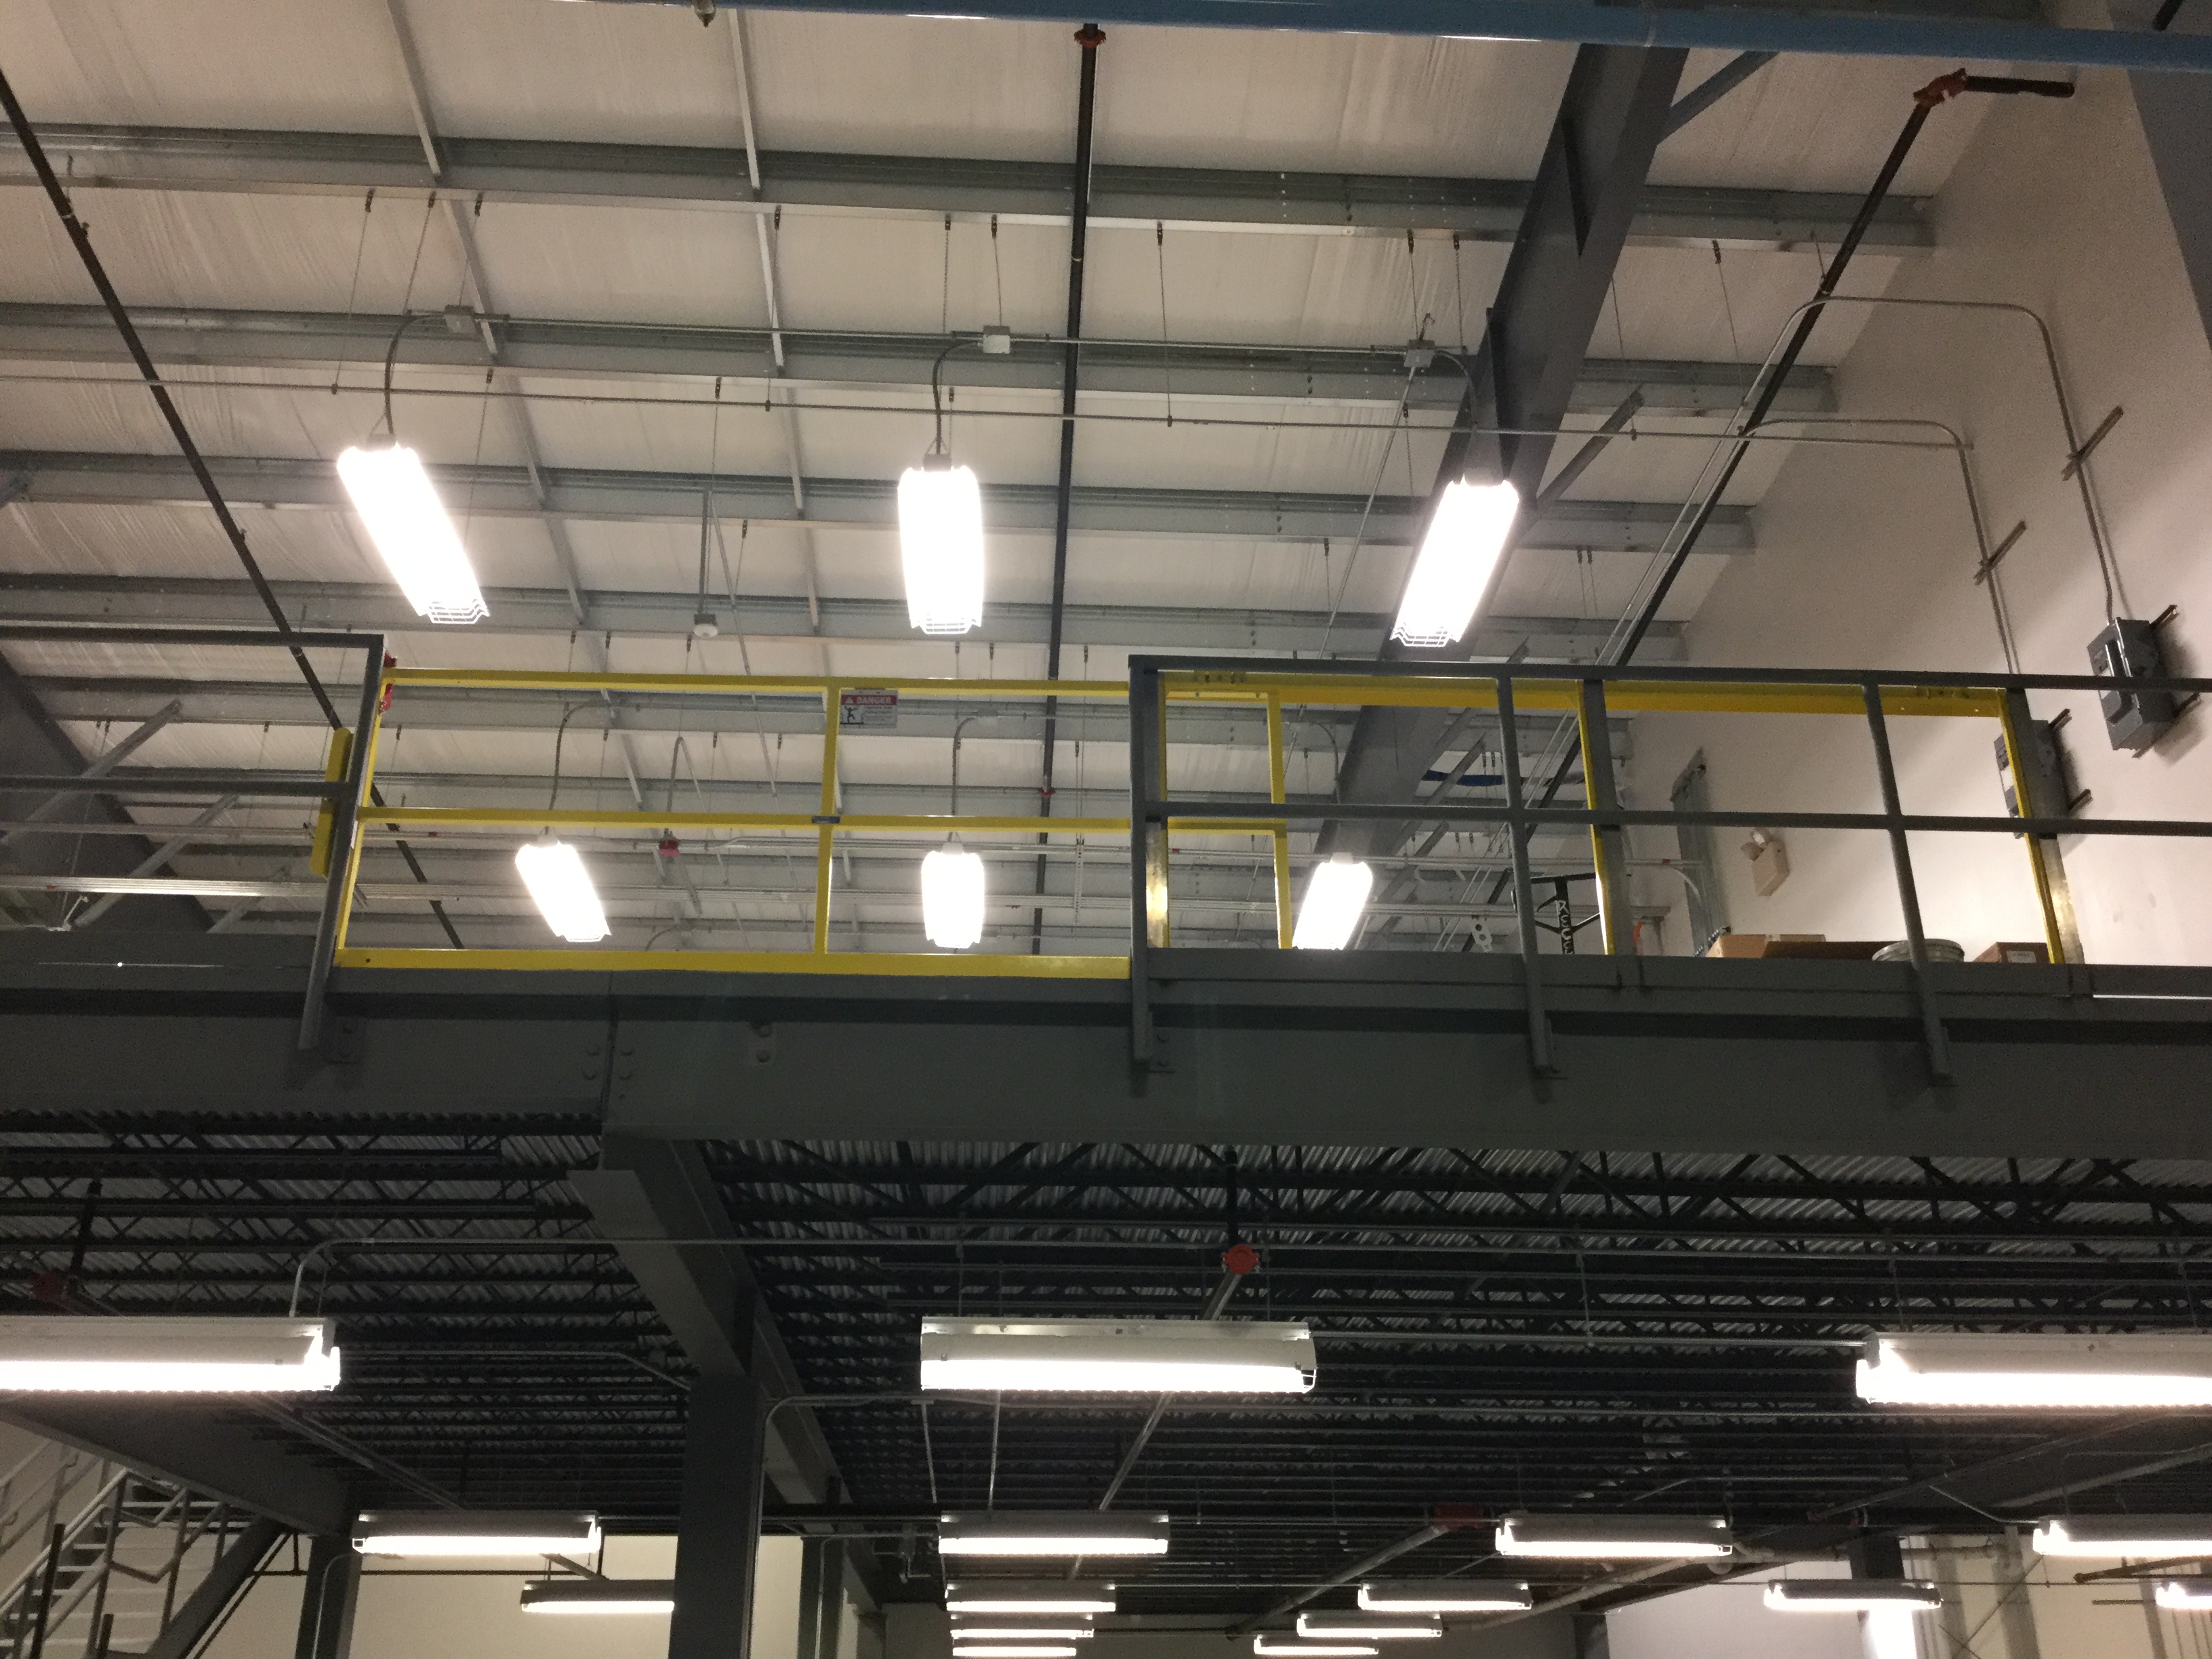
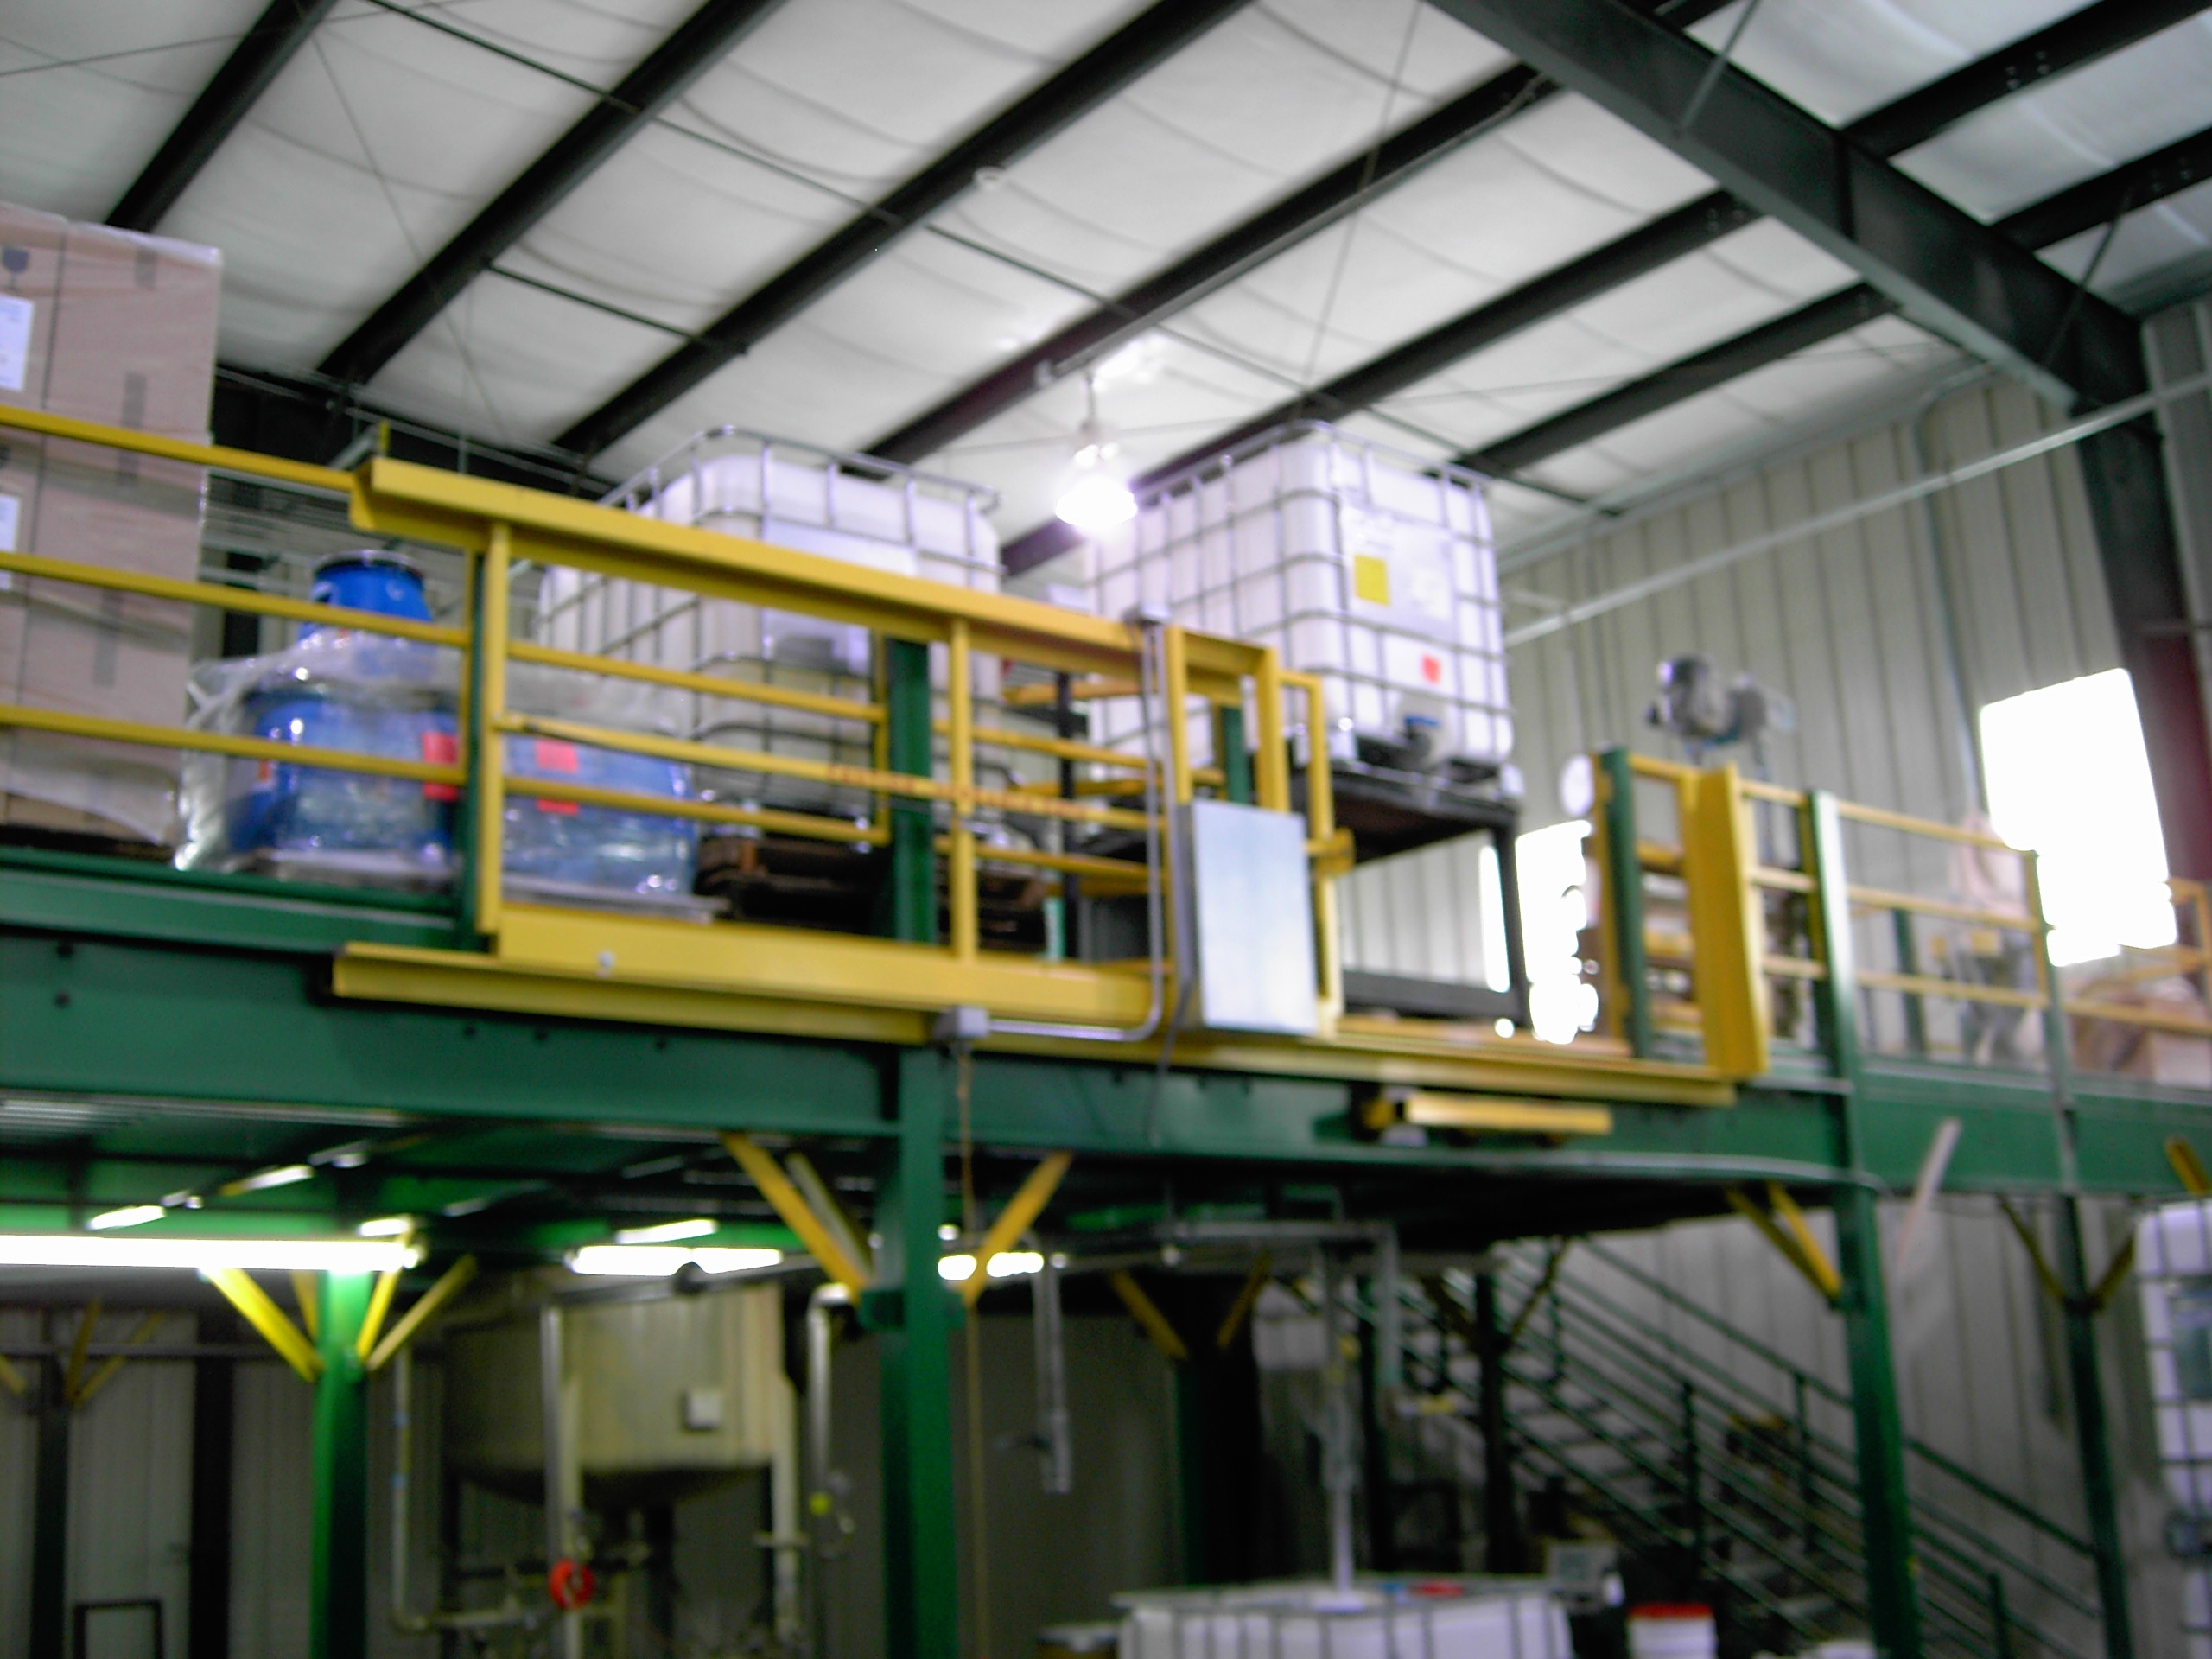
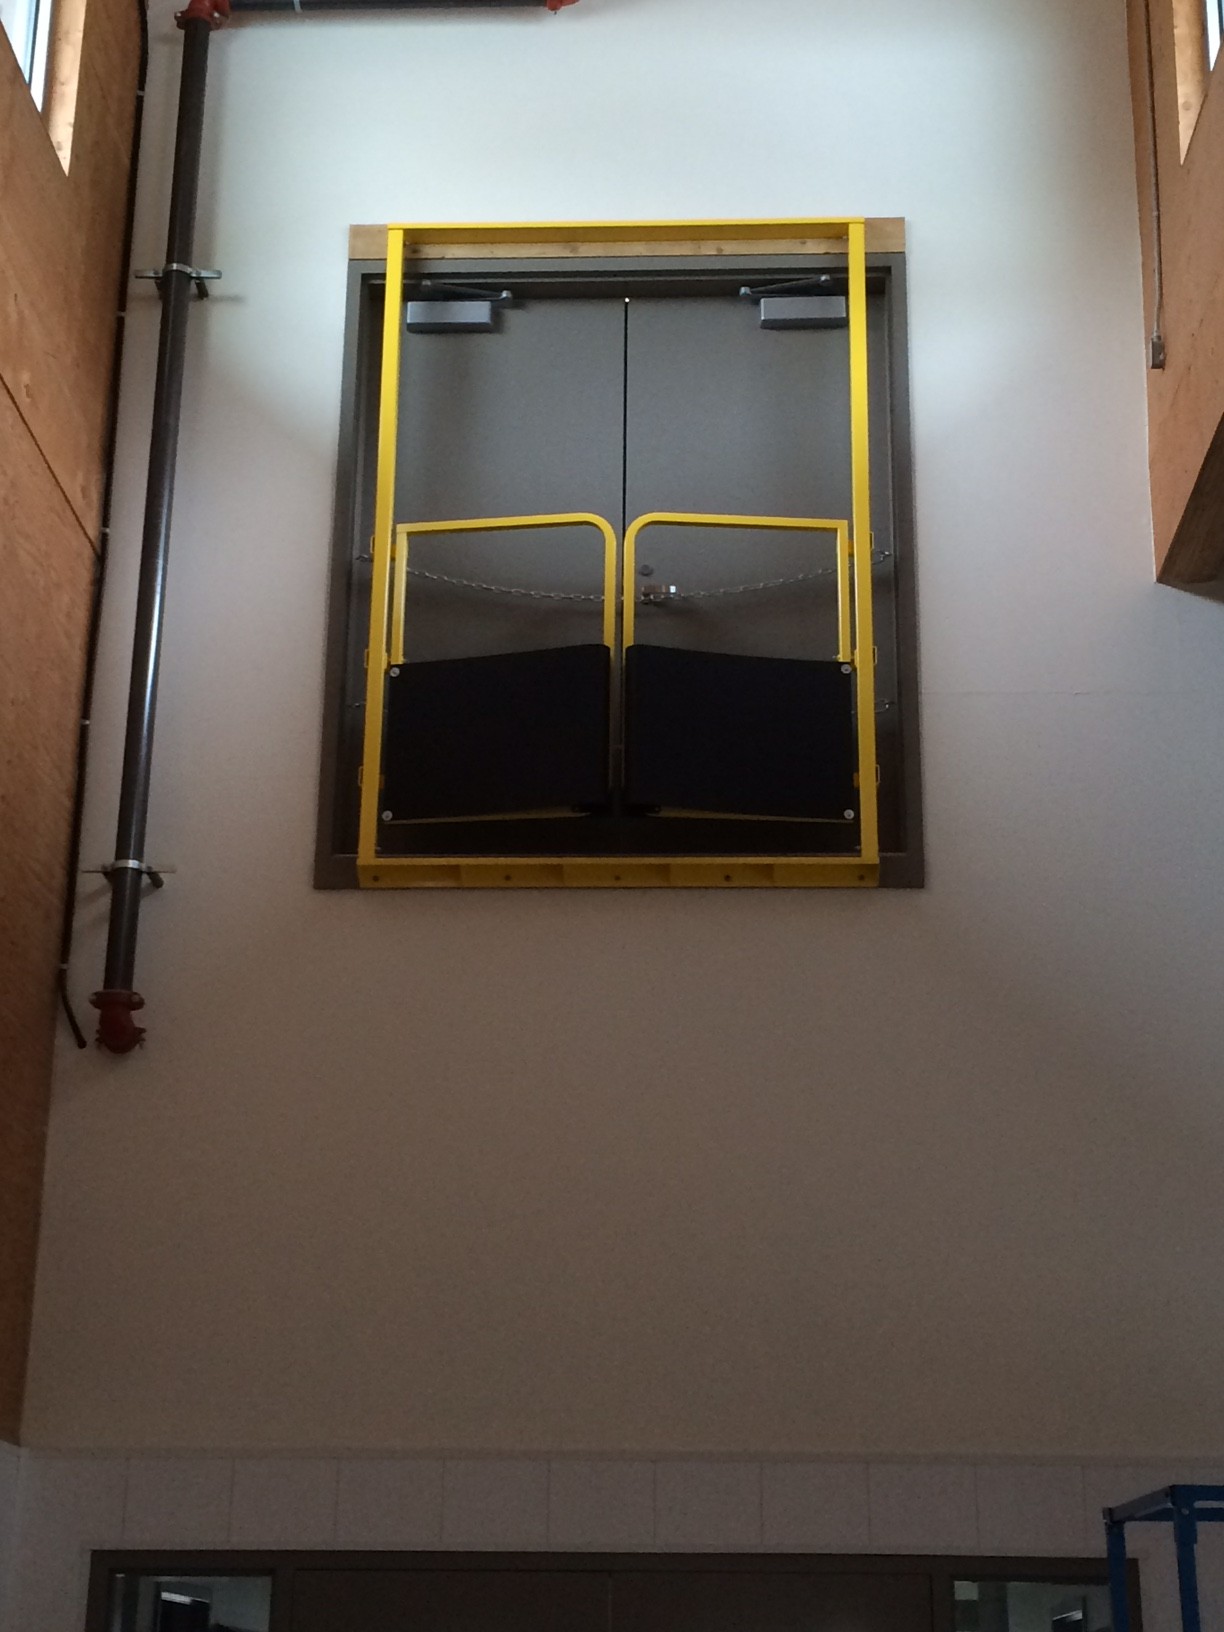
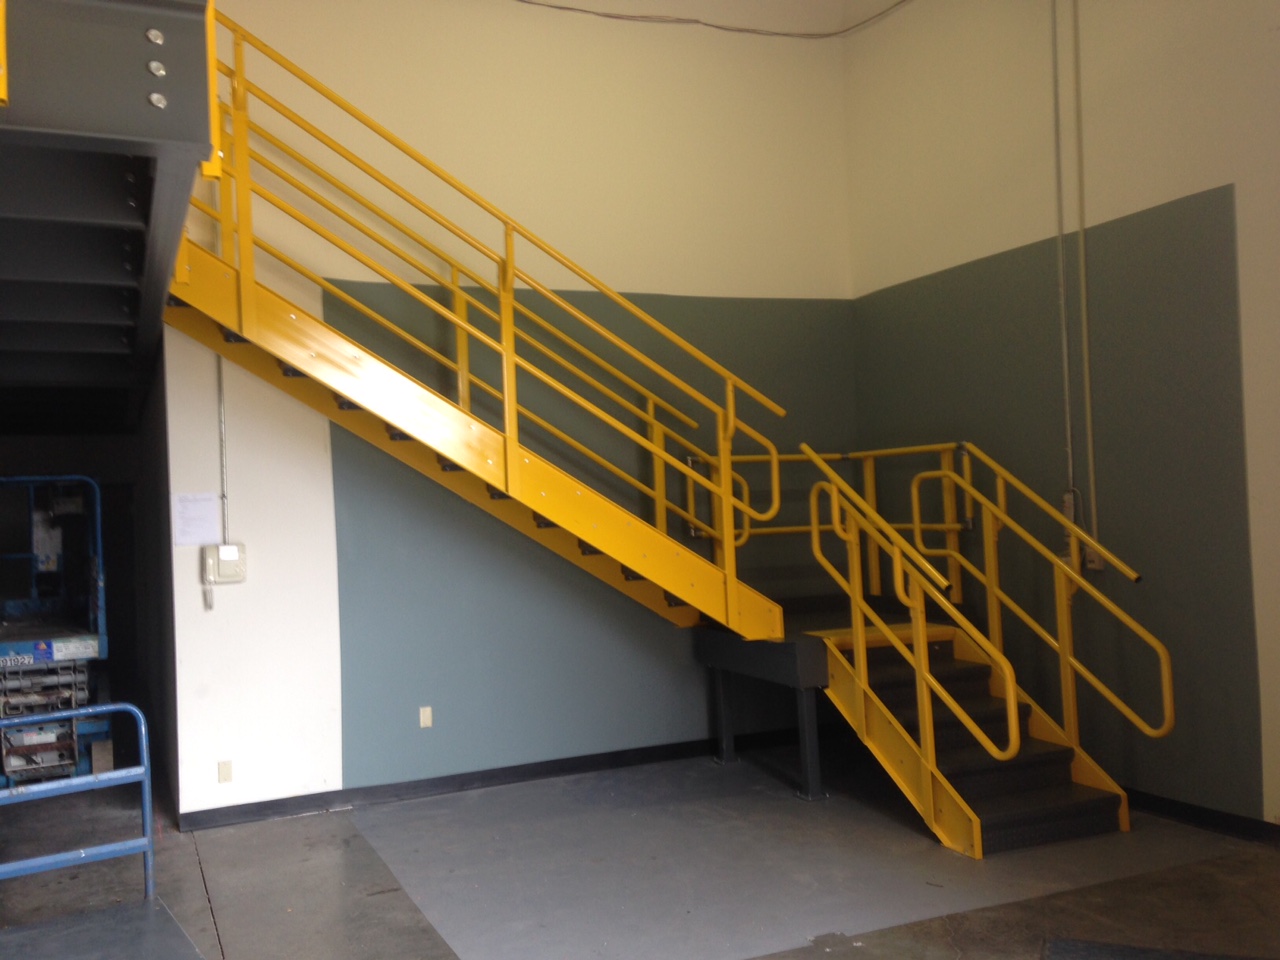
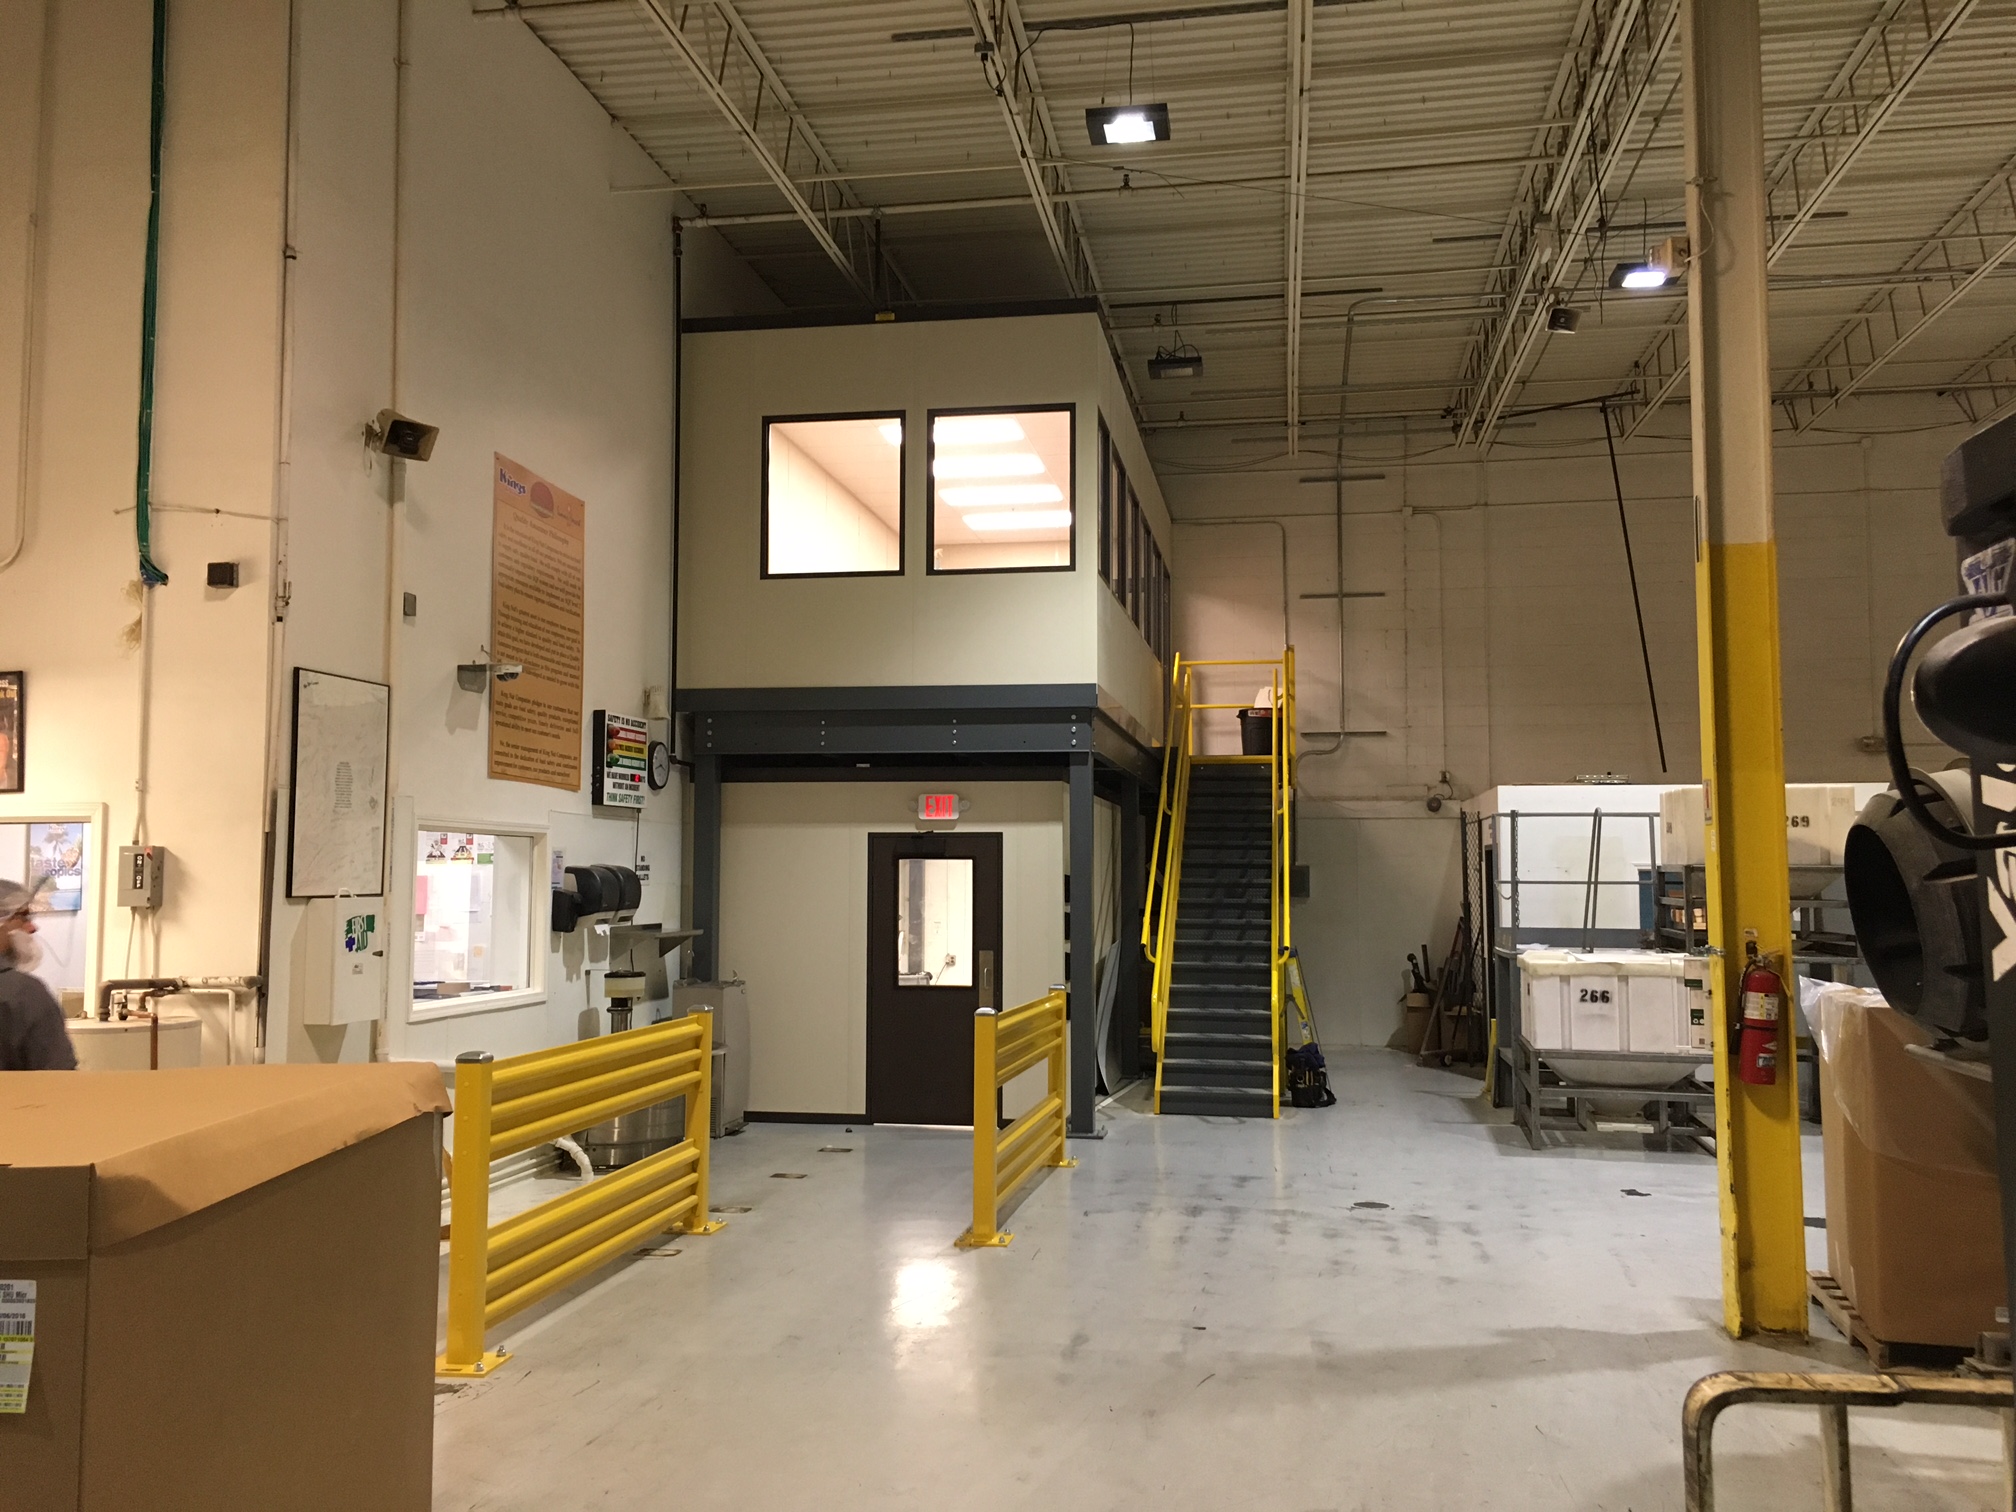
The Pallet Rack Gate System is a self-closing gate designed to improve the safety of your pick modules with pallet flow systems or pallet rack based mezzanines, and are designed to meet or exceed OSHA railing standard 1910.23(a)(2) with a 42” high gate and mid-rail.  

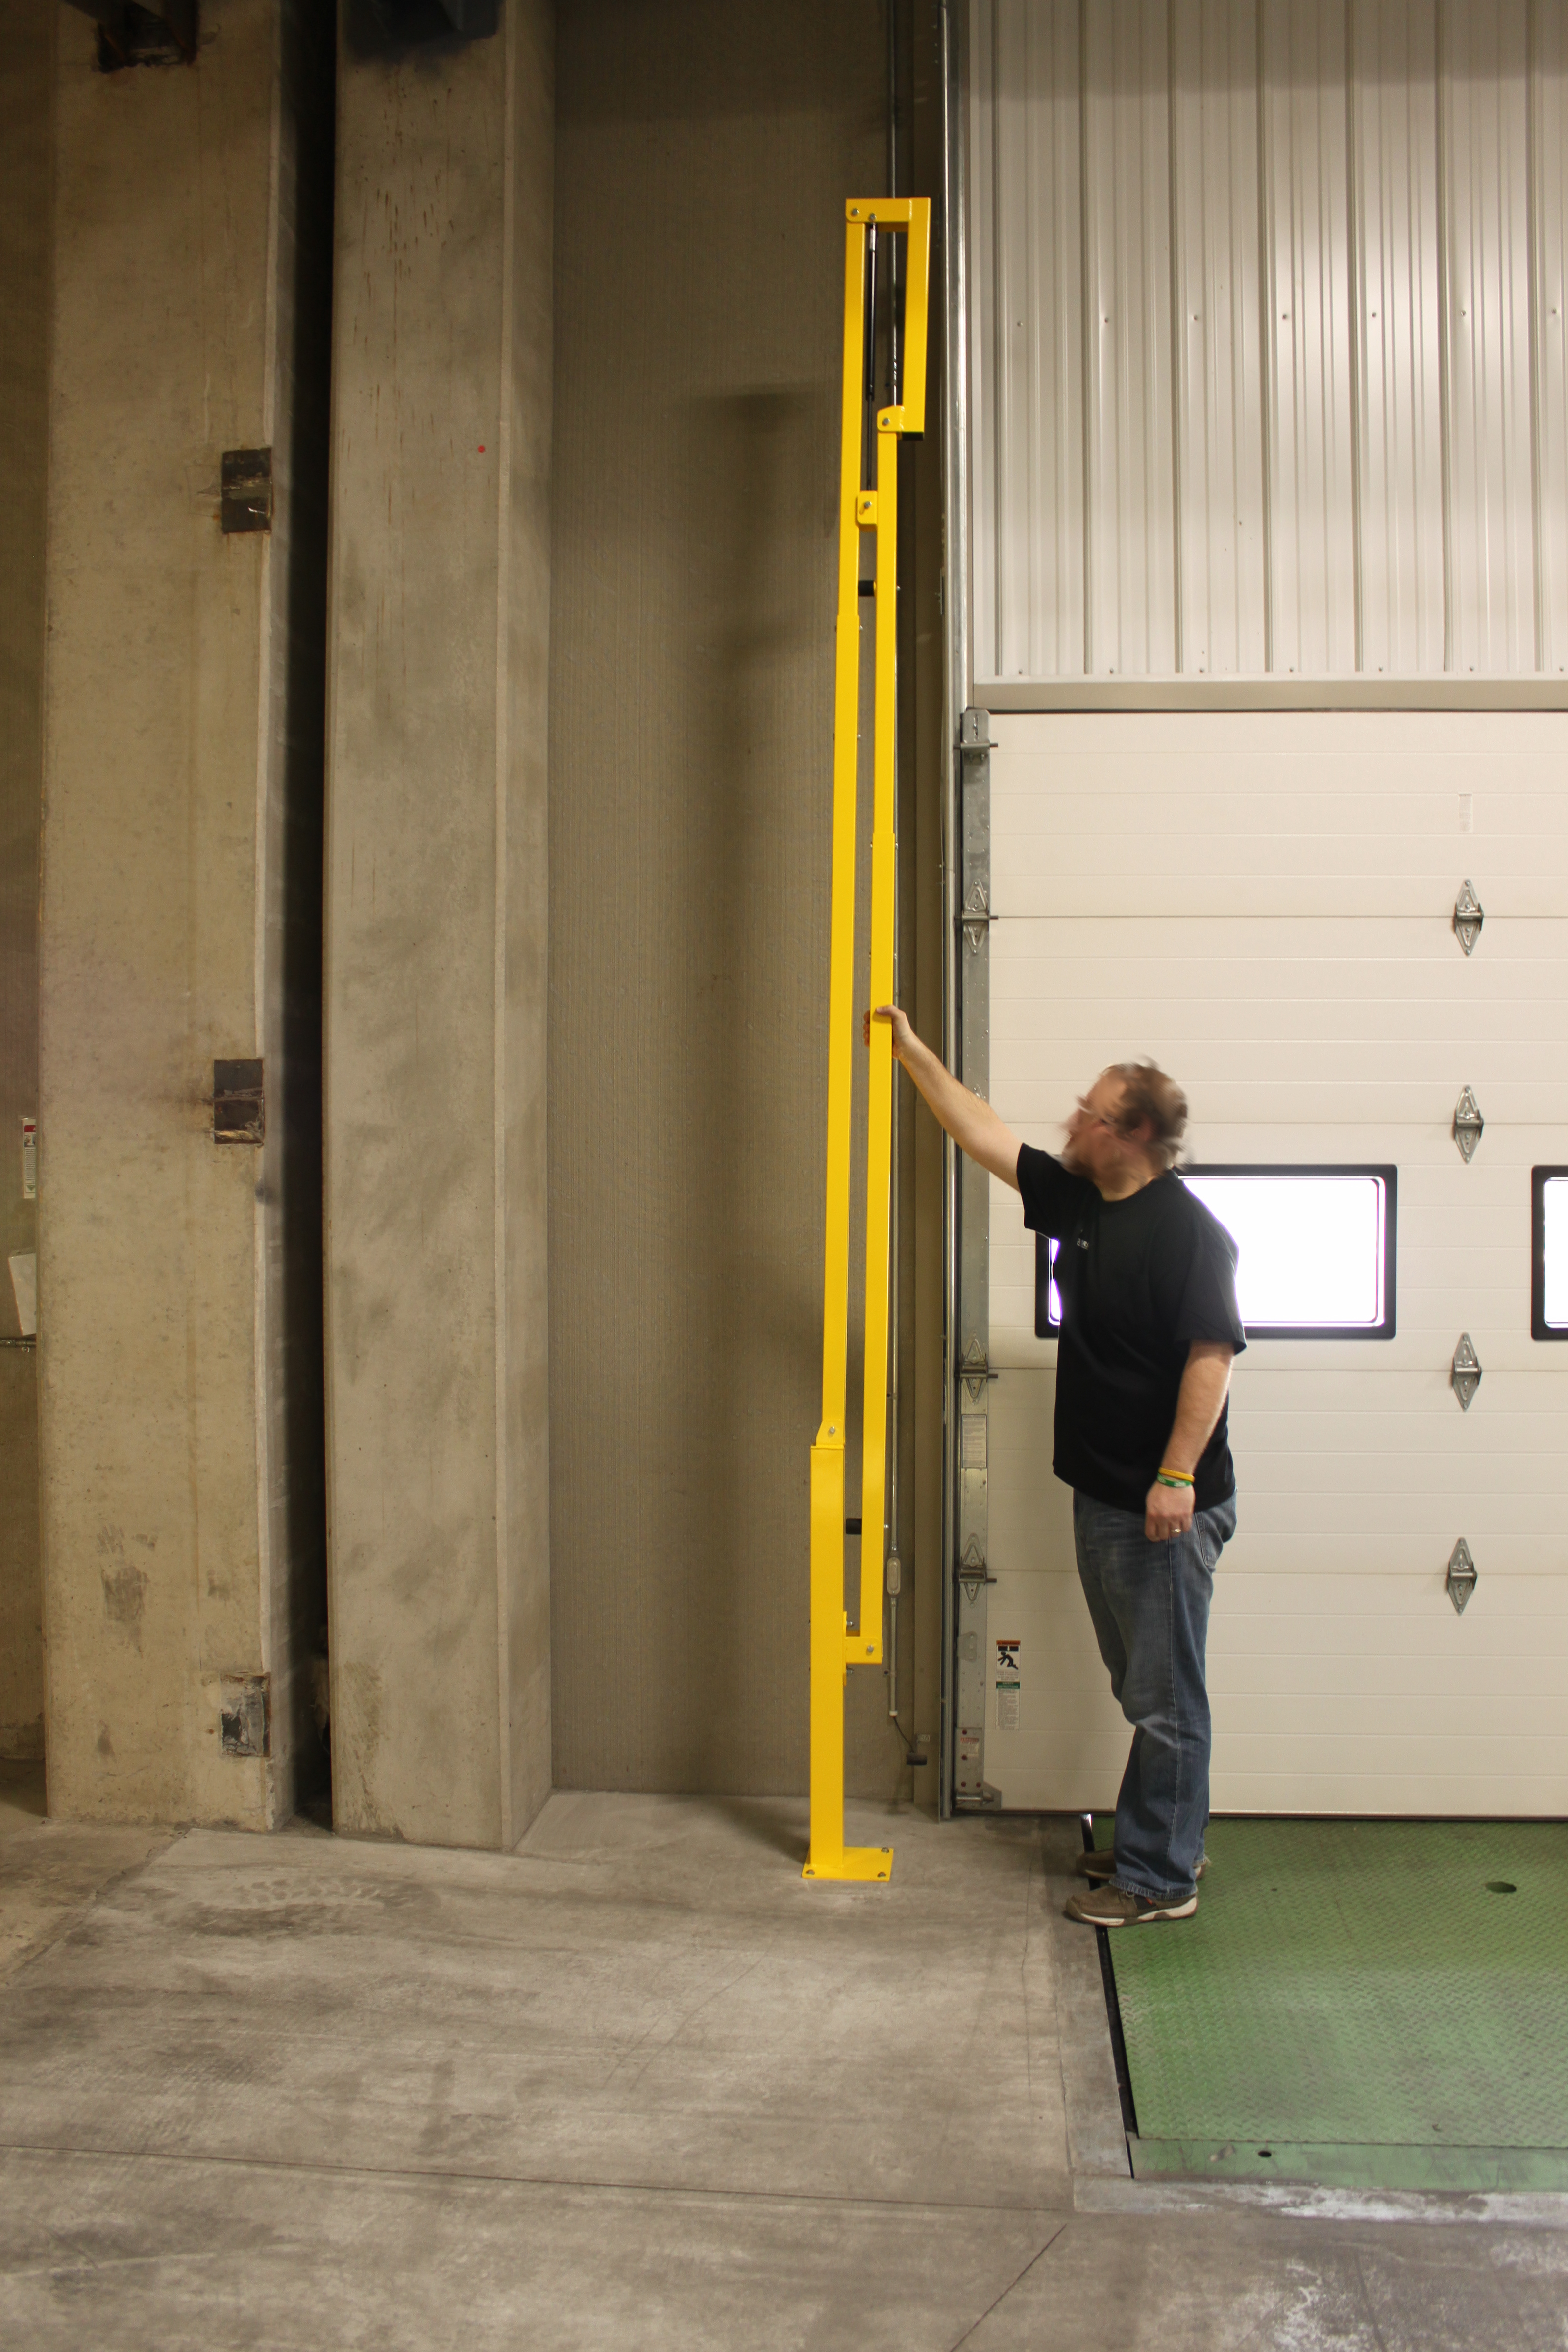
As the name implies, it is specifically designed to integrate with your existing pallet rack. The universal hinge post brackets of the gate connect to the uprights of your pallet rack via U-bolts, minimizing the footprint of the gate, while allowing for an easy installation in minutes without the need for drilling.  The gates are designed to fit standard 60” wide or 96” openings in your rack system, but custom sizes are available. If you need something special we’ll be happy to look into it.

Then protecting multiple bays of rack, the intermediate gates would share a bracket at each upright to minimize the cost

The intermediate sections of the Pallet Rack Gate system combine both a left and right gate on a shared hinge bracket, minimizing the cost.

The gates are available as a single left gate with hinge bracket, a single right gate with hinge bracket, or if covering multiple connected bays of pallet rack, both a left and right gate connected to a shared hinge post bracket.  This helps keep the footprint and your costs down by minimizing the amount of material required.    

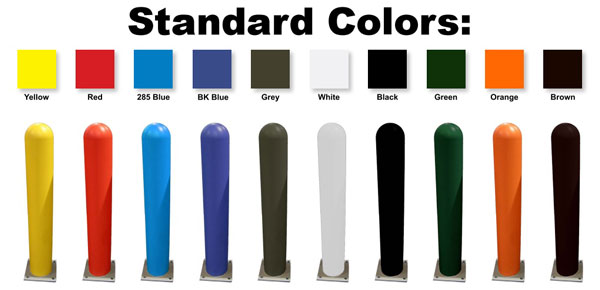
These gates are designed to stand up to the rigors of heavy use and require little to no maintenance.  They are constructed out of durable mild steel and have a safety yellow powder coat finish baked on.  The four stainless steel torsion spring hinges connected to each gate assure a safe and reliable operation.

The Pallet Rack Gate System is a simple, durable, and cost effective method of increasing the safety on your existing pallet rack mezzanine systems and pick units.  Give us a call and we’ll be happy to assist in laying out the design of the gates and working up a quote.  And if you’re looking to protect the base of your pallet rack from fork truck damage, or looking for a pallet rack itself, we’ll be happy to help with that as well.

Vinyl Bollard Covers Keep Your Bollards Looking New


old weathered bollards

These rusty bollards could use some sprucing up

Winter is beginning to subside. The snow and ice are melting away and all sorts of things are being unearthed — some terrifying. I’m talking about your bollards of course. And they look horrible. Everyone has been out and about enjoying the warmth, but they are also seeing some really nasty weather stricken bollards. Sure you are thinking, “Well I’ll just get someone out to paint that again,” just like every other year. But the fact of the matter is, between now and then, your business is looking shabby, and you are continually paying for product and labor just to keep up. I’m sure we have all heard the saying “Dress for the job you want, not the job you have.” This statement stands true for a lot more than just our personal appearance. I’m far more likely to feel confident about a bank handling my money that looks well maintained than one that has peeling paint and layers of rust. Sunlight and moisture can cause serious damage to bollards, and quickly. The more nicked and flaky they look, the less and less professional the establishment looks, leaving people less likely to trust the service you are providing them.


color chart for vinyl bollard covers and sleeves

Available in 10 standard colors, our vinyl bollard covers will help your bollards stand out in a good way.

There are so many benefits to a good bollard cover that I find it difficult understanding why I ever see them without one. Not only does it quickly (and I mean quickly as it often takes about a minute for installation) enhance the aesthetic of your business, but it can also keep your company’s name looking good. Vinyl bollard covers are some of my favorite for the simple reason that they are durable. If one of your trucks comes into contact with a bollard, it easily results in scratches, and even dents. A vinyl cover adds surprisingly effective impact protection. No longer are your vehicles getting an unwanted makeover by a solid metal pole; instead, they now have a sturdy bit of cushion that can far better absorb blunt force impacts. No more scraped rusty bollards, and no more scraped rusty trucks.

In the time that it takes you to tie your shoes, you can easily have eliminated years of maintenance, all while helping cement your place in your customer’s confidence. Your rusted bollards look horrible; it’s time to cover them up.

-Reese @ Floormatstore.com

Two Wall and Three Wall In-Plant Offices

two wall modular building system

Two wall in-plant office system utilizing the customer’s existing block walls

Many of the in-plant offices we provide customers are located around the perimeter of their building, and we are often asked about the possibility of utilizing the existing wall.  Depending on the site conditions, a two or three wall system could offer a significant cost savings versus a typical four wall in-plant office.  Today, I’d like to talk a little about how an in-plant office can utilize your existing building walls and some of the factors to consider if a two or three wall modular building system is a good fit for your space.

Panelized building system connecting to existing block wall

By utilizing the customer’s existing block wall, they were able to design a row of offices along the back wall of their facility without needing to reroute their existing lines

One thing to consider when thinking about designing a two or three wall in-plant office is what kind of walls are in place.  If we are going to utilize your existing walls, we are going to need to tie into them in a couple different places.  We will need to attach a piece of channel called a wall start from the floor to the top of the panel, wherever the panel would connect to the building wall.  As we typically use a corrugated roof deck to form the membrane that holds the building together, we will also need to attach an angle along the enclosed length of the wall at the panel height.  Because of this, the walls need to be substantial enough to be tied into.  Block, stud and gypsum, or concrete walls are great.  Steel skinned buildings are not.  The wall should also be even across the locations where the building would tie in.  If there’s a significant gap, such as in some brick walls, you’ll need to add some flashing to seal off the gaps into the building.  In some buildings there has been a wall built in front of the steel skin wall.  Remember to make sure the height of the front wall is taller than the height of the building panels.

Modular wall system above and below a mezzanine

A four wall in-plant office above the mezzanine with a two wall modular building system below the deck

Recently, we have done a number of mezzanine supported in-plant offices along the perimeters of the customers’ buildings, and are often asked if we could utilize the existing building walls.  The issue here, though, is that even though you might not realize it, there is some movement on the platform different from the existing building wall.  These forces would weaken the structural integrity of the building system.  At the ground level below the mezzanine, we can potentially utilize the existing building walls, but we would need to go with a four wall system on top of the platform.

two wall building system below a mezzanine

This two wall modular building system allowed our customer to separate production from the employee entrance.

A two wall modular building system offers a number of advantages, such as the ability to utilize existing windows/wiring, as well as a cost savings from using fewer materials and labor.  If you are looking at putting in some in-plant offices, it might be worth your while to consider going with a two or three wall building system.

Our New Loading Dock Gate

Closed loading dock gate

Our new loading dock gate providing fall protection at your dock door.


I often receive calls from customers who are looking for a gate system to provide fall protection for their workers at bays when the garage / overhead door is open.  Today I have the pleasure of announcing a new gate in our portfolio designed for just such a situation:  The Loading Dock Gate.

opening the Loading Dock Gate

The Loading Dock Gate is designed to easily lift out of the way with one hand

The Loading Dock Gate meets OSHA Standard 1910.23(c) providing OSHA compliant railing for your personnel at loading dock bays, which can be quickly and easily pulled out of the way.  The gate has a 42” and 21” high railing with a counter balanced design to swing up vertically 90° out of the way with only one hand.  Its unique compact design folds up as it pivots up and out of the way without pinch points.  When you’re finished unloading and ready to protect the opening again, the slam proof dampening system keeps the gate from closing hard as it is lowered.  The Loading Dock Gate is designed to be adjustable to fit standard 8’ or 10’ loading docks, and requires a 155” to 179” clearance height, depending on the width, to cleanly swing out of the way.   Constructed from heavy gauge steel with a powder coat finish, the Loading Dock Gate is built to last through repetitive use.

Open Loading Dock Gate

The compact design of the Loading Dock Gate rises out of the way without pinch points

If the Loading Dock Gate looks like it would work for you, please let us know, and we’ll be happy to work up a quote for you.  We’re going to try to keep a stock of these on hand at the factory so we can quickly ship them out to you.

Face Mounted Mezzanine Gates

Using both a face mounted and deck mouted horizontal sliding mezzanine gate to maximize usable opening space

Face mounted and deck mounted horizontal sliding mezzanine gates

When discussing mezzanine gate projects, a number of customers seem to have some confusion as to what is meant by face mounting a mezzanine gate.  I think in this post, I’ll go over the differences between deck mounting and face mounting and why you might want to mount your gate in such a way.

The vast majority of mezzanine gates are deck mounted.  This means that the gate system sits on top of the mezzanine deck back behind the rail.  Below are a few examples of the various gates we offer mounted to the deck of the mezzanine.
Deck mounted horizontal mezzanine gate

Deck mounted manual horizontal mezzanine gate behind existing hand rail

Stainless steel vertical mezzanine gate attached to the mezzanine deck

Deck mounted stainless steel vertical mezzanine gate.

Occasionally though, the gate is being used in an unusual situation where setting the gate on top of the mezzanine is not an option.  In these cases it might be better to mount the gate outside the mezzanine, attaching it to the face of the platform.  We would call this situation face mounted.
Face mounted mezzanine gate (older design electric horizontal gate)

Electric horizontal mezzanine gate face mounted to the deck

Not all of our mezzanine gates can be mounted to the face of the deck.    The most common gate that we would mount on the face of the mezzanine would be the horizontal sliding mezzanine gate.   As the gate needs to be tied back to your existing railing with clear passage in one direction approximately the length of the opening size plus two feet, pulling the gate outside the deck could help avoid interference with existing equipment up on the mezzanine deck.  In this case, a face mount track would need to be added and attached to the face of the mezzanine just below the opening to support the gate.
vertical electric face mounted mezzanine gate model

Vertical mezzanine gate mounted to the face of the mezzanine

Another gate that can be mounted to the face of the mezzanine is the vertical mezzanine gate.  The vertical mezzanine gate doesn’t take up much room on the deck of a mezzanine, so the applications where you would want to face mount are a bit more specific. Most commonly, this is done in situations where we are mounting an electric vertical mezzanine gate on the outside of a wall opening.  This would allow you to load and unload materials from the deck through a doorway while having a line of guard rail blocking the opening while the doors are open.  Another  situation where face mounting a vertical mezzanine gate might be advantageous, would be in situations where the left column (when viewed from below) would be against some obstruction such as a column.  The left column is the drive column and you’ll want to have it unobstructed just in case you need to access it.  By mounting the gate on the outside of the deck on a couple face mount brackets, the gate flips around placing the drive column on the right side.
Outside view from the bottom of pallet gate mounted around a door frame

Face mounted self closing pallet gate being used to guard a second story doorway.

Another gate that we can do as a face mounted unit would be the self closing pallet gate.  This is typically done in applications where the customer wants to mount the gate on a wall opening.  In such applications, we recommend you still have a second area for offloading the pallets from the deck.  While the self closing pallet gate is incredibly efficient at getting materials up onto the deck, offloading materials from the deck can be cumbersome due to the spring loaded hinges wanting to keep the gate closed.
If you ‘re trying to mount a gate in an unusual situation, perhaps mounting it to the face of the deck might help.  Give us a call, and we’ll be happy to work with you to try and find a solution.

Installation of the Mezzanine’s IBC Stairs


Finished L-shaped external IBC stair

Installed external IBC staircase

Previously, I had written a blog post briefly discussing how to put one of our mezzanines together. It had a lot of good photos taken during the installation, so I was able to go through section by section what was done.  There was one particular area I didn’t get to to over in much detail though; the stairs.  While with the previous system that I wrote about, the customer designed and fabricated their own staircase, I recently received a fantastic series of photos from the installation of another system; this time with partially installed stairs included.

installing the IBC stair

Setting up the stairs

The IBC stairs for or mezzanine systems ship in knock down form and need to be installed in the field.  When installing them, you’ll want to lay the stringers on the floor about 3’ apart with the closed face of the stringers inward.  The diamond tread stair treads consist of a closed back riser and stair tread weldment.  Starting with the top tread and riser, you’ll need to bolt the the tread to the stringer fastening it on the inside of the tread.  Only hand tighten the bolts at this time, then work your way down positioning the riser of the next tread behind the flat weldment of the nose on the tread above.  After all the treads have been attached to the stringers (hand snug) you’ll need to install the bottom riser using self tapping screws.  You’ll then need to hoist the stairs up to the mezzanine deck.  Making sure that the dimension from the top of the deck to the top tread is equal to the dimension between the other treads, you’ll need to field drill the the attachment holes using a 9/16” drill and attach it to the mezzanine system.  You’ll also need to install the top tread plate on top of the mezzanine deck closing off the riser from your first tread.  From the underside, you’ll need to tighten up all the bolts and attach the risers to the back of the above tread’s nose via a couple self tapping screws.  Afterwards you’ll need to anchor the stairs to the ground.


Now all that’s left is to finish off the handrail.  The hoops that form the 21” and 36” handrails and handrail extensions come already welded to the stringers.  On each of the uprights, you’ll need to attach an elbow assembly via self tapping screws.  This will provide you with the saddles to support the outer 42” handrail.  You’ll need to take a piece of guardrail pipe for each side, and lay them flush against the saddles, fixing them in place with self tapping screws once again.  As the top line of rail will be longer than the stair run, you’ll want to drop a plumb line from the bottom edge of the rail to the edge of the mezzanine deck and again to the front edge of the bottom stair tread, cutting the pipe square.  Finally, you’ll need to install a plastic plug cap in the openings of the top rail to finish it off.  

Mezzanine Supported Modular Office

Mezzanine with modular office above

Mezzanine supported modular office with a two-wall modular building below

Whether you’re running out of room on the plant floor or need to oversee production, mezzanines are commonly employed to support and elevate modular buildings.  Recently we received some great photos back on a project we completed last month for a mezzanine supported modular office that I thought you might like to see.  The customer was located right here in Northeast Ohio.  They were putting in a new line on the plant floor and needed to tear down some offices they had in order to make room.   There wasn’t enough space to relocate the offices elsewhere on the plant floor, so they decided to utilize some of their unused overhead space.

Side view of mezzanine and modular office.

A 9’ high mezzanine supported modular office with an 8’ high modular wall system below.

When thinking on putting in a mezzanine supported modular building, it’s important to consider just how much space is available.  Remember that with typical column spans in low seismic areas, you’ll probably lose 1’3” to 1’5” for the mezzanine itself.  If you plan on having people move through the area you will need to maintain a minimum of 7’ for clearance.  The modular building panels are typically 8’ or 9’ tall, and unless you are planning on supporting them by the structure above, you will probably want about a foot more in order to install the roof deck to the panels which helps form the membrane that holds the system together.   In this particular case the customer’s mezzanine had a clearance height of 8’7” with a 9’10” top of deck.  This provided us enough room to install a modular office above (9’ tall panels, 9’3-1/8” overall height, 8’6” clearance height) and an 8’ high (8’3-1/8” overall with a 7’6” clear ceiling height) modular wall system below.

inside modular building

Four wall modular office above the mezzanine with customer provided/ installed floor covering

While designing these mezzanine supported modular offices, we’re often asked if we can utilize the adjacent existing walls.  While this is commonly done on the main floor of a facility, unfortunately we cannot do this up on top of the mezzanine deck.   There will always be some movement and vibrations on top of an elevated structure and because of this the structure would need to be a four wall system and not tie into the adjacent walls.  In this particular care, we put in a four wall system above the mezzanine deck as well as a two wall system below the deck to create an enclosed pass way between the production floor, the front offices beyond the cinder block wall, and the production floor entrance way to the outside.

inside view of two wall modular wall system

Two wall modular wall system below the mezzanine

It took our installers 6 work days to unload and install (both mechanical and electrical) the 24’x10’ mezzanine, the 24’x10’ 4-wall modular office above, and the 9’x22’9” two wall modular wall system below, and we had yet another very happy customer.

Now Available, The SafeMezz360 Mezzanine Safety Gate

closed SafeMezz360 mezzanine safety gate

The new SafeMezz360 mezzanine safety gate

It’s an exciting time over in our mezzanine gate division.  Over the next year we will be introducing several new gates to our product line.  Today, I have the pleasure of introducing the first new gate to our regular product line up; the SafeMezz 360 mezzanine safety gate.

Open mezzanine safety gate

The SafeMezz360 mezzanine safety gate open to the edge.

Lately many facilities are opting to follow the voluntary ANSI standards in their workplace.   One area in which ANSI goes above and beyond OSHA would be ANSI MH28.3 Section 6.4.3 requirement that states: “A work platform shall be designed such that the elevated surface is protected by the guards at all times. Gates that swing open, slide open or lift out, leaving an unprotected opening in the guarding, are not acceptable.”   This means that at facilities following the ANSI standards, all pallet openings need to be protected by a true double layered safety gate so that your employees always have a line of guard rail between them and the edge of your deck.

In order to meet these more stringent ANSI requirements, the SafeMezz360 gate utilizes two counter balanced gates which travel on a track up and over your pallets.  Each gate consists of the ANSI required 42” top rail, 21” mid rail, and 4” kick plate. Designed for repetitive use in tough work environments, the SafeMezz 360 is constructed from heavy gauge steel with a durable safety yellow powder coat finish and utilizes an industrial duty chain and sprocket operating system.  The SafeMezz 360 mezzanine safety gate also features a slam proof cushioned dampening system to keep the gate from dropping on your toes.

The SafeMezz 360 is easy to install and operate.  The gates travel smoothly on 2” nylon rollers along it’s track system providing for an easy one-handed operation.  The gate ships in knocked down form for a simple assembly in the field, and bolts easily into place on the mezzanine.

In order to minimize the lead times, we have single and double wide openings available as “quick ship” mezzanine safety gates.  This means that many of the components will be prefabricated and stocked at the factory so that your gate should be ready to ship out in 1-2 weeks. Custom sized safety gates will still be available, but will need to go through full production (typically around 6 seeks after signed approval drawings).

Removable Access Panel in a Modular Building Equipment Enclosure

cmm room equipment enclosure

New CMM room with removable panel above the door

A very common application for modular buildings is as an equipment enclosure.  The customer is trying to cordon off an area on their production floor to encapsulate a certain process.   Sometimes they are trying to isolate the sound it produces.  Sometimes they are trying to isolate it from a dusty environment.  A lot of these machines, such as CMM machines, won’t fit through a 6’8” or 7’ high doorway.  Once the equipment is in place it usually stays there for many years, but customers often want the ability to get it in and out of the room on rare occasions should the need arise without having to disassemble a good chunk of the building.  For a doorway that will only be used once in a blue moon, it’s rarely cost effective to order a custom swing door, or put in an additional canister style door for equipment access.  A much more cost effective method that we’ve found is to put in a removable access panel.

Removable panel on a modular building

Removable panel above a 6′ x 8′ doorway

Recently, we provided a customer with a modular building to use as an equipment enclosure for their new CMM equipment.  On a day to day basis, a 6’ wide x 6’8” high double door would be more than sufficient for them, but they wanted to be able to occasionally pass something larger through the doorway.   If they were going to pass taller materials through the door way more regularly we could have ordered in a special 8’ high double door, but because they only needed once in a blue moon access we were able save them several hundred dollars in material by putting in a removable panel section above their doorway.  

removable panel drawing

Adding a removable panel is a fairly simple thing to do.  The panels were cut in the factory to accommodate a 6’ wide x 8’ high opening.  We took an additional panel section to cover the gap above the 6’ x 6’8” door and framed it in using the channel for the door frame and some additional “h” cap trim pieces we normally use along the top of the panels.  We also installed “h” cap to the building panels at the opening above the door and fastened the removable panel to the opening.  This sealed off the seams between the panels.  Now when the customer needs that little bit of extra space, all they need to do is remove the screws connecting the panel to the building, allowing them to fit their larger equipment through.


Visiting an Old Mezzanine Supported Modular Office

mezzainine supported modular office from 1997

After almost 20 years of service this modular office is holding up great

Occasionally, I’m asked about how well our modular offices hold up over the years if they are designed so that they can be reconfigured in the future as your needs change.  Surely, after general wear and tear they will want to just order a new building anyway, no?   Well, I recently had the opportunity to visit an old customer of ours.  Over the years, we’ve provided them with a number of mezzanines, catwalks, and modular offices.  Several of the modular offices have been disassembled, modified, and reinstalled in different locations.  While there, I got an opportunity to look at this old tank platform mezzanine and A-wall 300 modular office we provided them with back in 1997.  The steel decking has started to bend up a little at the seam in a couple areas, but after almost twenty years of service the mezzanine and modular office were in excellent condition.  If the customer wanted to, it would still be a simple task to disassemble the modular office and put it up again in a new location, possibly with a few modifications.  The components are all still compatible with what we provide today.  The only design change is that the I-splines used to connect the panels in the A-wall 300 modular building system are now typically painted to match the panels as opposed to the same color as the framing on the windows and doors.  So yes, these modular buildings are built to last.