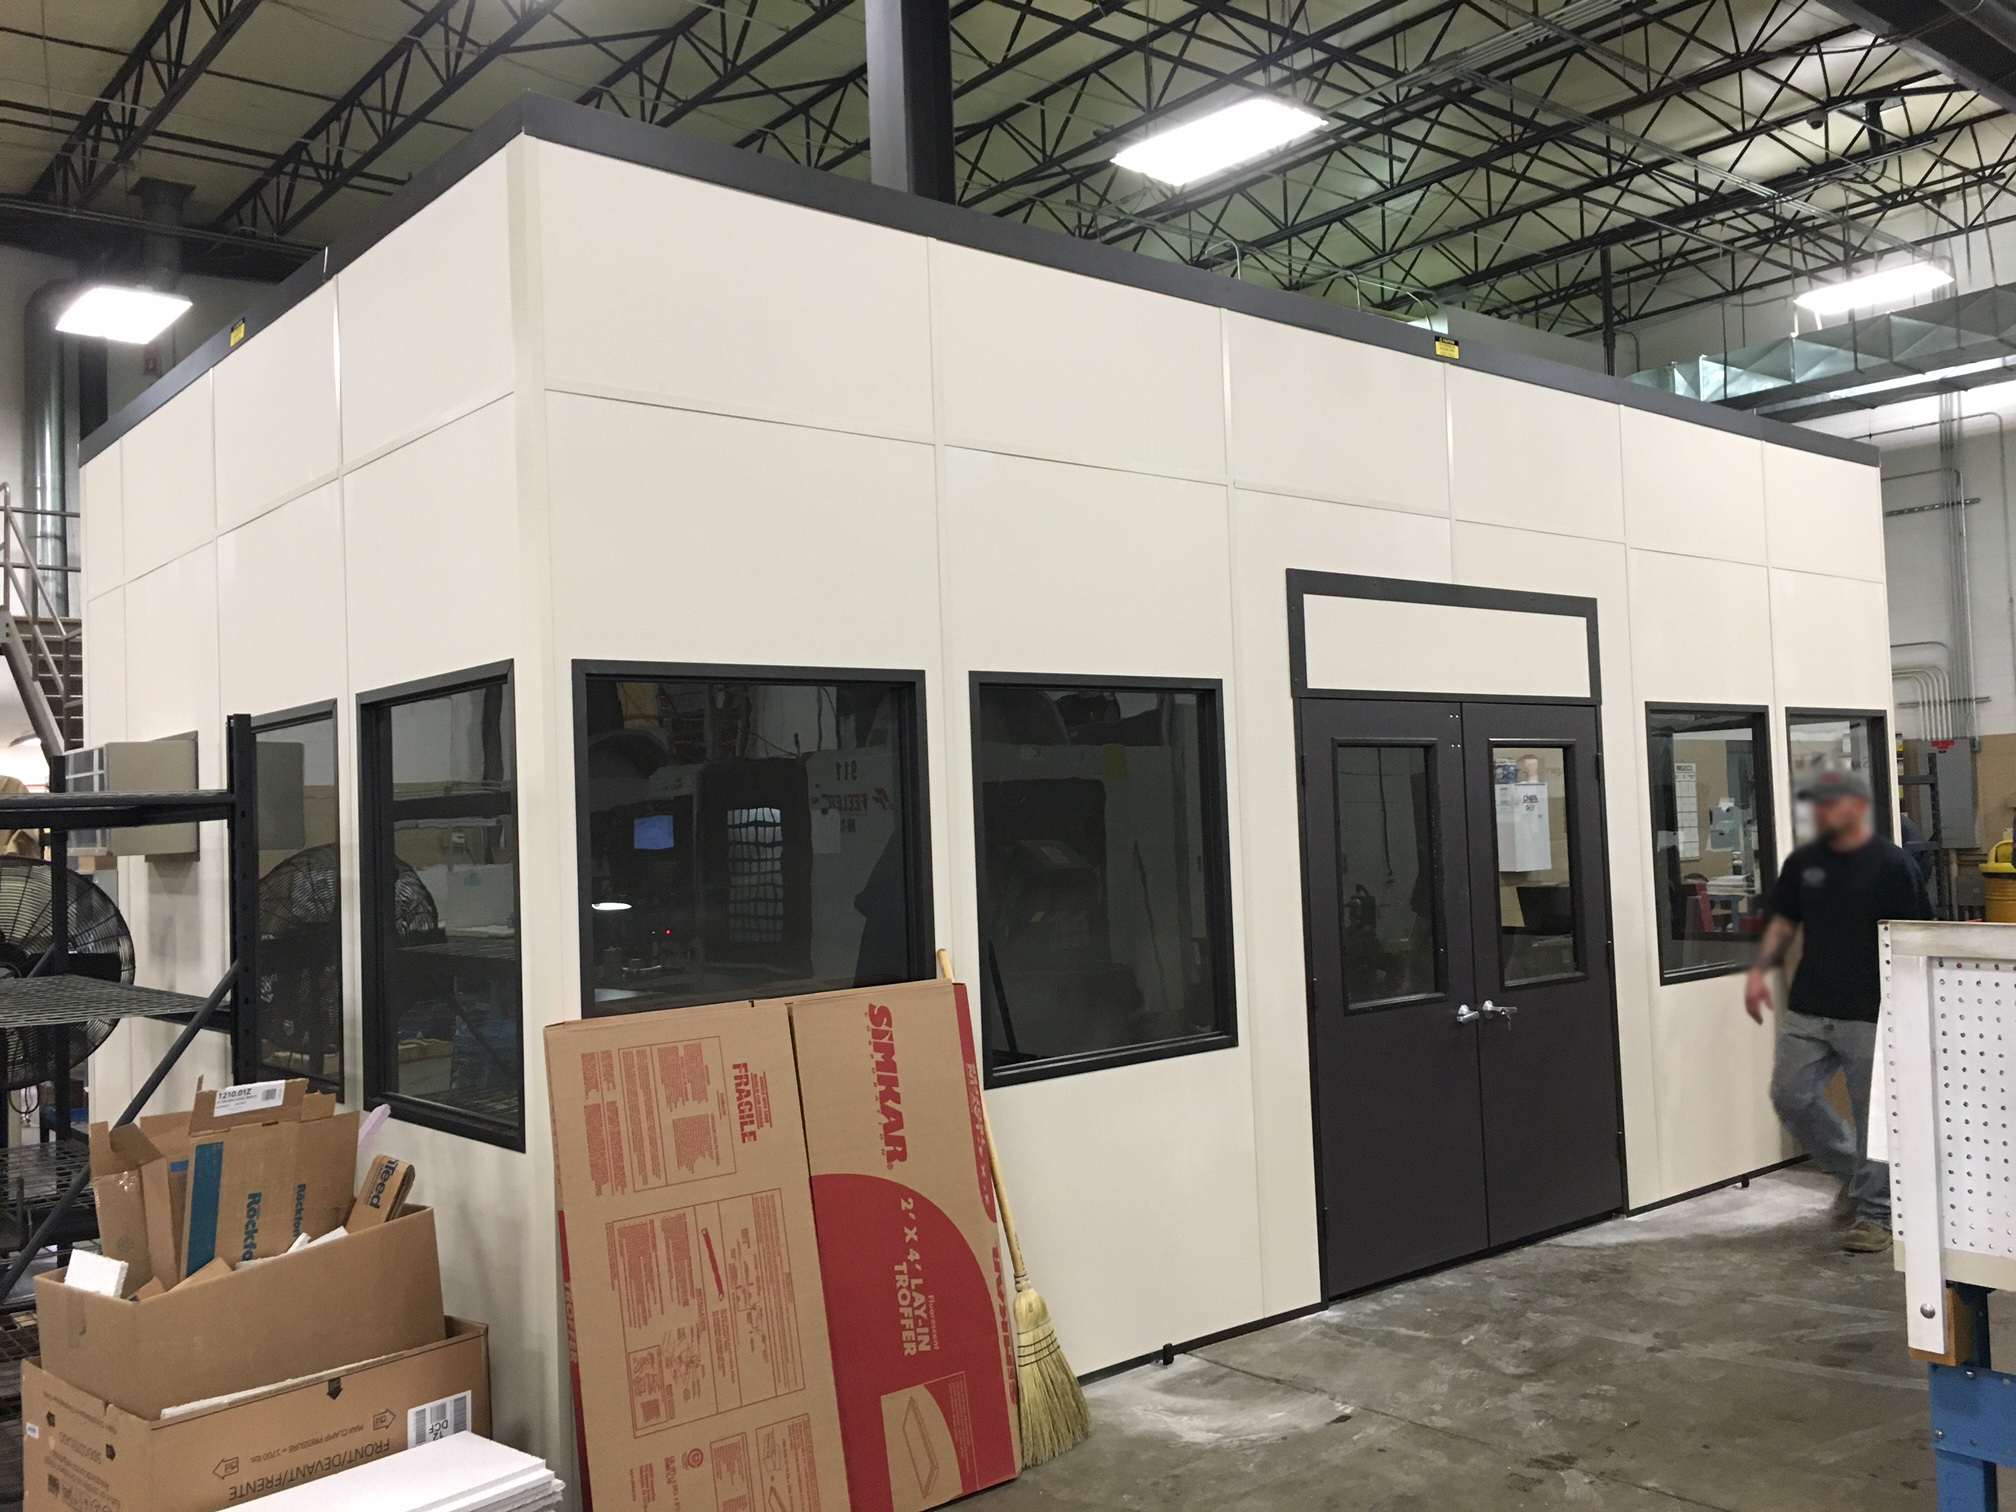
New CMM room with removable panel above the door
A very common application for modular buildings is as an equipment enclosure. The customer is trying to cordon off an area on their production floor to encapsulate a certain process. Sometimes they are trying to isolate the sound it produces. Sometimes they are trying to isolate it from a dusty environment. A lot of these machines, such as CMM machines, won’t fit through a 6’8” or 7’ high doorway. Once the equipment is in place it usually stays there for many years, but customers often want the ability to get it in and out of the room on rare occasions should the need arise without having to disassemble a good chunk of the building. For a doorway that will only be used once in a blue moon, it’s rarely cost effective to order a custom swing door, or put in an additional canister style door for equipment access. A much more cost effective method that we’ve found is to put in a removable access panel.

Removable panel above a 6′ x 8′ doorway
Recently, we provided a customer with a modular building to use as an equipment enclosure for their new CMM equipment. On a day to day basis, a 6’ wide x 6’8” high double door would be more than sufficient for them, but they wanted to be able to occasionally pass something larger through the doorway. If they were going to pass taller materials through the door way more regularly we could have ordered in a special 8’ high double door, but because they only needed once in a blue moon access we were able save them several hundred dollars in material by putting in a removable panel section above their doorway.

Adding a removable panel is a fairly simple thing to do. The panels were cut in the factory to accommodate a 6’ wide x 8’ high opening. We took an additional panel section to cover the gap above the 6’ x 6’8” door and framed it in using the channel for the door frame and some additional “h” cap trim pieces we normally use along the top of the panels. We also installed “h” cap to the building panels at the opening above the door and fastened the removable panel to the opening. This sealed off the seams between the panels. Now when the customer needs that little bit of extra space, all they need to do is remove the screws connecting the panel to the building, allowing them to fit their larger equipment through.