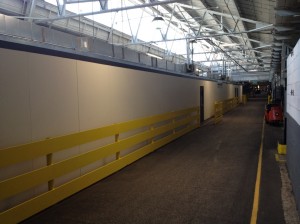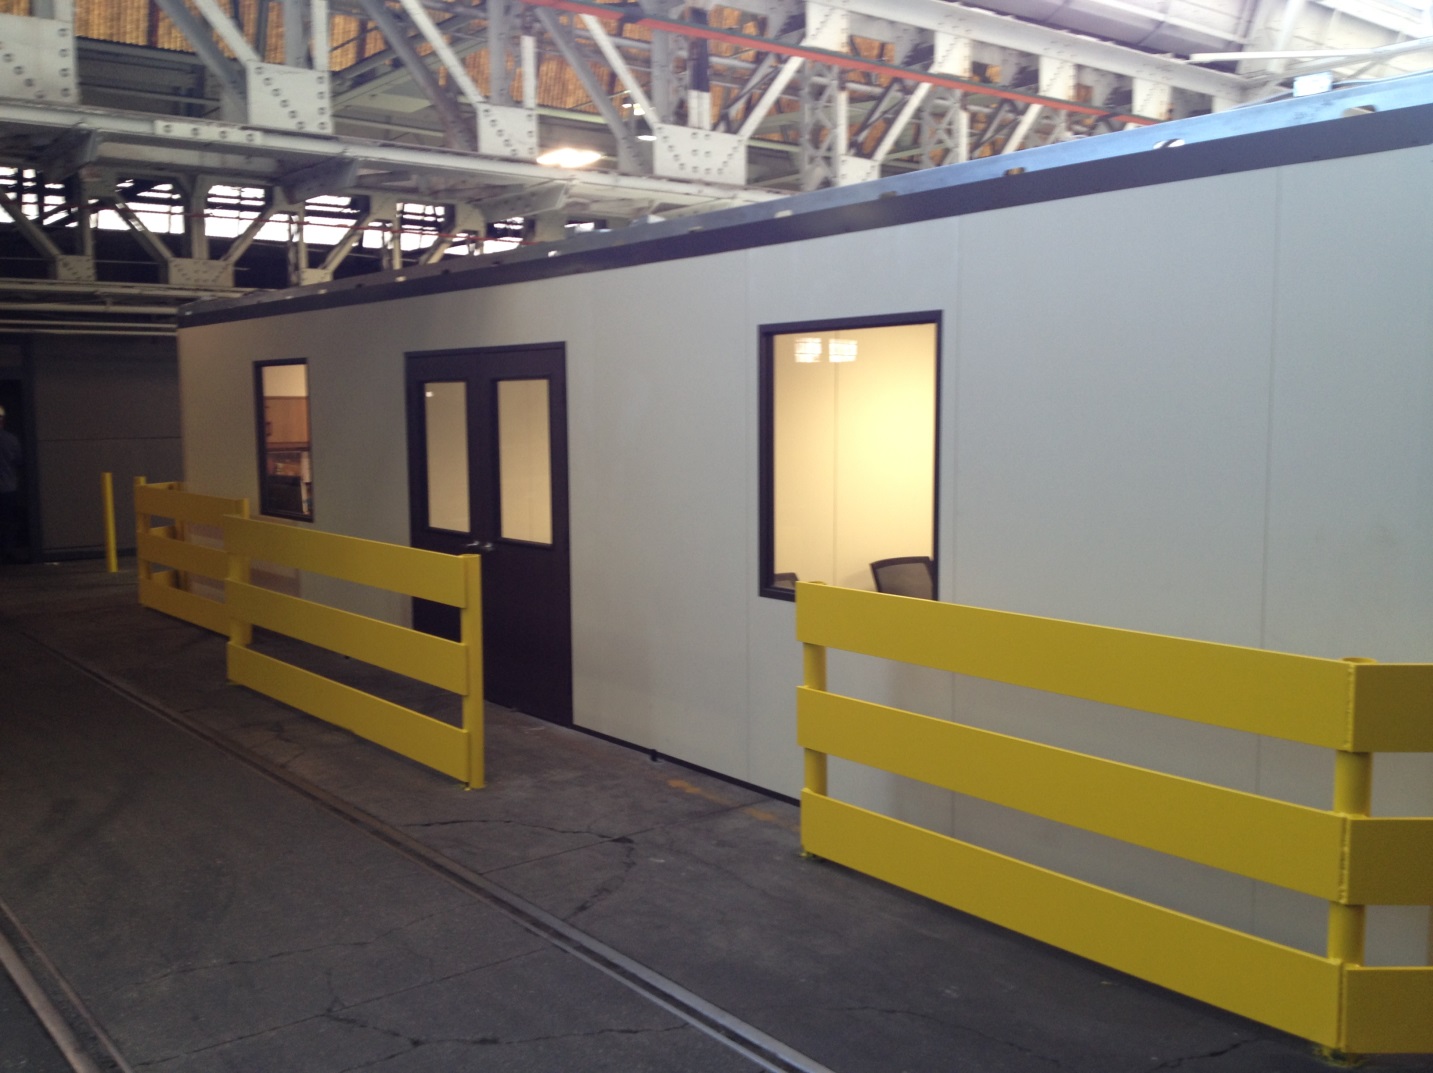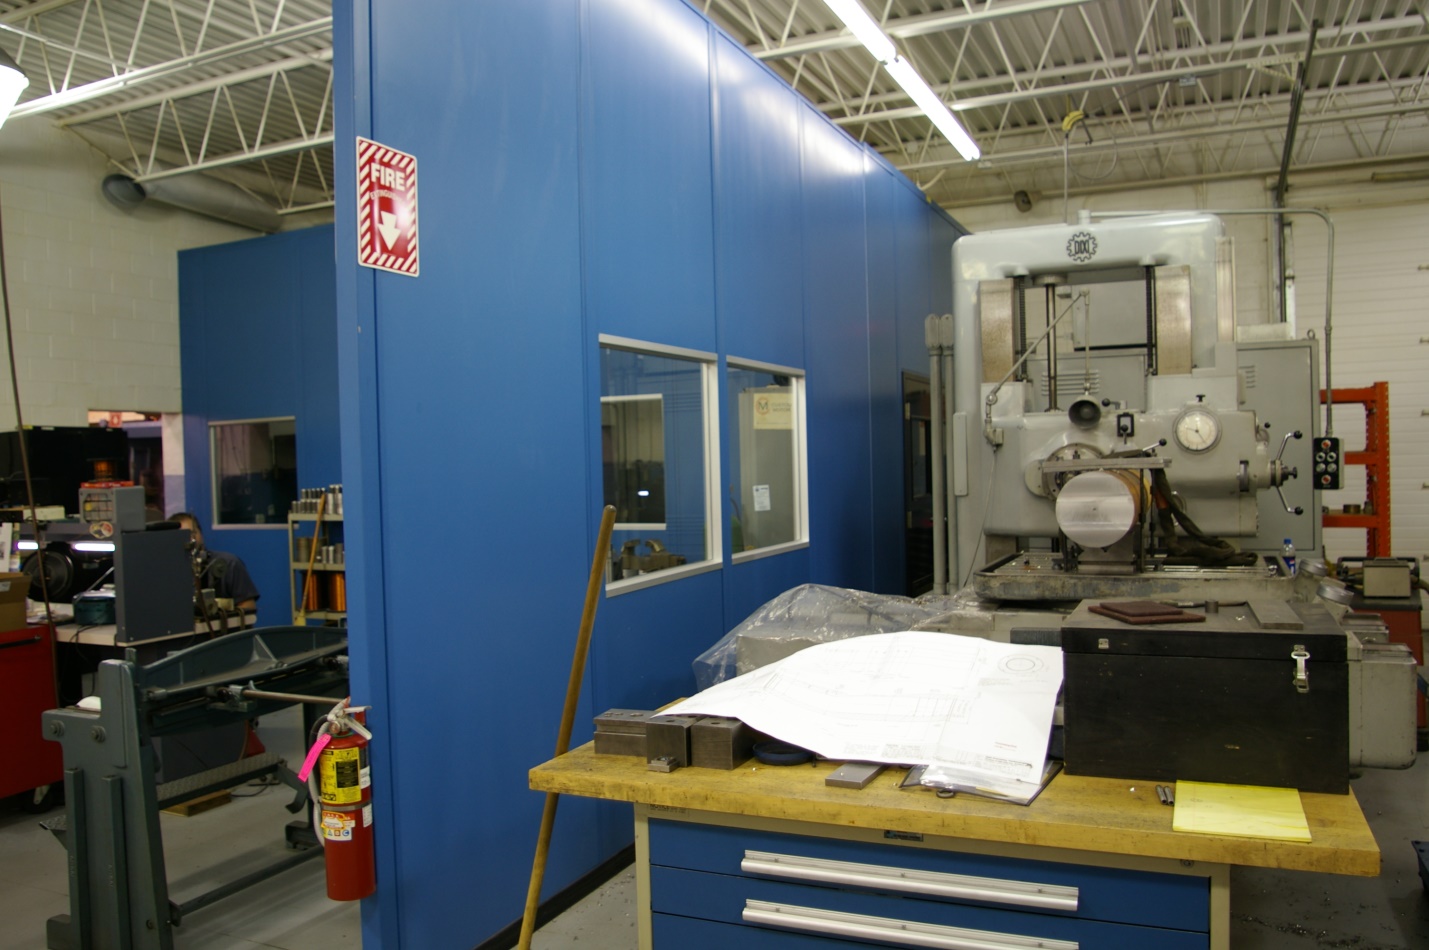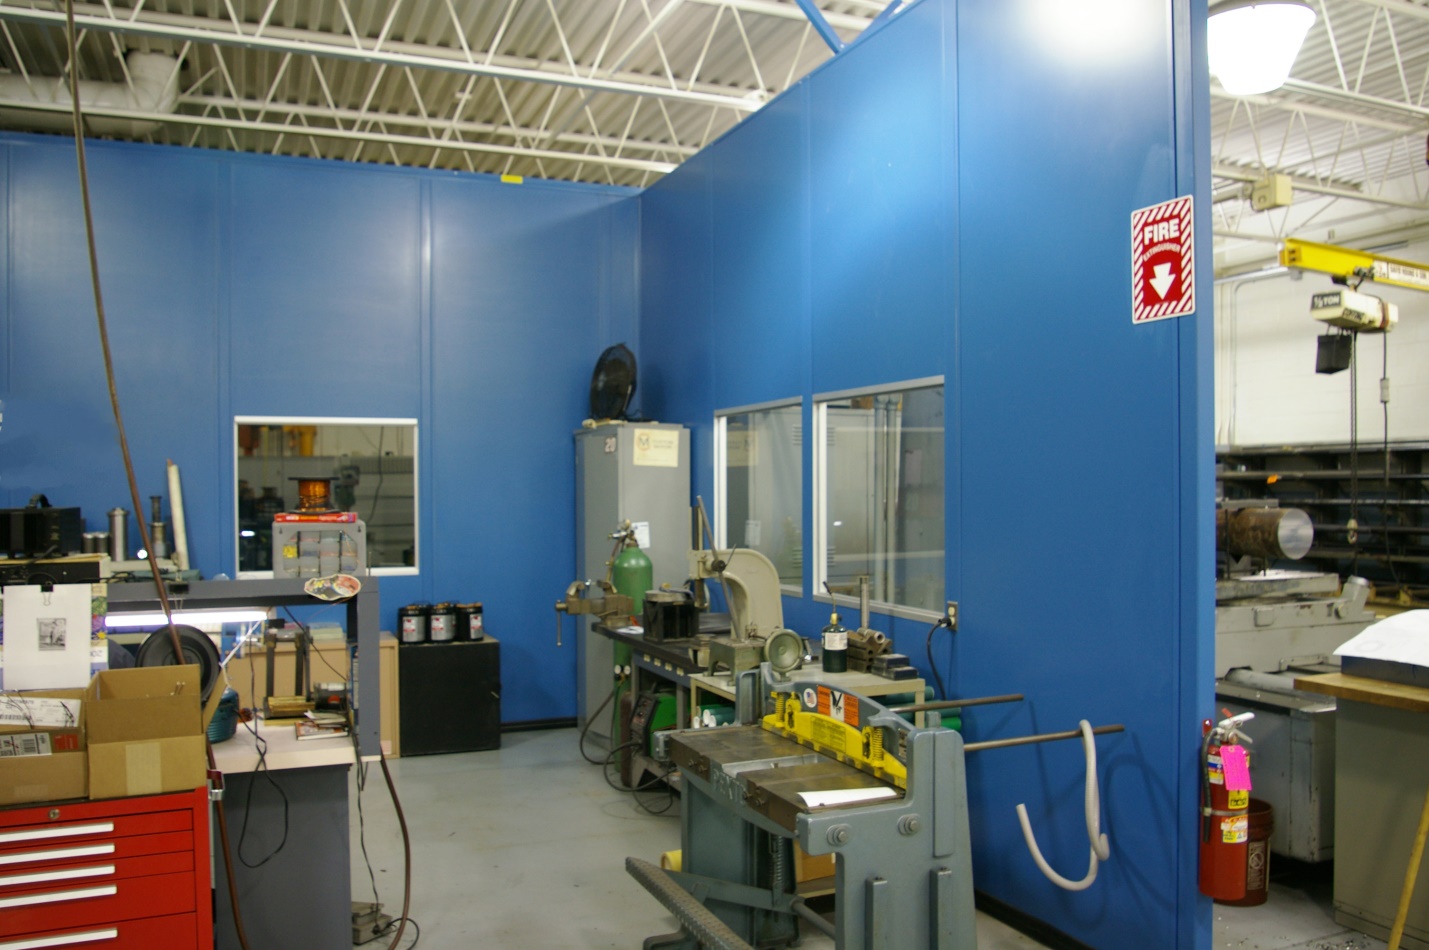
A-Wall 200 modular in-plant office. Still in great shape after one reconfiguration and 6+ years of use.
One of the major advantages of modular building systems over traditional construction is their ability to adapt to your changing needs. Let’s take this project for example.
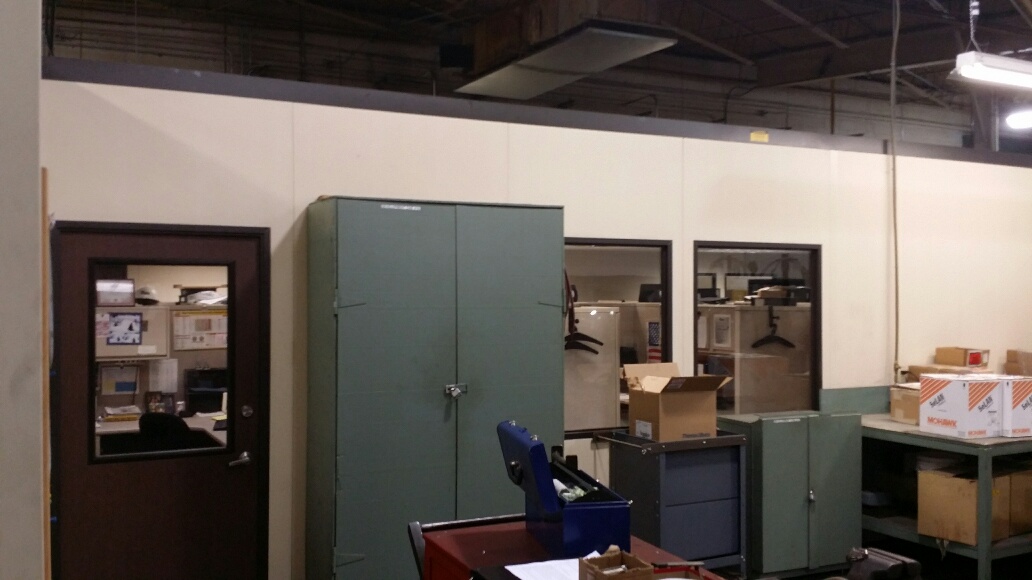
6+ year old modular office after the first reconfiguration moving the door from the other side of the building.
Back in early 2008, we provided the customer with a 24’ wide x 42’ long x 9’ high modular in-plant office. The original layout had three doors. There were two on one 24’ end, and one on the other. A few years later as their layout around the building was changing, the 24’ long wall with two doors was going to get blocked off. By disassembling a portion of the building and swapping 4’ panels with one another, the customer was able to relocate the doors to the 42’ long walls.
Over the years the customer’s needs continued to change. They recently decided to remove the in-plant office. If this was built out of traditional construction, the office space would be torn down and that would be the
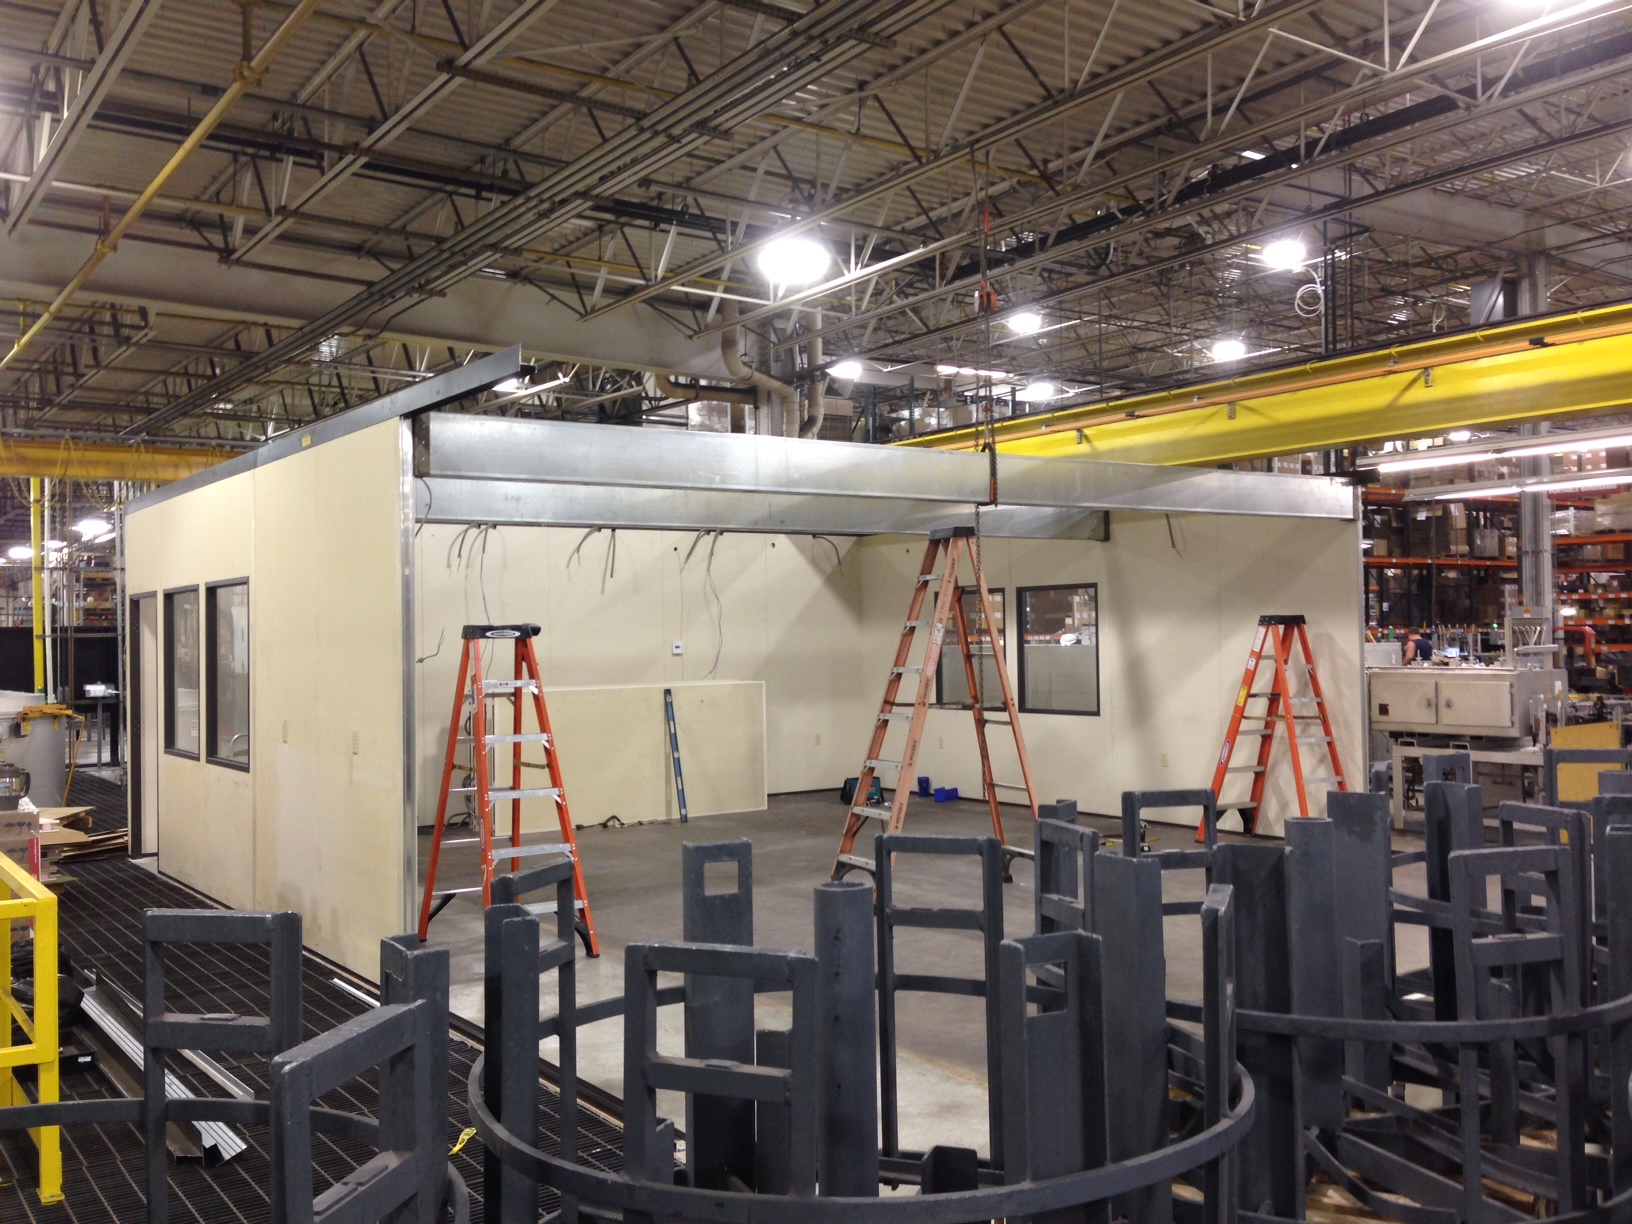
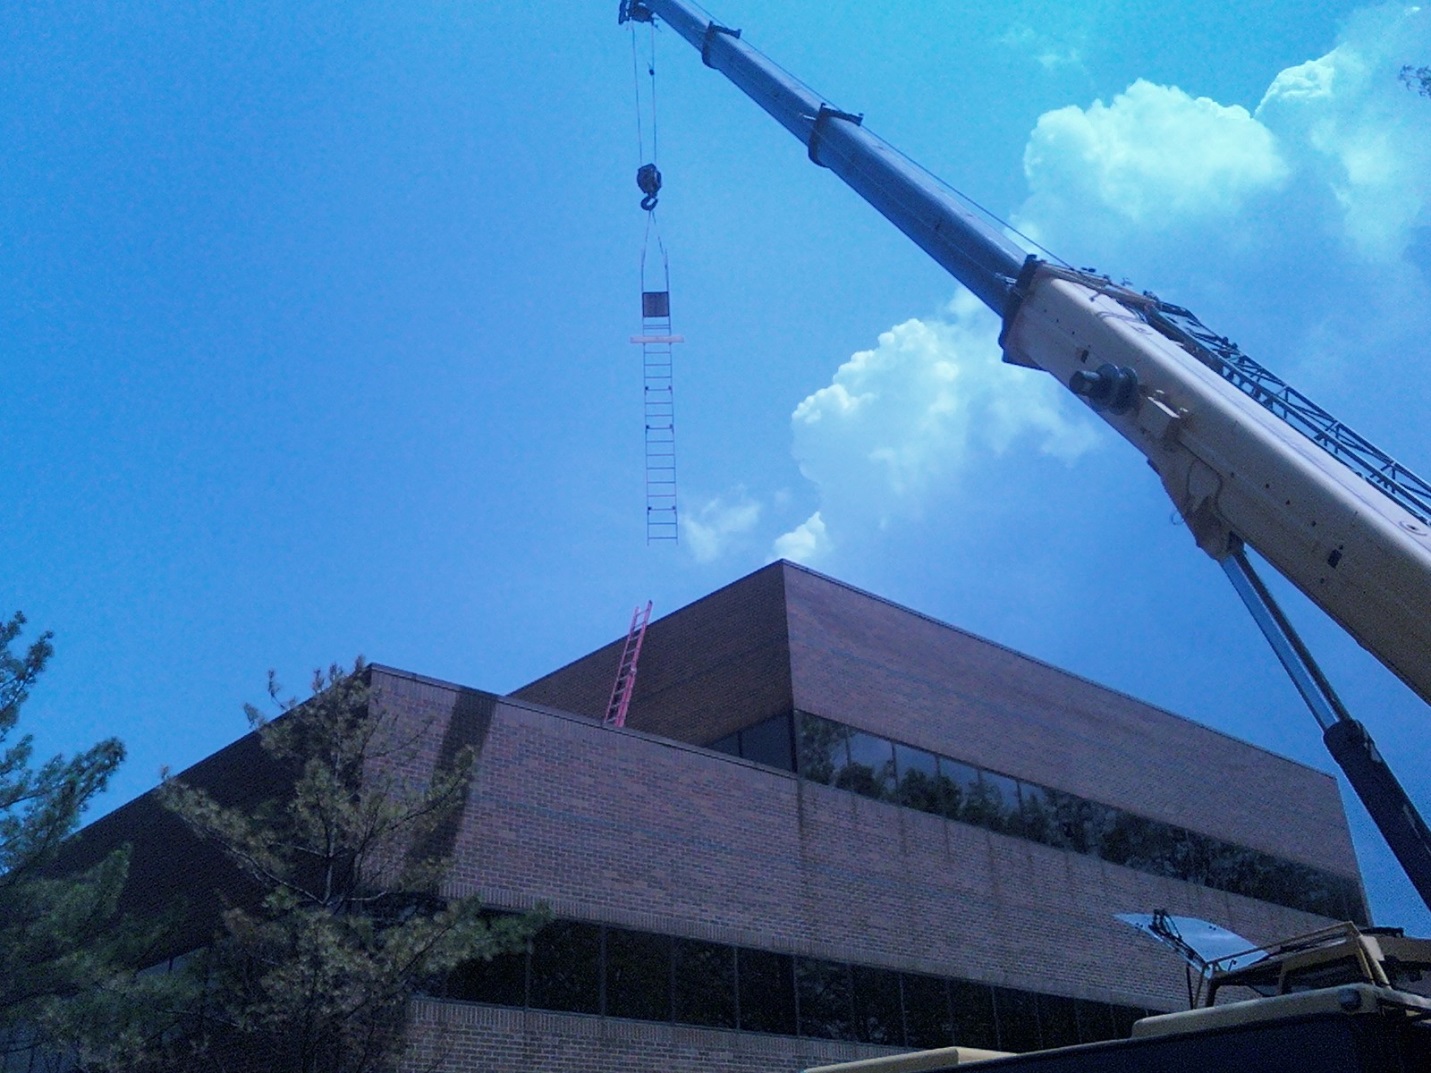
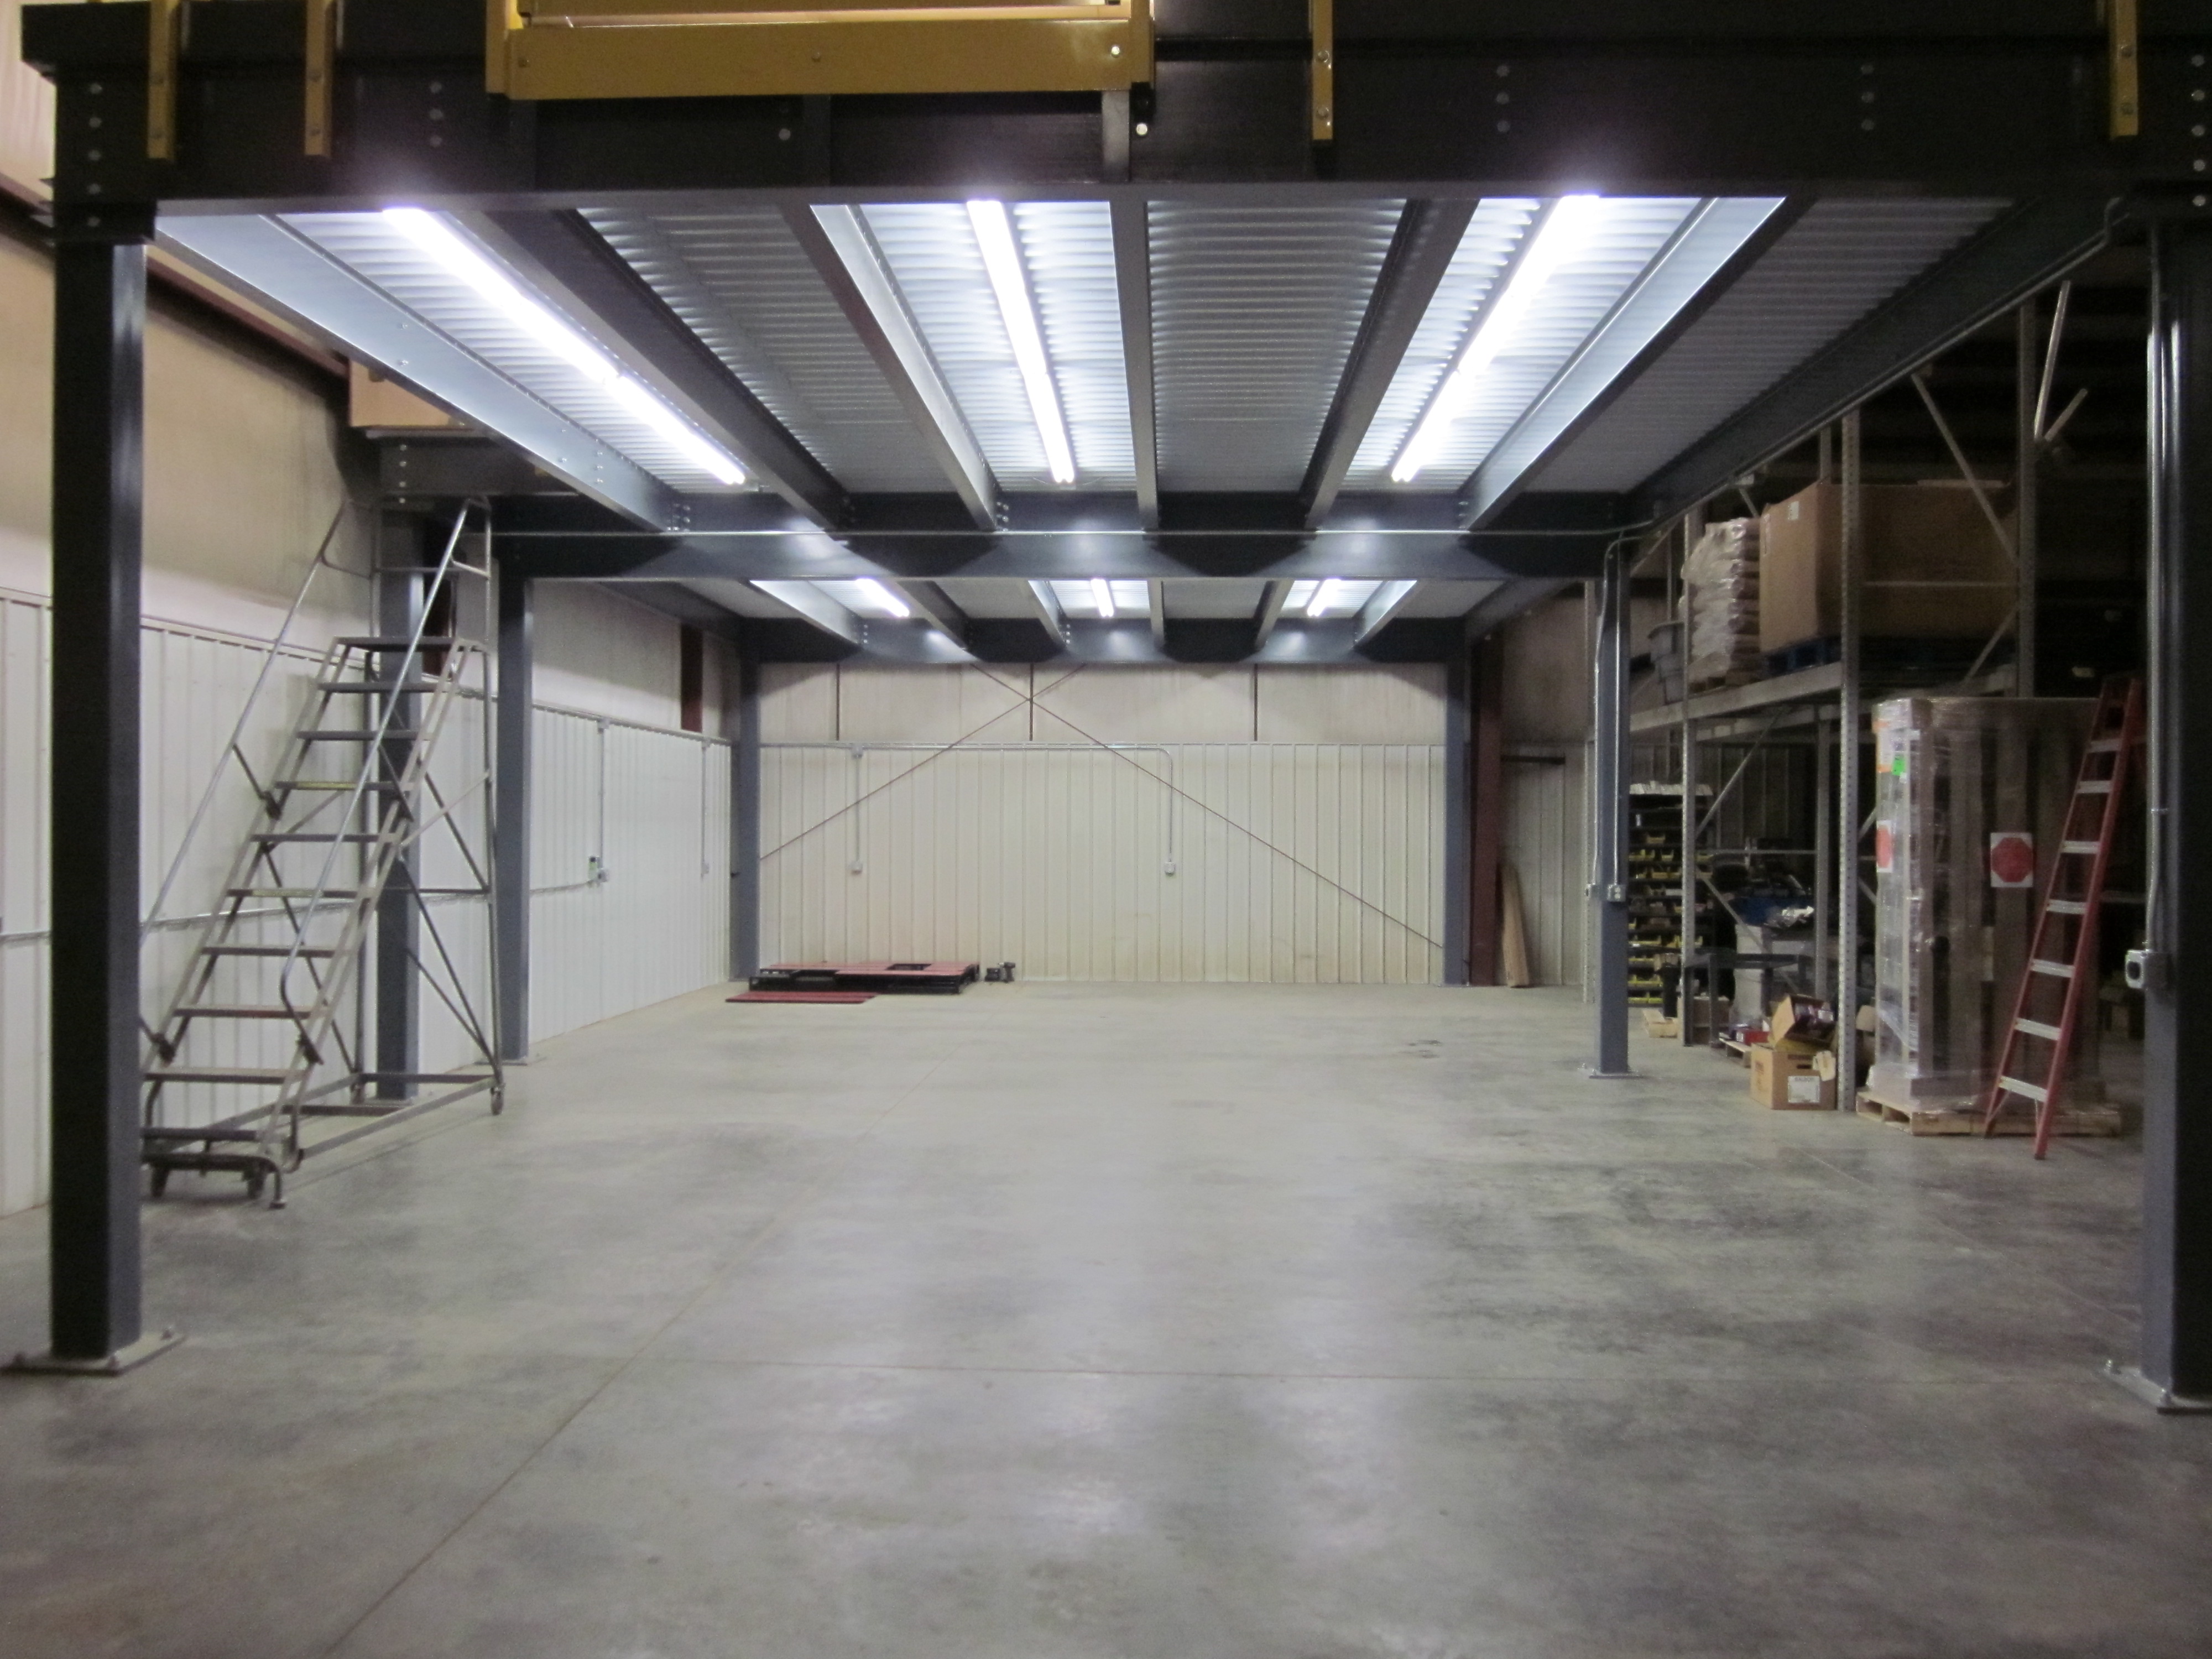
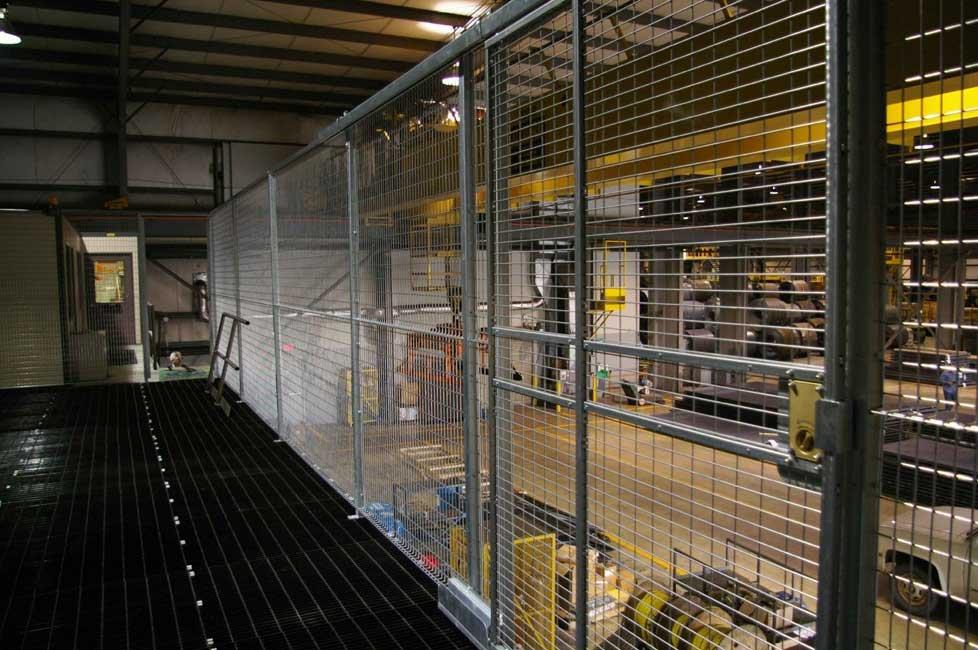
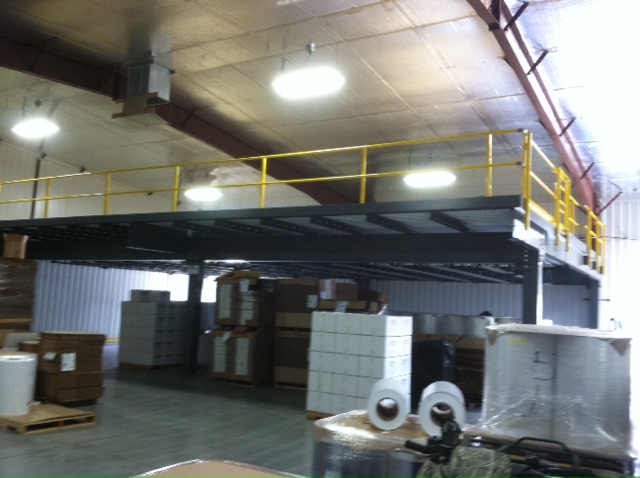
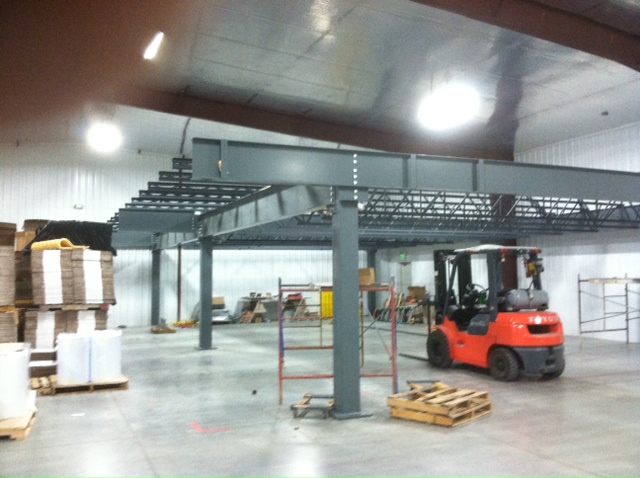
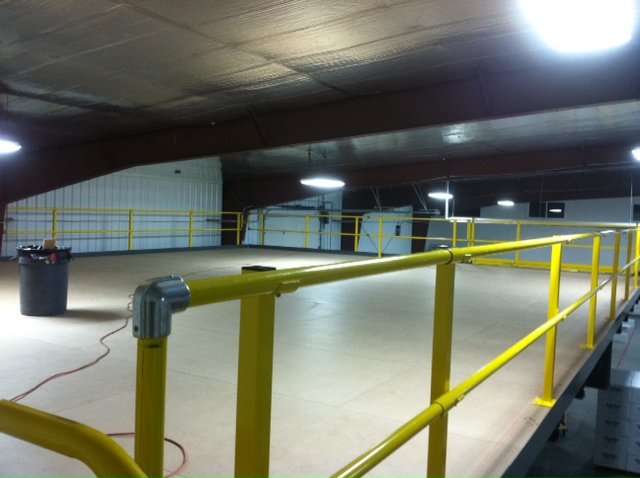
Installing the reconfigured in-plant office in its new location. Recessed beams used to support the roof deck due to the long spans.
end of it. However, as this was modular construction, the customer found another spot in their plant where the building could be relocated in a slightly smaller (24’ wide x 34’ long) form.
We were able to reuse almost all of the materials when we relocated it. We replaced the base track, as well as the ceiling grid and tiles. The base track is very difficult to remove without creating kinks in the channel. As the panels fit very snuggly into new base track, any kink in the track can make it almost impossible to fit. Likewise, the material cost to replace the ceiling grid and tiles is usually significantly less than the additional labor to carefully disassemble the ceiling for reuse.
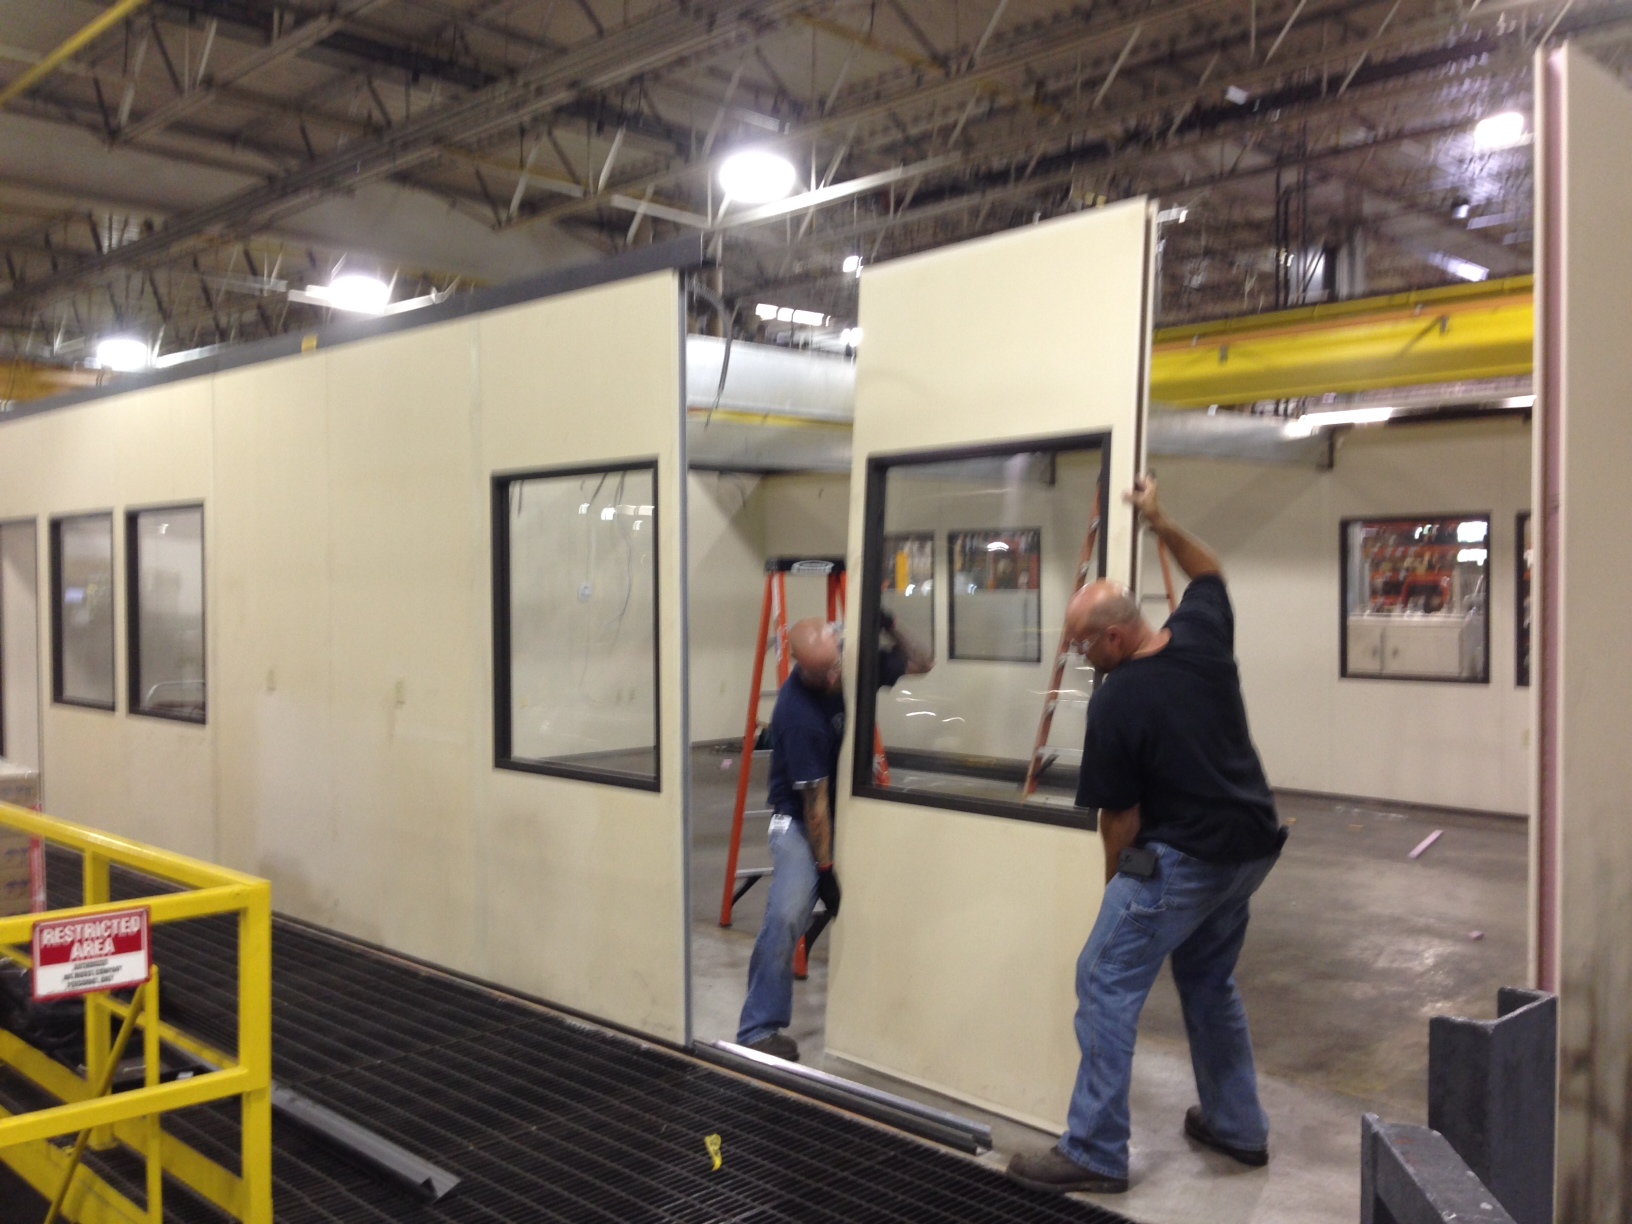
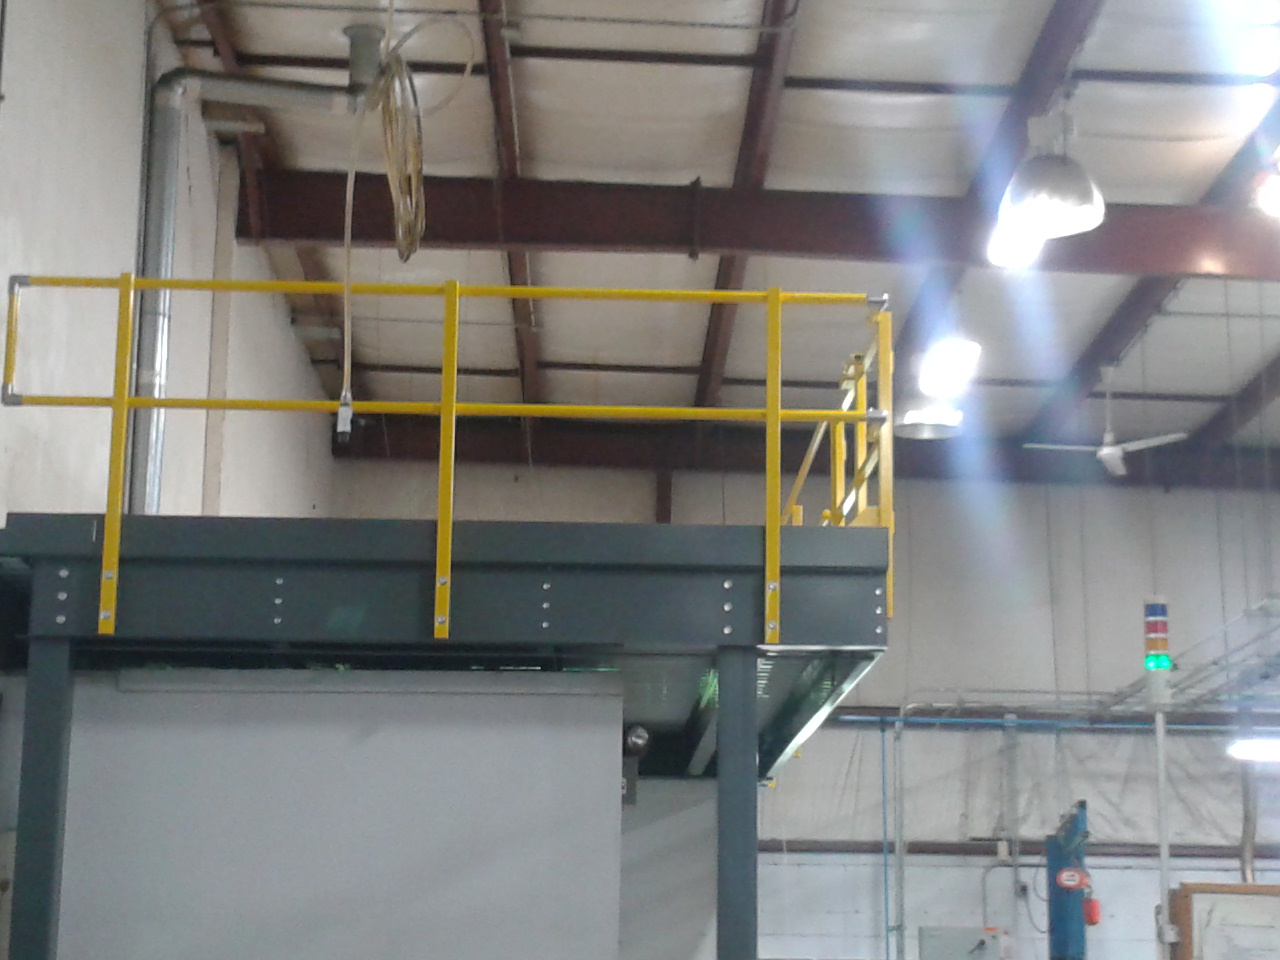
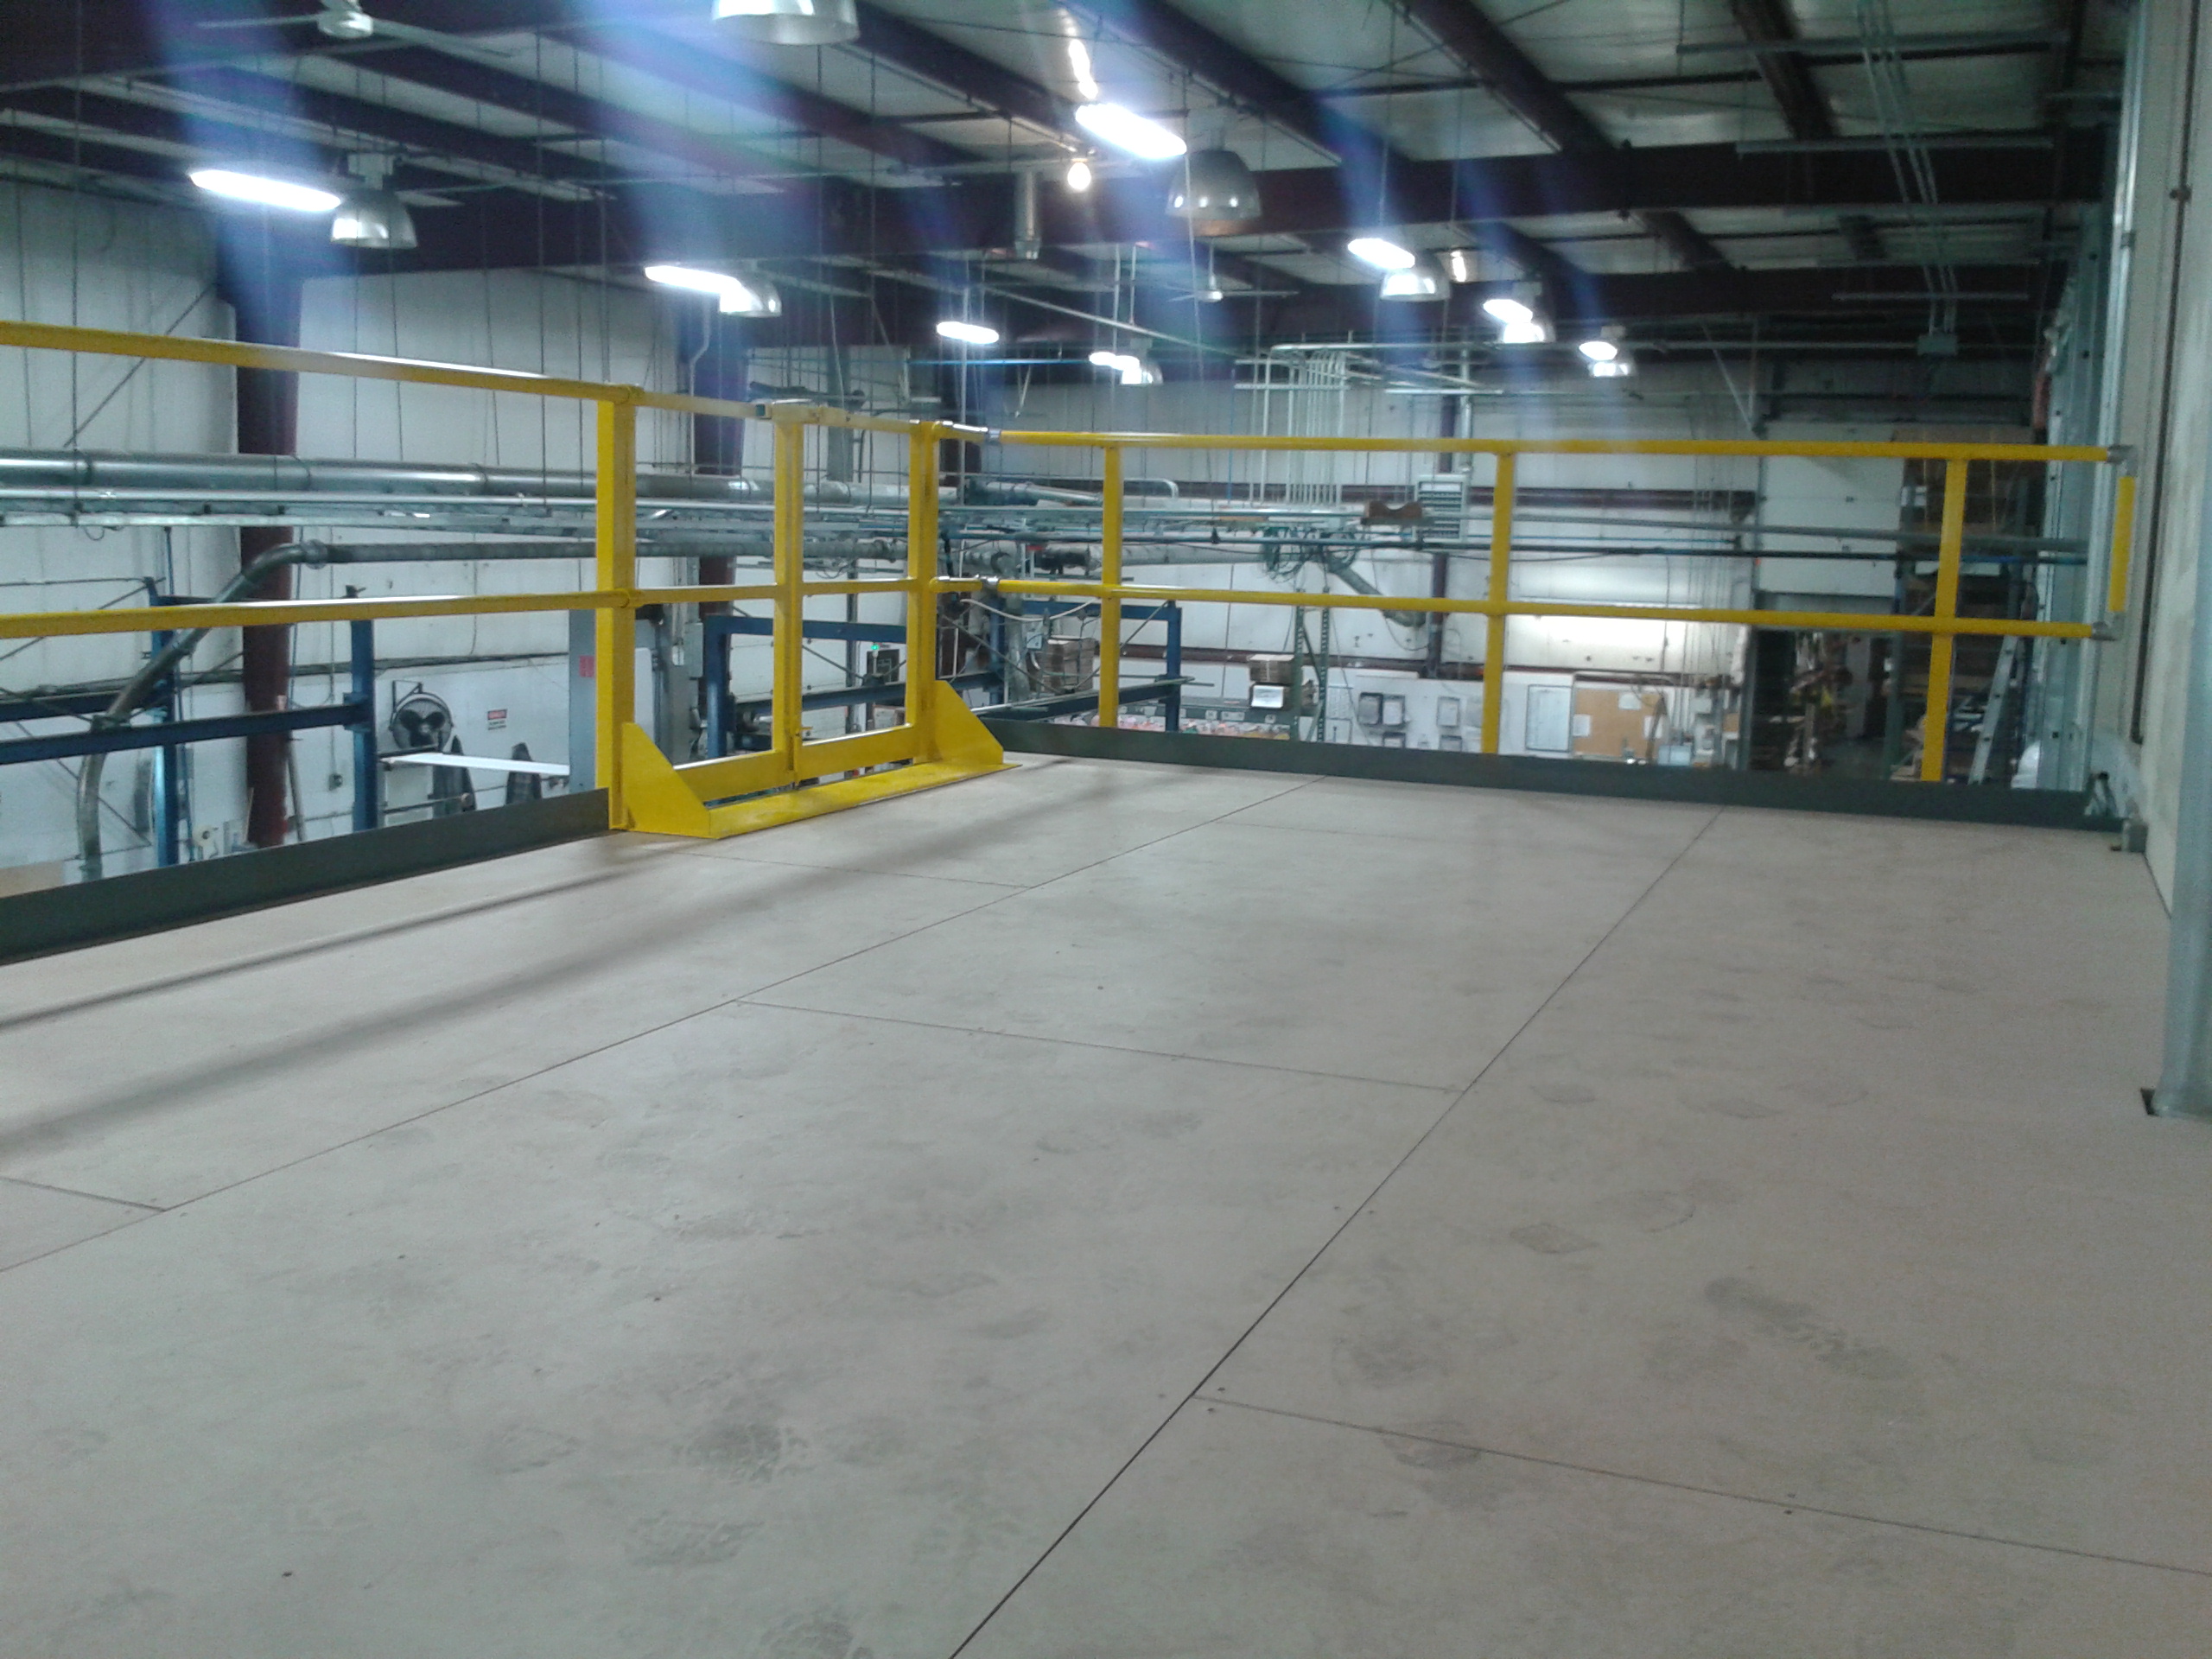
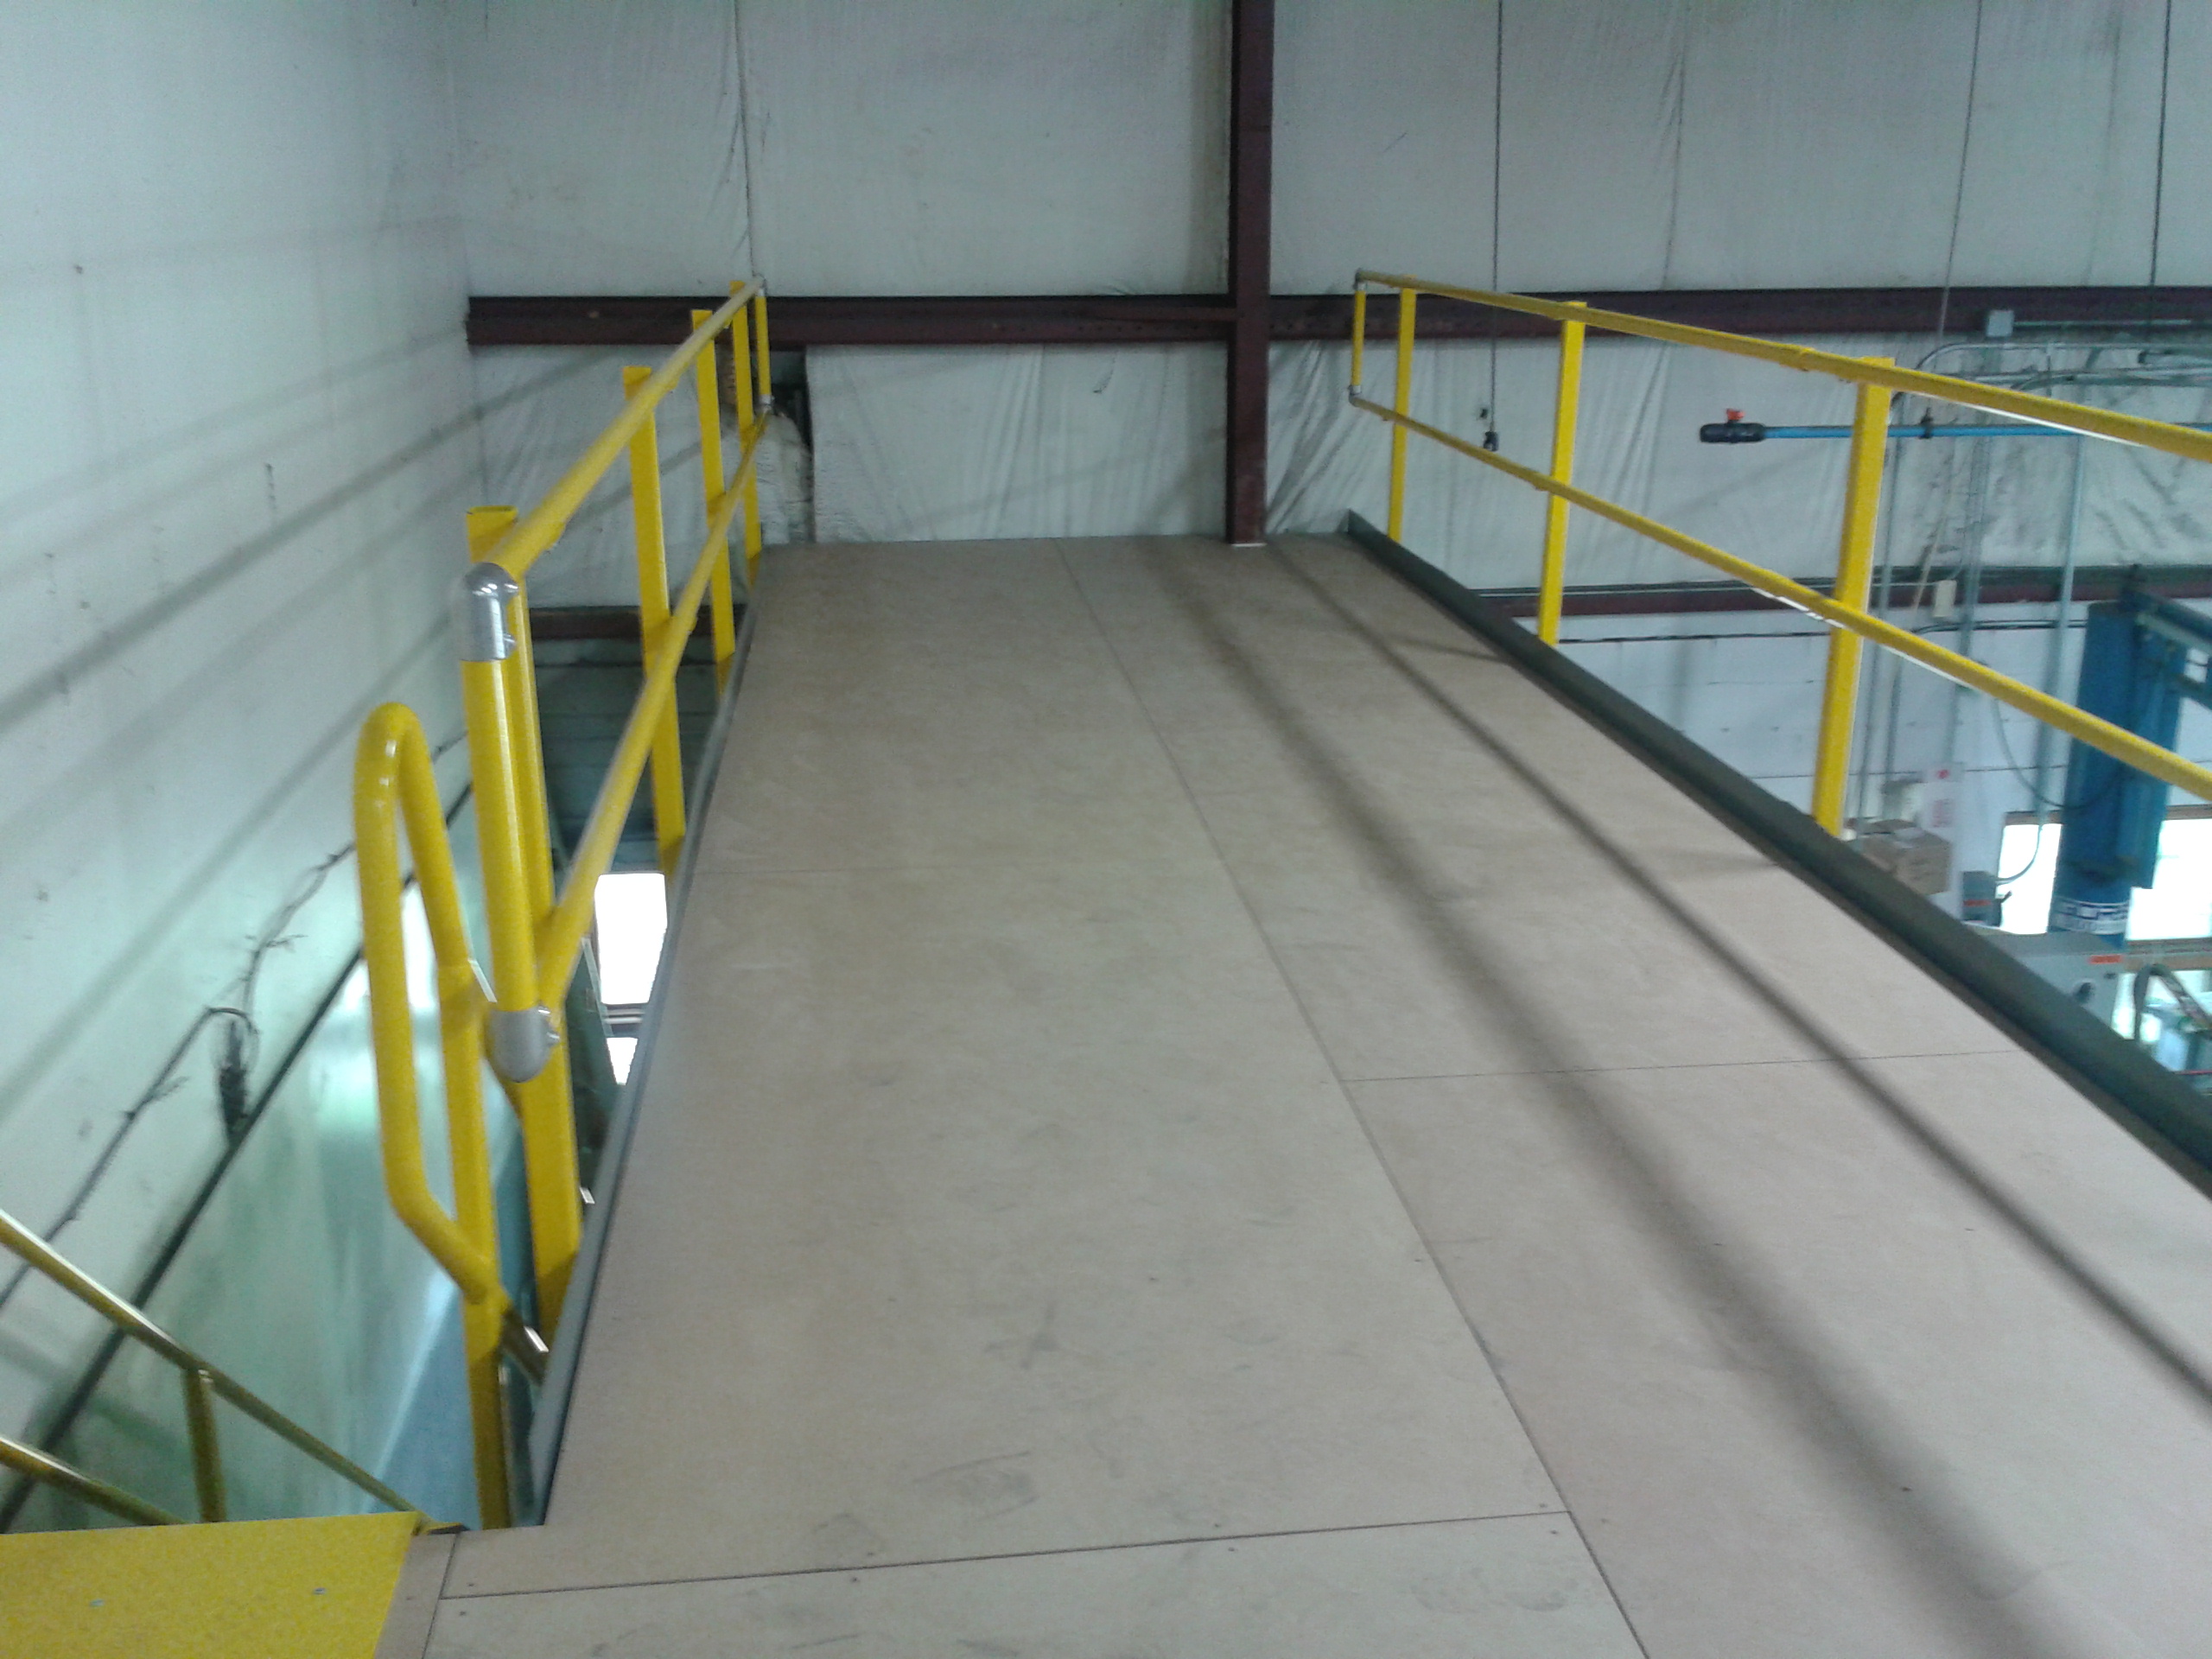
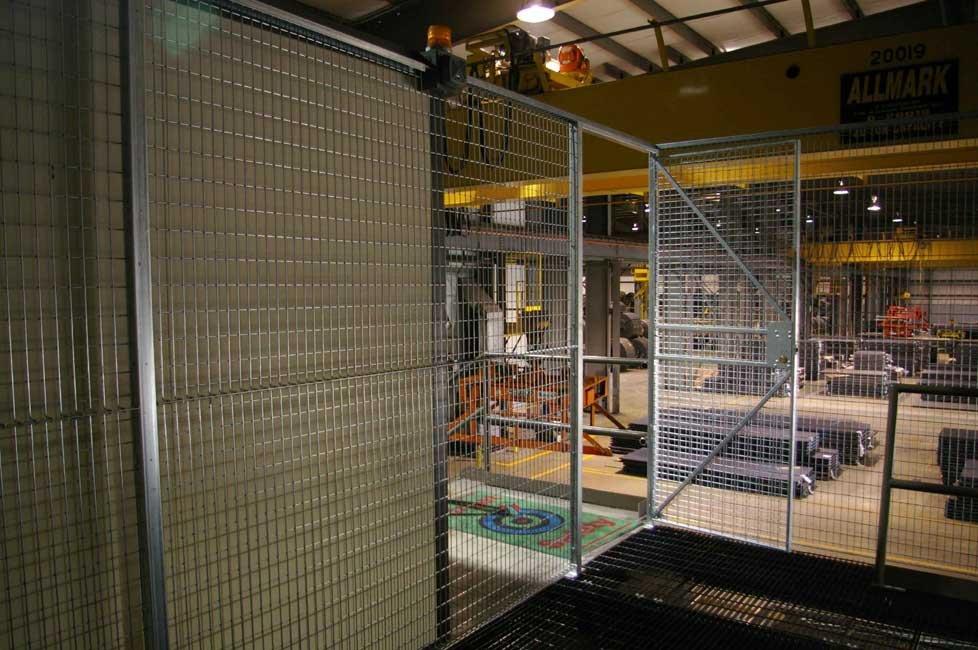
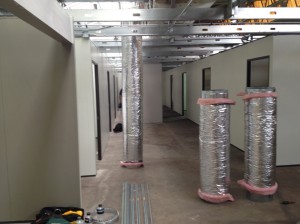
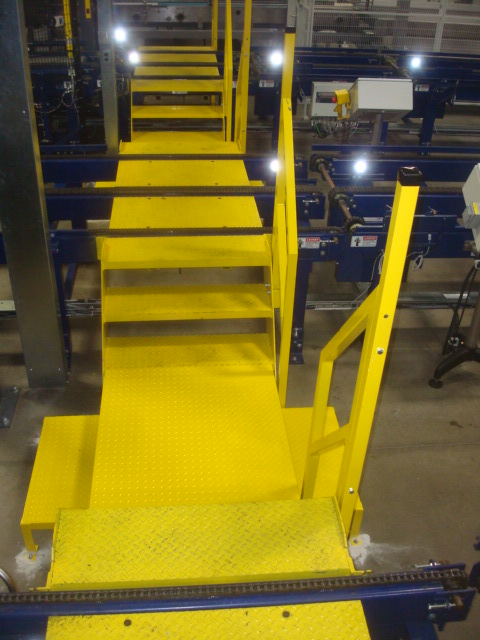
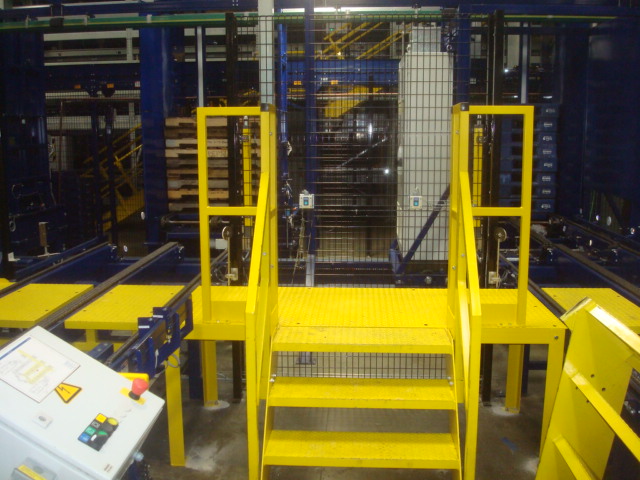
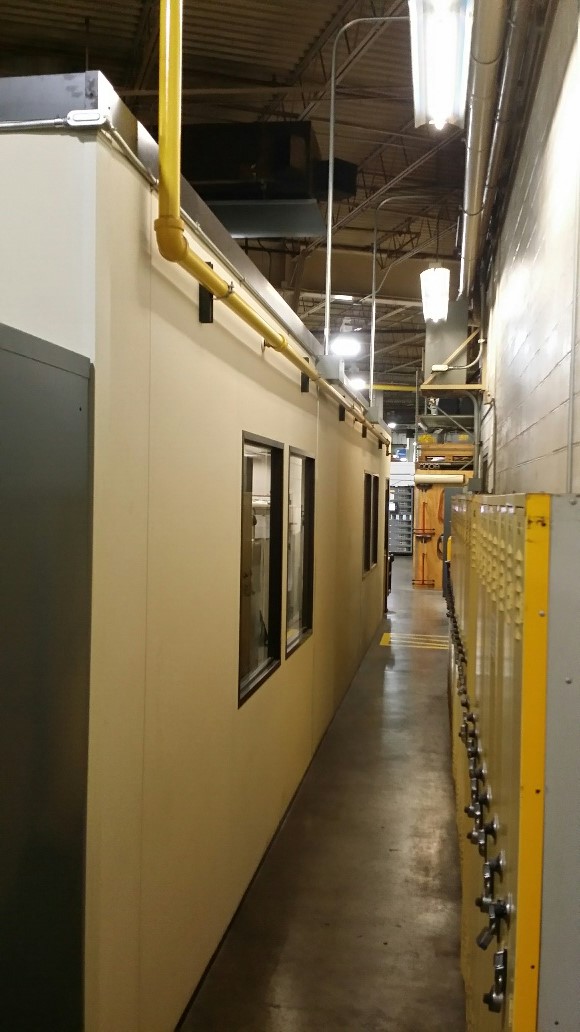
Relocating the modular office panels
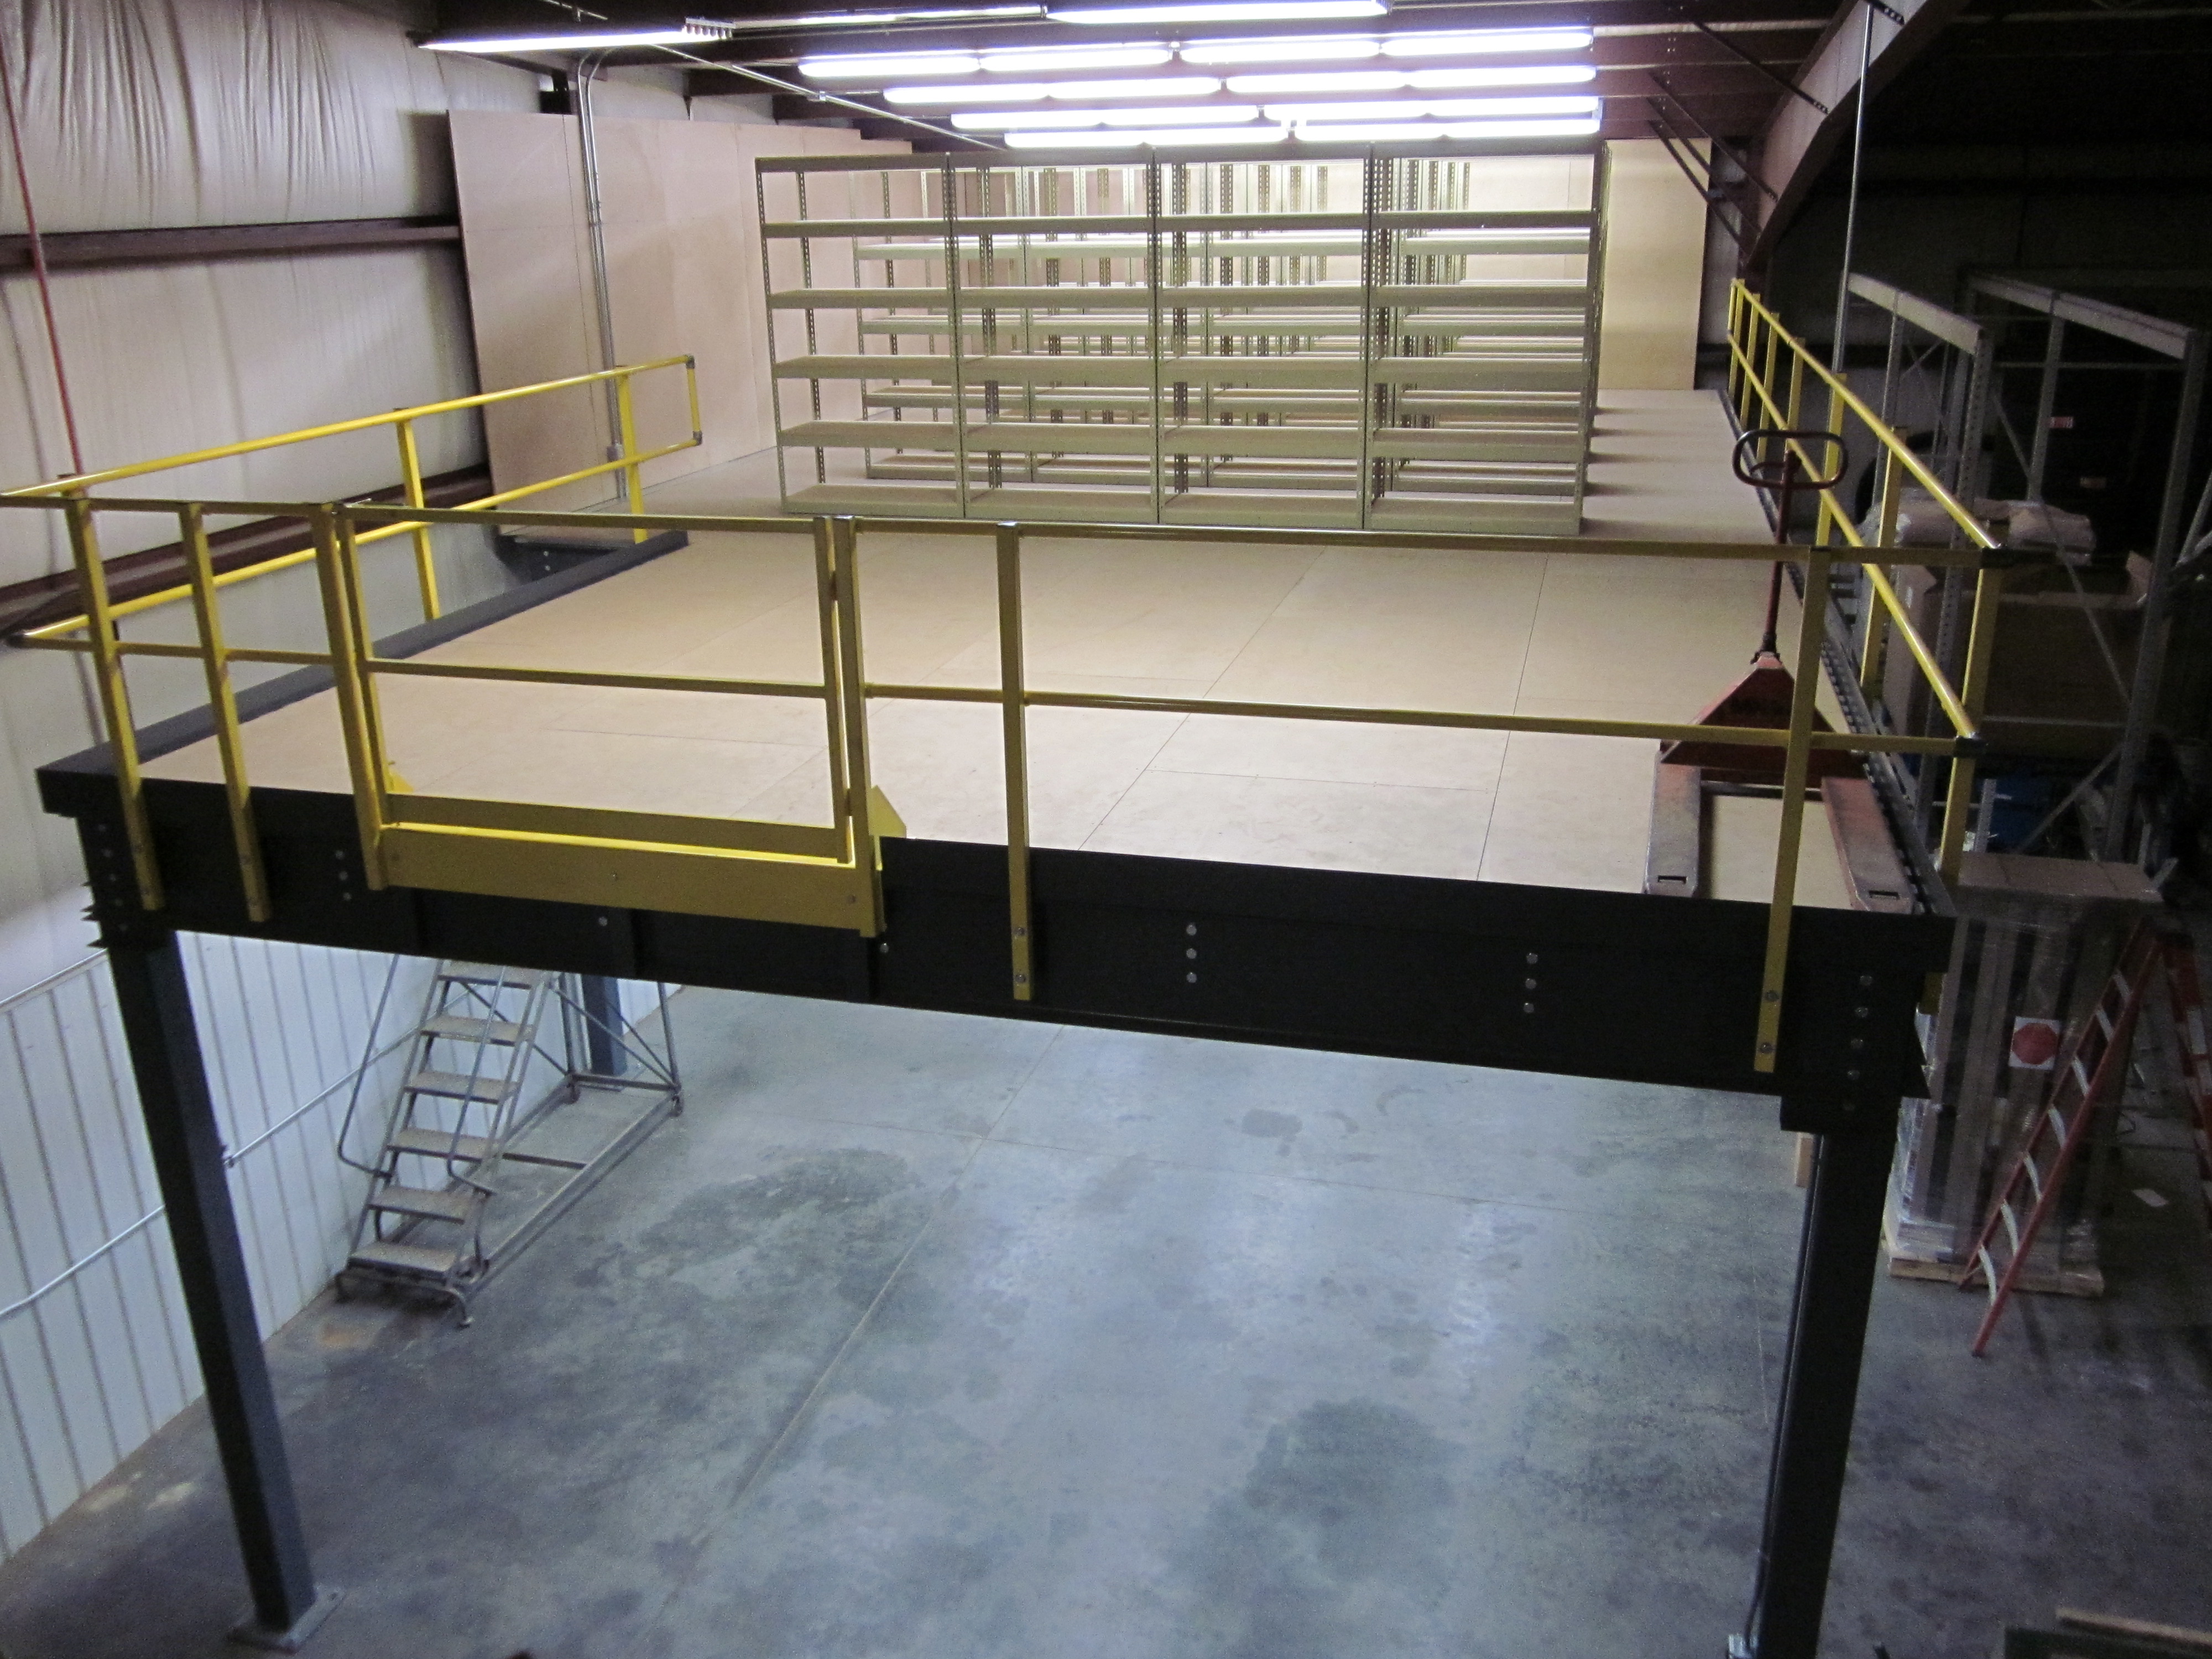
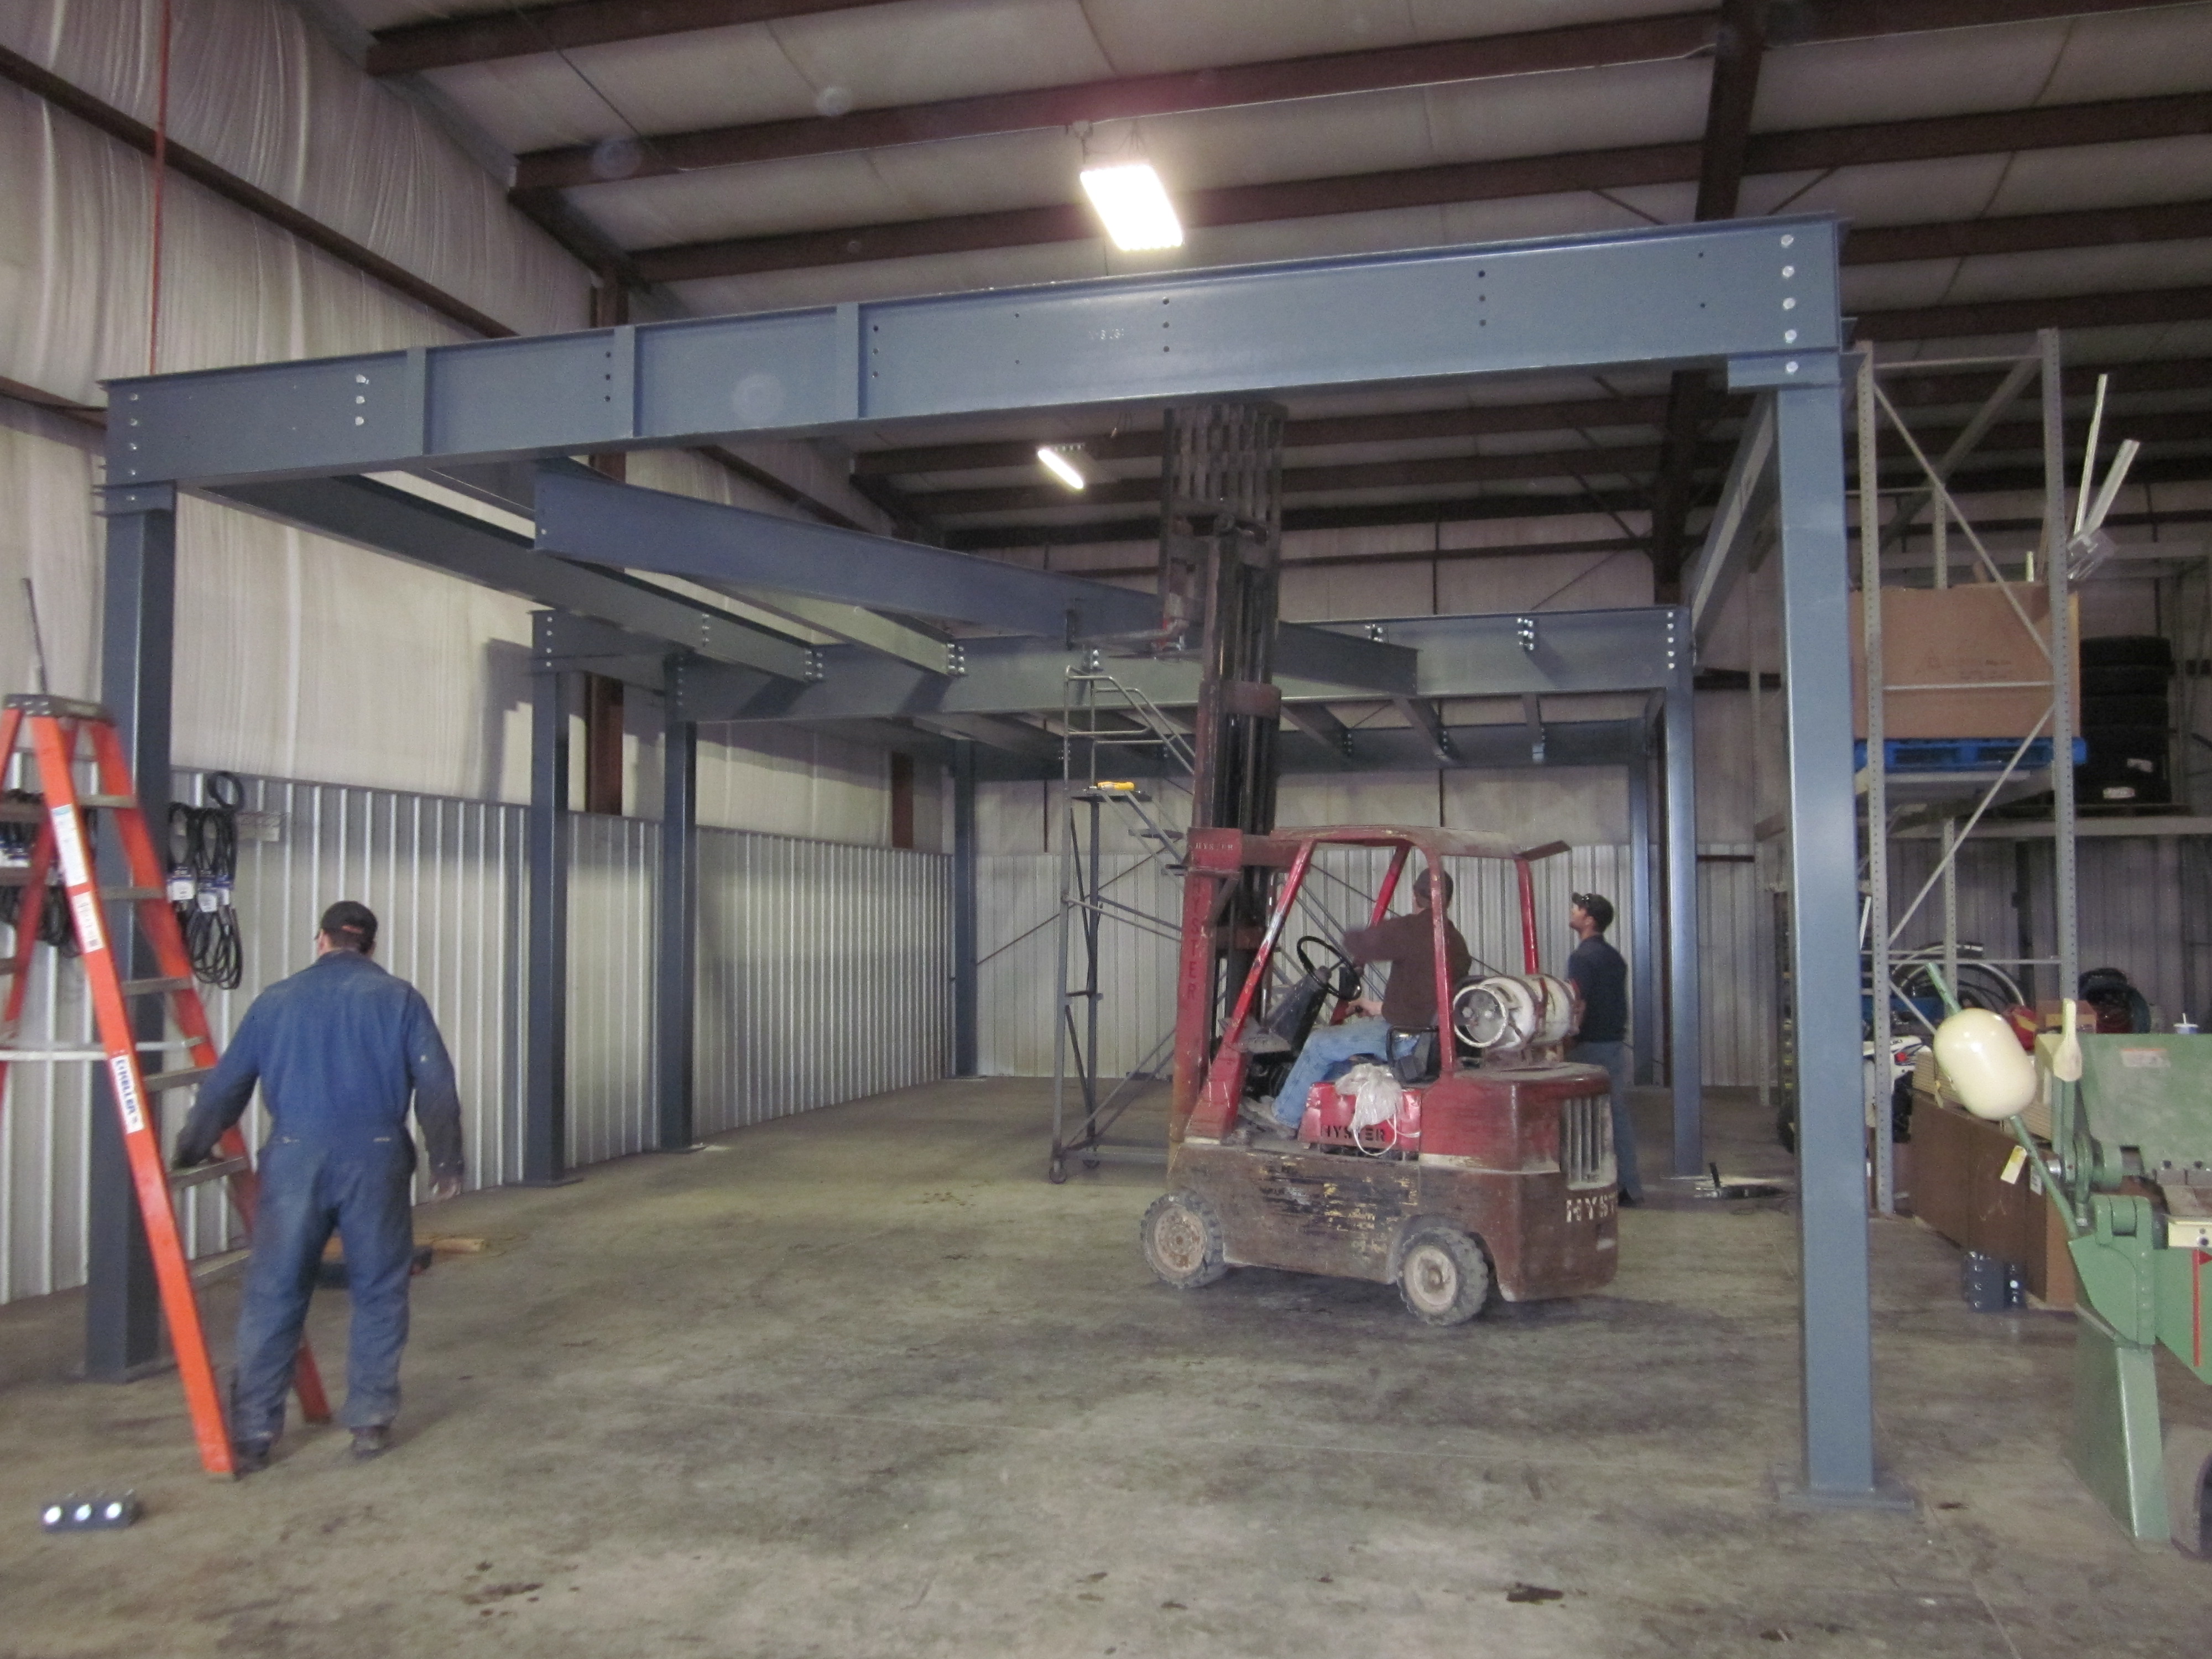
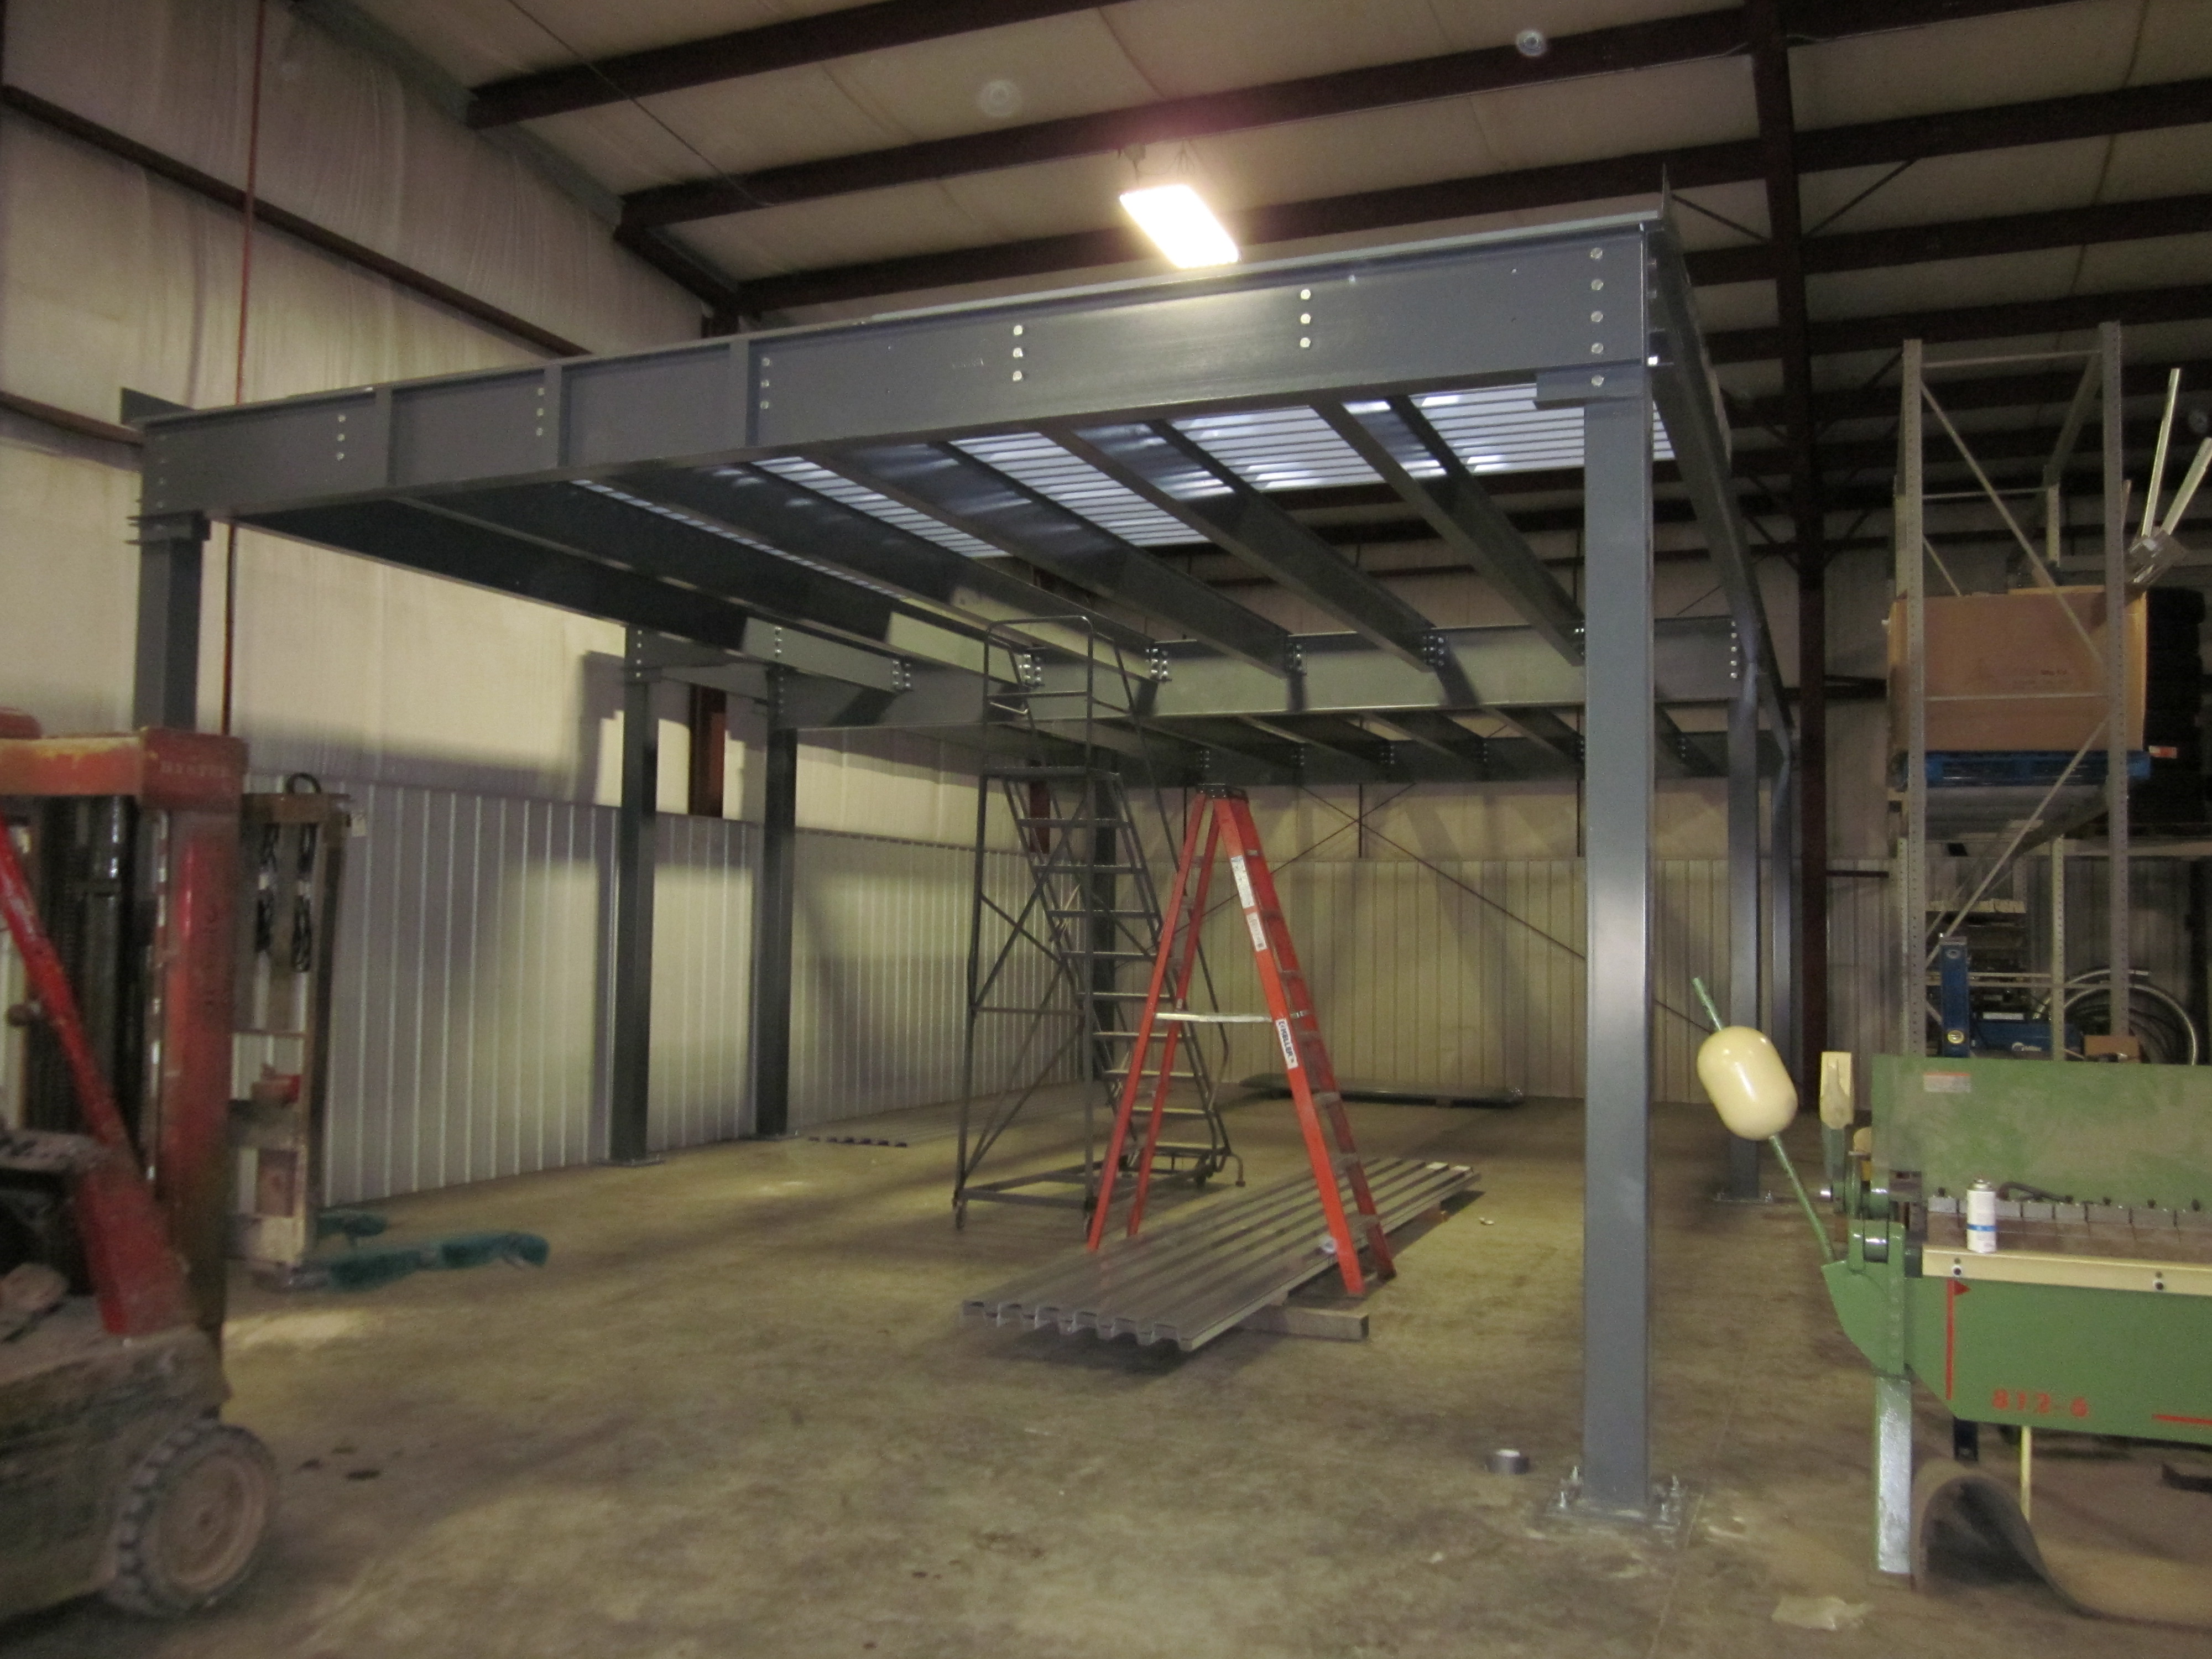
There were some additional considerations that went into the reconfiguration to maximize the materials we could reuse. On the A-Wall building systems with a non-load bearing roof, we can span the roof deck a maximum 20’. In the original 24’x42’ layout, we used a couple of 24’ long recessed beams to break the spans approximately into thirds. By maintaining the 24’ width and by making sure that none of the spans between beams grew, we were able to reuse the beams and roof deck without needing to order any additional material.
The modular wall system’s ability to be rearranged and reconfigured for a new application, or disassembled and re-installed in a new location, is one of this customer’s favorite features. They’ve purchased a number of modular buildings from us over the years and most of them have been rearranged or relocated at least once.